Learn how garage door opener wires are pivotal for smooth, everyday functionality and how to deal with them efficiently.
Key takeaways:
- Wires are crucial for garage door functionality.
- Types include low-voltage, multi-strand, and control cables.
- Understand wiring diagrams for system layout clarity.
- Common issues: loose connections, broken wires, and interference.
- Troubleshoot corrosion, damage, and frayed insulation promptly.
Types of Wires Used in Garage Door Openers
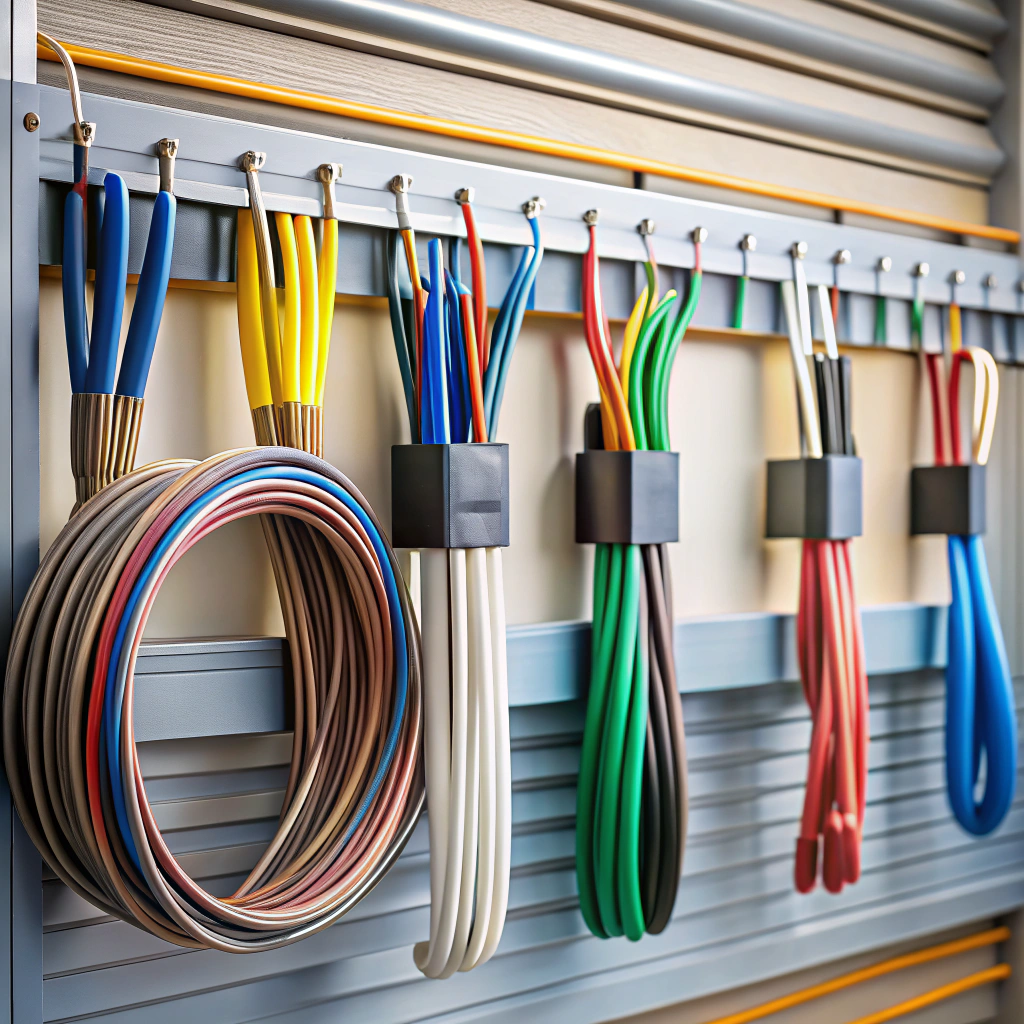
Wires in garage door openers are like the unsung heroes of your favorite action movie—always there when you need them, rarely getting the credit. Here are some key players in the wiring world you’ll encounter:
First up is low-voltage wire, also known as bell wire. This trusty sidekick is typically 22-gauge, showing up in pairs, ready to connect the wall button to the garage door opener. Its superhero skill? Transmitting signals like your garage door’s personal postman.
Multi-strand wire makes an appearance, often in thicker gauges. These beefy wires can handle the high voltage required to power the opener motor itself. Think of them as the door’s personal bodybuilders.
Finally, let’s not forget control cables. These specialized characters are dedicated to the safety beam sensors, ensuring your garage door won’t go all ninja on bicycles or, heaven forbid, pets.
Each wire type carries out specific tasks, each crucial for your garage door’s smooth operation. Just remember, while they may look simple, they’ve got more going on than a soap opera on a Monday afternoon.
Garage Door Opener Wiring Diagram
Understanding a wiring diagram might feel like deciphering ancient runes to some, but it’s less hieroglyphic than it seems. The diagram is essentially your garage door opener’s treasure map – X marks the spot… or perhaps where the motor connects.
Firstly, recognize the power source. This is the starting point, usually a 120-volt plug that makes your garage door opener hum happily. Follow the lines to see how power snakes through the system, enlightening various crucial components.
Next, note the connections for your wall-mounted control button. It’s a simple loop from the button to the motor, allowing you to command your garage door like the mighty ruler of your domain.
Safety sensor wires might resemble spaghetti strands, but they’re vital for thwarting garage-induced disasters. Their mission? To prevent the door from closing on anything that moves—think dogs, small children, or overly curious bowling balls.
Pay attention to any color-coded wires. Like a mood ring, each hue signifies a different part of the door opener system. These are your friendly guideposts in the wiry wilderness.
Lastly, don’t forget the circuit board, your door opener’s brain. It receives signals and coordinates operations with the precision of a tiny conductor. Ensure its connections align perfectly to avoid any Beethoven-esque symphonic mishaps.
By following the lines, much like a child tracing a finger through a maze, the once daunting diagram becomes a blueprint for success. Or, at the very least, an invitation for fewer garage door headaches.
How to Install Garage Door Opener Wires
Begin by ensuring safety first. Disconnect power to avoid any electrifying surprises. No one needs a new hairdo that badly.
Identify the wires: the power wire, the wall control wire, and the safety sensor wires. Each has its own little personality; they just want to connect in harmony.
Run the power wire from the opener to the nearest outlet. Gravity is your friend – let it hang down naturally but keep enough slack in its life, so it can reach its plug comfortably.
For the wall control wire, thread it like spaghetti from the control panel to the motor unit. Aim for a path that keeps it neat and out of sight, unless you’d rather admire your wiring skills every time you park.
Safety sensors sit near the floor on either side of the door. Their wires are like old friends, hugging the walls as they find their way to their connection points.
Secure everything with clips or staples as you go. Nothing says “I’ve got my life together” like tidy garage wiring.
Common Issues With Garage Door Opener Wires
In the world of garage door openers, wires can be as mischievous as a cat on a keyboard. Here are some common gremlins you might encounter:
Loose connections. Wires can wiggle themselves free over time, disrupting the connection. Kind of like when your socks disappear in the dryer.
Broken wires. These happen due to wear and tear, or perhaps from a rodent with a penchant for electrical spaghetti. Check for any visible damage.
Short circuits. When wires cross paths inappropriately, sparks can fly—literally! This can cause malfunctioning or the whole shebang to shut down.
Interference. Other household devices, like microwave ovens, can sometimes interfere with your garage’s radio frequencies, causing openers to act as if they’ve seen a ghost.
Old wires. Aged wires can become brittle, leading them to snap faster than a rubber band in a slingshot contest.
Keep an eye out for these zany issues, and you’ll keep your garage door opener operating as smoothly as a cat’s purr.
Troubleshooting Garage Door Opener Wire Problems
Wires can sometimes act like toddlers—unpredictable and occasionally tangled. If your garage door opener seems more than a little rebellious, consider these quick checks:
First up, corrosion – the crusty villain of electrical connections! Inspect wires for rust or discoloration. A little clean-up never hurt anyone, except maybe dust bunnies.
Next, give those wires a gentle wiggle. Loose connections can make your opener act like it’s taking an unplanned vacation. Tighten them, but avoid Hulk strength—less is more.
Check for damage. Rodents think wires make a great chew toy. If the wire looks gnawed on, replacement time beckons.
Lastly, don’t ignore frayed insulation. A wire sporting an unwanted ‘accessorized’ look from pulled fibers or exposure is begging for attention. Replace before it becomes a shocking experience!
When all else fails, remember: sometimes, professionals have the magic touch. Or at least the right tools!