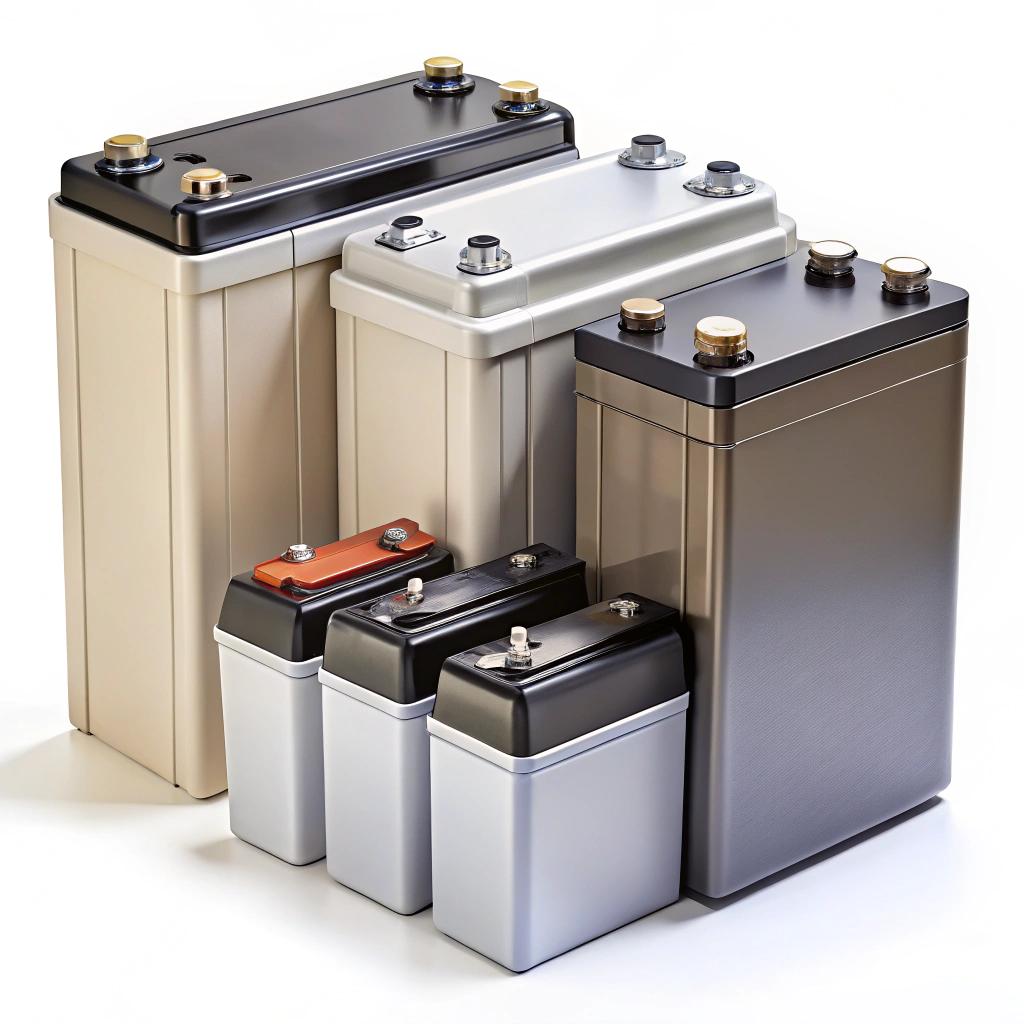
Unlock the secrets of replacing your LiftMaster garage door opener battery with ease.
Key takeaways:
- Check owner’s manual for battery specifications.
- Battery compartment is typically on the back or side.
- Always power down before replacing the battery.
- Insert new battery ensuring correct alignment.
- Test operation after replacement for proper function.
Identifying the Correct Battery Type

Before embarking on the quest to find the perfect battery, ensure your magnifying glass is near—those tiny specs on the old battery aren’t getting any bigger.
First, check the owner’s manual. It’s not only handy for swatting flies but packed with vital information, like the specific battery type needed for your LiftMaster model.
If the manual has been sacrificed to the coffee spill gods, don’t worry. Most LiftMaster models use a 12V, 4.5Ah battery, but check directly on the old battery or the compartment label to be sure.
Keep an eye open for the brand and model number of your garage door opener. This deciphers the code to the battery universe, making you the Sherlock Holmes of your garage.
And remember, checking compatibility isn’t just an obsessive trait of committed hobbyists or stamp collectors—it’s essential to ensure smooth operation.
Locating the Battery Compartment
While deciphering the puzzle of your LiftMaster garage door opener, knowing where to hunt for the battery compartment is key. It’s a bit like playing hide and seek, but instead of a giggling child, you’re seeking a battery.
The battery compartment, drum roll please, is typically located on the back or side of the opener unit. Think of it as its own little penthouse suite, nestled away from the commotion.
Before you embark on this treasure hunt, turn off the power. Safety first; nobody wants a zapping surprise.
Open the light cover first. It’s often hiding in plain sight, just a nudge away.
When you find the battery compartment door, you’ll likely need a gentle twist of a screwdriver or slide of a panel to access it.
Look for a black or red casing. This is the vault containing your elusive battery. Oh, what a find!
Remember, these compartments are designed for occasional peeks, not daily visits. Be gentle.
Safety Precautions and Necessary Tools
Before diving into the heart of battery replacement, let’s keep things safe and sound. Working with electronics can be a shockingly bad idea without proper precautions. Get it? Shockingly? Anyway, here’s what you need:
First things first, power down and unplug the garage door opener. It’s like putting your phone on airplane mode—essential for avoiding unexpected surprises.
Grab a sturdy ladder. A wobbly chair won’t win any popularity contests for safe practices awards.
Use gloves to keep your hands clean and avoid small zaps. Nasty little things, those static charges.
A trusty screwdriver completes our safety toolbox. Opt for one that fits the screws like Cinderella’s slipper. Precision is your friend here.
With that toolkit and precautions in hand, you’re now all geared up. Time to get down to business!
Step-by-Step Battery Replacement Process
Here we go, the grand switcheroo! First, disconnect the garage door opener from its power source. Safety first—no one wants a surprise jiggle overhead while stretching to change a battery.
Locate that sneaky little battery compartment lurking inside the unit. Think of it like a treasure hunt, but with fewer pirates and more logical reasoning.
Once found, carefully remove the old battery. It might hang on as if it’s fighting for a spot in a reality show. Be firm but gentle. Don’t force it.
Now, insert the new battery. Make sure the positive and negative sides are aligned properly. Think of it like fitting shoes on a kid who doesn’t want to wear them; it should be snug but not forced.
Close the battery compartment securely. It’s a bit like closing a sandwich and nobody wants the insides to fall out.
Reconnect the garage door opener to power. Give it a whirl and make sure everything’s lifting and shutting like a well-rehearsed curtain call. Voilà.
Testing and Final Adjustments
Success! Almost. You’ve swapped out the battery, but don’t pat yourself on the back just yet. Time to see if this operation was a triumph or a comedy of errors.
First, close the garage door. Then open it. This grand performance will tell you if the opener is working efficiently.
Double-check the remote; press the button as if you’re conducting an orchestra. Does it respond promptly? Is there a lag? If it hesitates like a cat pondering whether to knock over a glass, you might need to revisit the battery seating.
Don’t forget about the manual controls. They should work seamlessly too. If anything acts more stubborn than a toddler at naptime, give the manual a quick glance to troubleshoot.
And finally, listen. Odd noises might indicate more than just grumpy hardware—it could be asking for some TLC or an adjustment. The gentle whir or hum should be a symphony, not a heavy metal concert.
Pretty slick, huh? You’re officially a battery-replacement maestro.