Learn how to easily change your Liftmaster garage door opener code to enhance your home’s security.
Key takeaways:
- Locate the colorful Learn button on the opener.
- Clear the old code by holding the Learn button.
- Enter a new four-digit PIN on the keypad.
- Confirm the new code works before leaving.
- Troubleshoot issues like battery and antenna if needed.
Locate the Learn Button On Your LiftMaster Opener
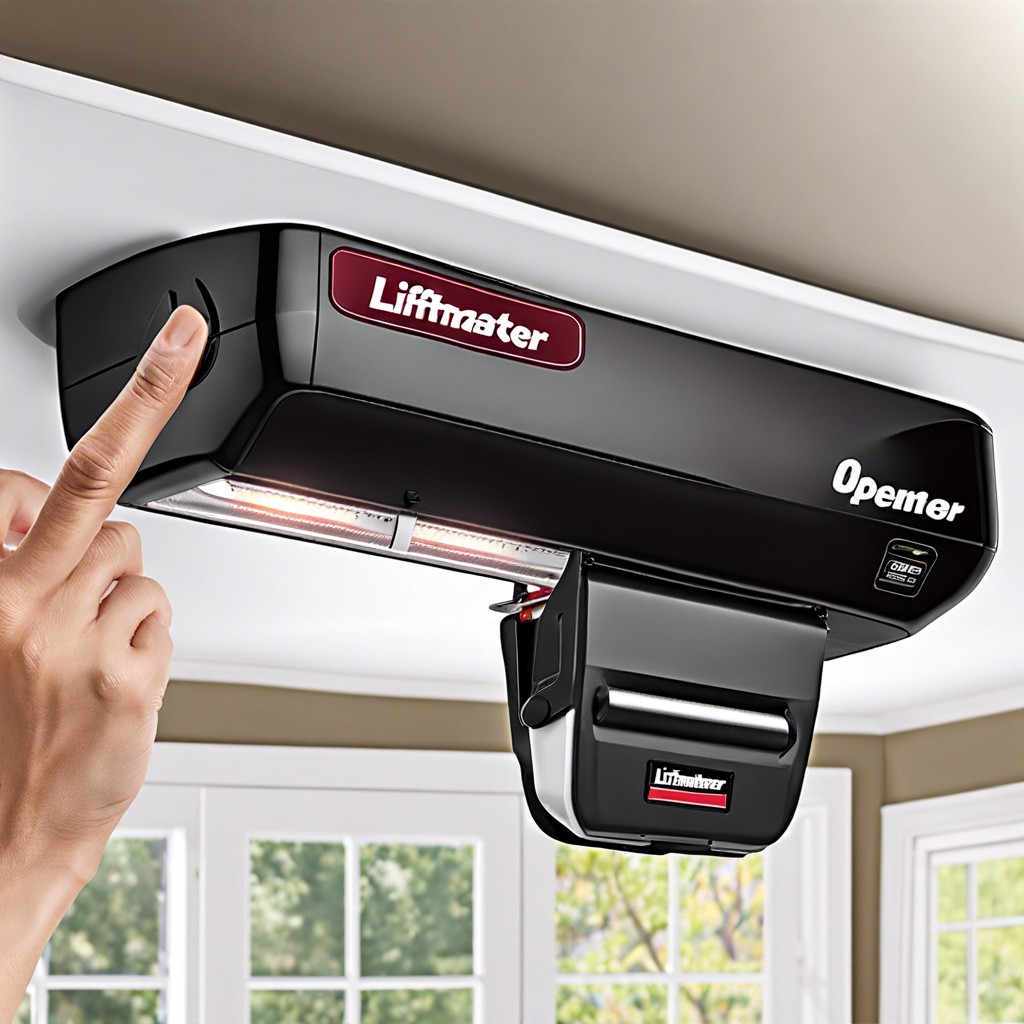
First things first: find the mystical Learn button. No treasure map needed, just a bit of patience and a ladder.
– LiftMaster openers hide this button on the back or side of the motor unit. It’s usually bright and colorful, like a rebellious teen’s hair.
– Common button colors include red, green, or yellow, making it stand out like a sore thumb (but a helpful one, at least).
– Once spotted, give that button a gentle press for a second—don’t hold it down like it owes you money.
With this button under your thumb (literally), you’re on your way to conquering the world of garage door codes. Fun times ahead!
Clear the Old Code
Press and hold the Learn button until the indicator light goes out. This should take around 6-10 seconds. If the indicator light is still on, you may need to repeat this step.
Why is this important? Clearing the old code ensures no one with the previous code can access your garage. Think of it as giving your garage door a digital spring cleaning.
After the light goes out, you can release the button. Voila! The old code is now ancient history. Ready to set a new one? Let’s keep rolling!
Enter a New PIN
Start by pressing the ‘Learn’ button you’ve just located. Hold it down until the indicator light blinks, but don’t let go too soon – otherwise, you might as well attempt to open the garage door with telepathy.
Next, promptly enter a new four-digit PIN on your keypad. Make sure this is something easy for you to remember but challenging for your nosy neighbor who thinks your lawn is their shortcut.
Once you’ve entered your new code, press the ‘Enter’ button. You’ll hear a click or the opener light will blink, signaling that your garage door opener got the memo.
Remember, it’s vital to work swiftly. The system typically gives you about 30 seconds before it decides you’re on a coffee break and times out.
Confirm and Test the New Code
Once the new PIN is set, it’s crucial to make sure it works like a charm. You don’t want to be stuck outside, waving your hands in desperate garage-door-opening signals, right? Here’s how to do it:
First, step back to admire your handiwork, then approach the keypad with confidence. Enter your freshly minted PIN. Press the enter button and wait for that sweet sound of success—the garage door opening.
If it doesn’t, don’t panic—double-check your entry, because typos aren’t just a texting problem.
If you have any remotes, test those with the new code too. They should sync up seamlessly.
Done and dusted! Now you’re back in control, keeping your garage secure and feeling like a tech wizard.
Troubleshooting Common Issues
First, if the new code isn’t working, don’t panic. It can happen to the best of us. Start by double-checking that you actually pressed the Learn button. Sometimes it’s pressed with less enthusiasm than it needs.
Next, ensure you’ve entered the correct code. It’s easy to mistype, especially if you’ve had one too many cups of coffee. Try entering the code carefully again.
Check the battery in your remote and keypad. If it’s acting like an overworked hamster on a wheel, it might be flatlining. Replace it and see if that revives things.
Finally, examine your unit’s antenna. If it’s dangling or bent, it might have signal issues. Gently adjust it or straighten it, and give it another whirl.
If your garage door opener is still giving you the silent treatment, refer to the user manual. It’s your best buddy in moments like these. And remember, even tech-savvy superheroes sometimes need a little guidance.