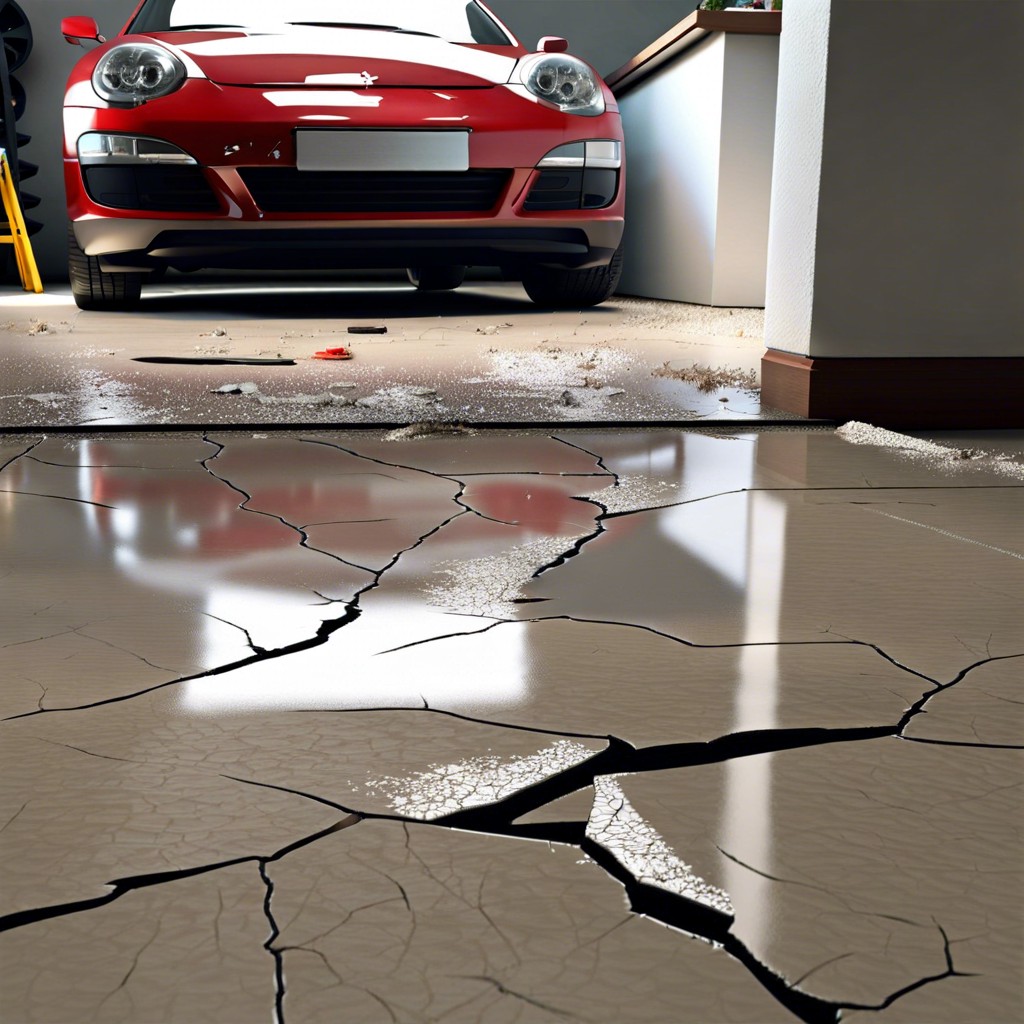
In this article, you’ll learn why cracks appear in your garage floor and how to fix them.
Key takeaways:
- Cracks often result from temperature fluctuations.
- Poor installation increases vulnerability to damage.
- Heavy loads can stress garage floors.
- Tiny cracks are usually harmless; monitor larger ones.
- Proper drainage and sealing prevent future issues.
Common Causes of Cracks in Garage Floors

Garage floor cracks can be a headscratcher, but they usually come down to a few usual suspects. First up: Mother Nature. Temperature fluctuations cause concrete to expand and contract, which can lead to cracking. Think of it as concrete’s version of trying to squeeze into last year’s jeans.
Another culprit? Poor installation. If the concrete wasn’t properly mixed, poured, or cured, it could be more vulnerable to cracking. Imagine baking a cake without following the recipe – not exactly a recipe for success.
Heavy loads are also a contributing factor. While your garage floor might smile politely at your car, it might grimace under the weight of heavy machinery or a double-stuffed storage unit.
Lastly, settling of the ground beneath the concrete can create cracks as well. Soil likes to shift and settle over time – like that noisy neighbor who’s never quite where you expect them to be. When the soil’s on the move, your concrete might pay the price.
Understanding these reasons helps pave the way for solutions, but don’t worry, we’ve got you covered!
How to Identify the Causes of Cracks
Determining why your garage floor has cracks can feel a bit like playing detective, but without the trench coat. First, inspect the size and direction of the cracks. Hairline cracks? Probably just shrinkage from the concrete curing process. These are typically harmless and more inclined to get an eye-roll than an alarm bell.
If the cracks are wider than a quarter-inch, we might be looking at more serious issues. These could be due to settling or shifting soil. Imagine your garage floor as a giant pancake, and the ground beneath is doing a little dance. Horrifying for pancake lovers, but a critical clue here.
Also, check the edges of the cracks. Are they uneven? This could indicate that one side of your concrete slab is sinking. Not fun, but definitely important to notice.
Look for patterns. Cracks that run in a jagged, meandering path could be from general wear and tear. In contrast, a crack that runs straight across might indicate a poor installation job, where expansion joints were inappropriately placed.
When to Worry About Cracks
Tiny hairline cracks? Don’t sweat it. They’re often just the garage floor’s way of showing age. But if you can fit a dime in the crack, it’s time to pay attention.
Notice any uneven floors? If one side’s higher than the other, the foundation might be throwing a garage party. And it’s inviting all sorts of trouble.
Water magic tricks—pulling a Houdini through cracks? That could spell disaster. Water seepage might lead to bigger, costlier issues down the road.
Lastly, watch for spreading or widening cracks. If they’re growing faster than your to-do list, it’s likely something more serious is brewing beneath.
Repairing Cracks in Garage Floors
First things first, clean out the crack. Use a wire brush to clear away loose debris. It’s like flossing, but for your floor.
Next, if the crack is quite narrow, a simple concrete repair caulk will do the trick. Inject it into the crack and smooth it with a trowel. Voilà, no more chasm!
For wider cracks, think of them as needing a little more love and attention. Use a concrete repair mix. Mix it up according to the package instructions, then fill the crack. Use a trowel to make sure it’s level with the rest of the floor. Smooth operator, indeed.
Now, for those seriously gaping cracks, consider using a concrete patching compound. It’s extra tough and can handle the bigger split with ease. Apply it, smooth it, and be patient for it to set.
And, always be sure to follow the manufacturer’s drying times to the letter. Don’t rush perfection, or you’ll end up back where you started – with a cracked-up floor that tells no tales, just woes.
Preventing Future Cracks
Keeping future cracks at bay is easier than you think. First, ensure proper drainage around your garage—no one likes swimming to their car. Water pooling around your foundation can lead to soil erosion and, ultimately, cracks. Sloping the ground away from the garage minimizes this risk.
Seal those control joints. Control joints allow for natural expansion and contraction, but they can be a gateway for moisture if left unsealed. Use a good quality epoxy or polyurethane sealant to keep the bad stuff out and the good stuff in.
Consider a vapor barrier during construction. This handy layer shields your concrete from moisture seeping up from the ground. Think of it as a raincoat for your floor.
Finally, keep an eye on existing cracks and address them promptly. Small cracks can turn into big headaches if ignored. Regular maintenance is your best friend here.