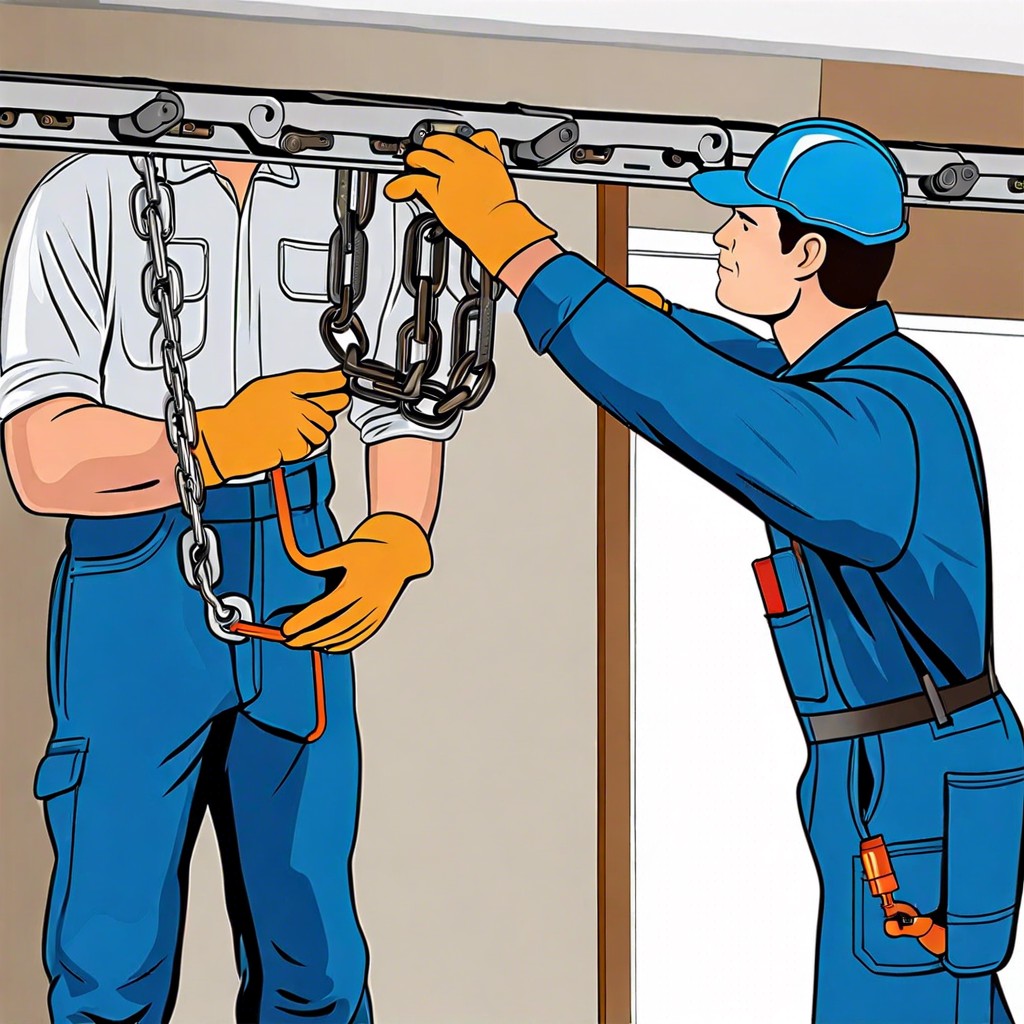
Learn how to adjust your garage door chain tension to ensure smooth operation and avoid unexpected surprises.
Key takeaways:
- Proper tension is crucial for smooth operation.
- Look for sagging and rattling as warning signs.
- Essential tools include a ladder, wrench, and goggles.
- Adjust tension carefully, aim for “just right.”
- Regular maintenance helps prevent chain loosening.
Proper Chain Tension Guidelines

Think of your garage door chain like Goldilocks’ porridge—too tight, and you might strain the motor; too loose, and you’ll have a noisy nuisance. Aim for that sweet spot where it’s just right.
First, a slight sag of about half an inch to an inch in the middle of the chain is typical. It’s the chain’s version of chilling out—nothing to worry about.
Next, stop to listen. A properly tensioned chain operates smoothly and quietly. If the chain sounds like a freight train or a new drummer learning the ropes, adjustments are in order.
Check the lift and drop. The door should glide up and down without hesitation. If it jerks around like a toddler on a sugar high, the tension needs attention.
Remember, balance is key. It’s a delicate dance between too tight and too loose. Keep it smooth and steady, and your garage door will thank you with every silent ascent and descent.
Identifying Signs of Loose Chain
A loose chain on your garage door opener may not wear a bright neon sign, but it’s not as stealthy as it thinks. Here are a few clues to watch for:
First off, listen to your garage door’s reenactment of a horror movie soundtrack—rattling and clanking. Chains tend to be noisy when they have too much slack. It’s not a band audition!
Next, look for bouncy behavior. Your garage door should glide up and down gracefully. If it’s shaking like it’s had too much caffeine, the chain might just be too loose.
Got a sluggish door that seems to have taken procrastination lessons? A loose chain can slow down the door’s movement. Even the door needs motivation sometimes!
Last but not least, inspect the chain itself. A droopy chain hanging lower than usual is a clear sign. Remember, sagging is best reserved for hammocks, not chains.
With these hints, you’ll be a chain detective in no time.
Tools Needed for Adjusting Chain Tension
Before you dive into the world of garage door chain adjustment, gather a handful of trusty tools to make the job easier. First up, a sturdy ladder. And no, we don’t mean your aunt’s rickety old one that wobbles as soon as you set foot on it.
Next, a wrench. Go ahead and channel your inner mechanic—you might even feel inspired to hum a little tune while you work. Just make sure it’s the right size, unless you love playing a game of “Does This Fit?” at the most inconvenient time.
A socket set is also crucial. Think of it as the Swiss Army knife of your toolkit. Adjusting chain tension is like seasoning your steak; too loose isn’t great, but too tight can spoil the whole deal.
Finally, safety goggles are smart. You might be tempted to overlook them, but you never know when something might come unhinged—literally. After all, no one wants to reenact a surprise confetti scene, except instead of confetti, it’s small metal bits.
Step-by-Step Chain Tension Adjustment
Imagine yourself ready to tame that unruly garage door chain with a wrench in one hand and determination in the other. Here’s how you do it:
First, unplug the garage door opener. Safety first—nobody wants a surprise lift-off, especially without a boarding pass.
Next, locate the adjustment bolt. It’s the hero of our tale, bravely maintaining the balance between too loose and too tight. Typically, it’s stationed near the motor unit.
Grab your trusty wrench or socket set and give the bolt a slight turn. For tightening, turn it clockwise; for loosening, counterclockwise. Just like Goldilocks, the goal is ‘just right,’ not ‘crush the porridge.’
Test the tension by pulling the chain lightly. It should spring back with gusto, but not punch you in the nose with enthusiasm.
Finally, plug the opener back in. Test the door’s operation – smooth as silk is what we’re aiming for, not as jittery as Aunt Mabel after three espressos.
And there you have it; your garage door chain with just enough tension to perform a perfect two-step.
Maintenance Tips to Prevent Loosening
Conduct regular inspections to catch any slack-tastic chains. Think of it as a spa treatment for your garage door – it deserves the pampering. Aim for a quarterly check-up, though if you’re feeling generous, a monthly peek won’t harm.
Lubricate the chain biannually. A few drops of good-quality garage door lube will make your chain purr like a content kitten. Avoid WD-40; it’s more a cat-frightener here.
Every now and then, eyeball the alignment. A misaligned track is the sneaky cousin that ruins Thanksgiving, silently causing your chain to stretch. Keep tracks aligned to avoid unexpected chain drama.
Tighten bolts and brackets firmly. Bolts love pretending they’re on vacation by gradually loosening up. Give them a nudge back to work with a trusty wrench.
Finally, eliminate obstructions. Anything jamming the works can cause the chain to slacken in protest. Consider it clearing the roadways for smoother sailing.