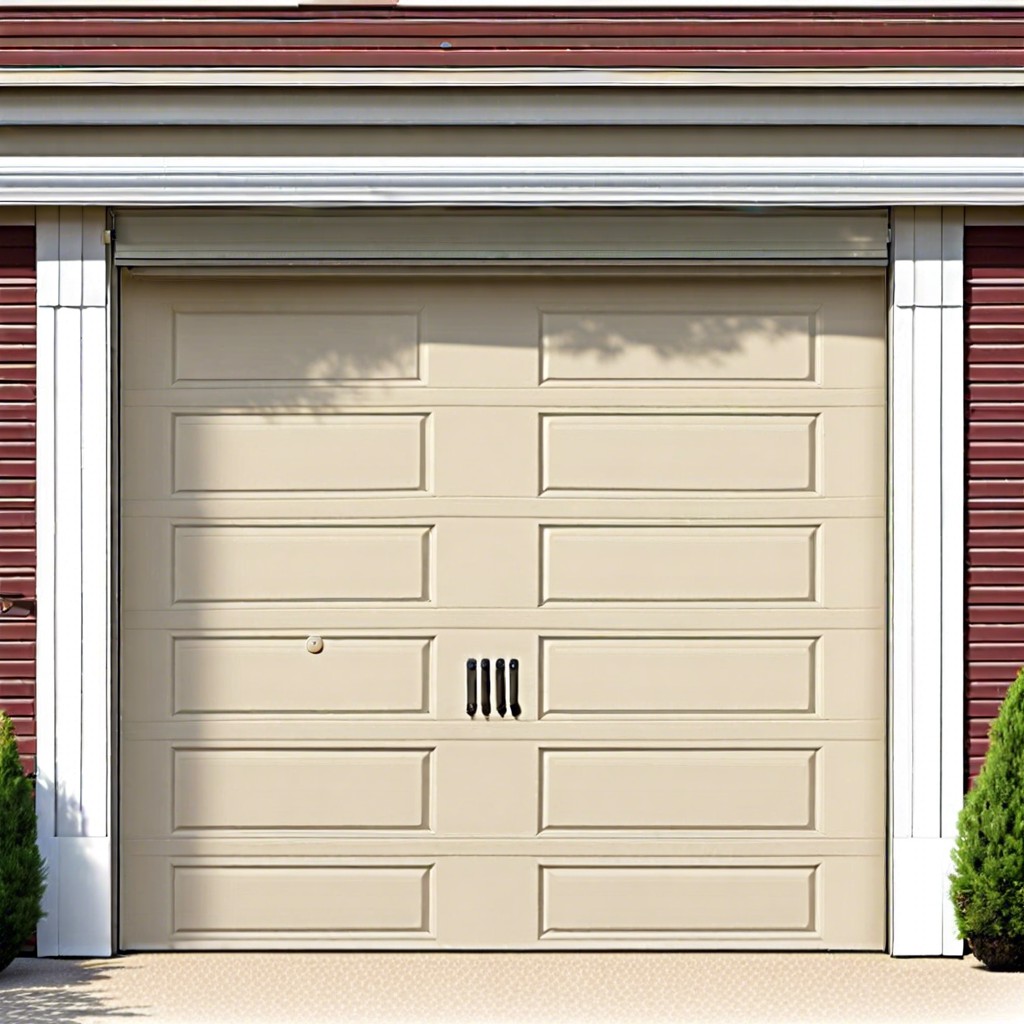
Learn how to install garage door weather stripping to keep your space cozy and critter-free.
Key takeaways:
- Remove old weather stripping completely. Wear gloves and clean area thoroughly.
- Measure and cut new weather stripping precisely. Use a sharp utility knife.
- Install top section first, snugly securing with nails or screws.
- Attach strips to sides, ensuring a tight seal against the door.
- Seal edges with high-quality caulk for added protection.
Remove Old Weather Stripping

Start by pulling back any loose or damaged sections of the old weather stripping. If it’s glued, go ahead and use a putty knife to pry it off gently. Keep a garbage bag nearby—trust me, you’ll need it for this messy job.
The goal here is to clear the surface entirely. This means you’ll need to remove any leftover adhesive or nails. A scrapper or a flathead screwdriver works wonders for this task.
Remember to wear gloves. Not only do gloves protect your hands, but weather stripping leftovers can be surprisingly nasty. Also, have a broom handy. Once the old stuff is out of the way, sweep up the area. Clean slate, clean workspace.
If there’s any residual gunk, employ a mixture of warm soapy water to scrub it off. A clean surface ensures that your new weather stripping sticks like a dream.
Measure and Cut New Strips
Got the old weather stripping? Great, now it’s time to measure and cut the new strips. Here’s the deal:
First, ensure your measuring tape is your best friend here. Measure the length of your garage door frame sides and the top edge. Write down these numbers because no one remembers them precisely, no matter what they say.
Next, grab your new weather stripping material. Lay it out flat. Look at those measurements you jotted down. Cut the weather stripping pieces to match those numbers precisely. Don’t worry if they’re a bit long – it’s much easier to trim the excess later than to start all over.
Pro tip: Use a sharp utility knife for clean cuts. Struggling with blunt scissors is just asking for a headache. Measure twice, cut once – it’s ancient wisdom for a reason. Keep your newly cut pieces close because installation is just around the corner.
Install Weather Stripping On the Top Section
Align the new weather stripping’s edge with the top of the garage door. Pay attention to the orientation; the flexible flap should point outward to effectively seal when the door is shut.
Using a ladder, secure one end of the strip in place with a nail or screw. Don’t go all-in with nails yet—just tack it up temporarily. This gives you wiggle room to adjust.
Work your way across the top, driving in nails or screws every few inches. Keep the stripping snug against the door.
Once everything aligns perfectly, fasten it down tight. As you go, check that the flap maintains a consistent seal across the entire top edge.
Feeling like a garage-door whisperer? Good. You should.
Attach Strips to Garage Door Sides
Start by aligning the new weather strips with the sides of the garage door. Ensure the rubber part of the strip faces outward to block drafts and water.
Secure the strip with nails or screws, depending on the material of your garage door. Start from the top and work your way down. This keeps everything neatly in place.
Make sure to press the weather stripping firmly against the door to create a good seal. This can prevent those sneaky drafts that somehow always know when to show up.
Cut off any excess strip at the bottom of the door. No need to get too scissor-happy—you only want what’s necessary to make a tight seal.
Double-check your work by running your hand along the strip. If you feel air or see light, adjust it. Your garage should be cozier and more energy-efficient!
Seal With Caulk
Grab your caulking gun, it’s time to seal the deal! This step ensures those pesky drafts won’t sneak in and spoil your comfort.
Firstly, choose a high-quality exterior caulk suited for weatherproofing. Silicone-based caulk works wonders.
Aiming for a steady hand, apply the caulk along the edges where the weather stripping meets the garage door frame. This reinforces the barrier, stopping any air leaks.
Don’t forget to smooth out the caulk with your finger or a caulk tool for a clean, professional finish. It helps to create a tighter seal and keeps your garage looking neat.
Finally, keep an eye out for any gaps or missed spots. A consistent seal is key to keeping the elements at bay.