Learn the straightforward process for programming a Genie garage door opener, ensuring seamless operation with these step-by-step instructions.
Key takeaways:
- Identify the model of your Genie garage door opener.
- Prioritize safety precautions during programming.
- Clear previous opener codes and locate the Learn Code button.
- Program Genie garage door opener keypads and remotes following specific steps.
- Test the programmed opener to ensure proper functionality.
Identifying Your Genie Opener Model
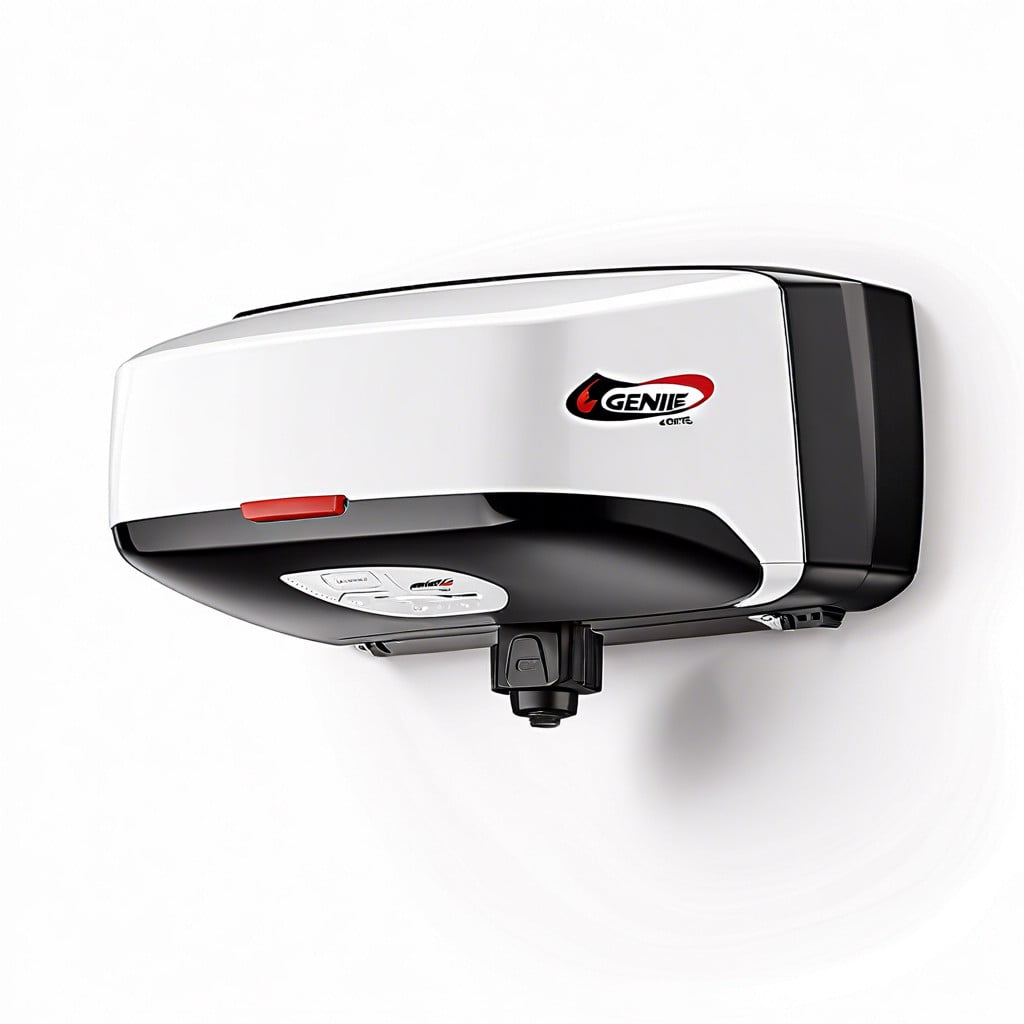
To ensure compatibility and ease during programming, pinpointing the model of your Genie garage door opener is crucial. Most models have a label directly on the motor unit mounted to the ceiling of your garage. This label will typically display the model number, serial number, and other relevant manufacturing details. If the label is faded or inaccessible, check your owner’s manual or the backside of the handheld remote for model information. Newer Genie models may have wireless keypads with model numbers listed inside the battery compartment. This step is fundamental as it defines which programming instructions to follow, as these can vary significantly from one model to another. Keep the identified model information at hand as you proceed to the programming phase.
Safety Precautions During Programming
Before diving into the programming process, put safety first to prevent accidents. Ensure the garage door is in view and free from obstructions. Inform family members about the programming activity to avoid unintended door operation. Always use a sturdy ladder when accessing the opener’s controls to maintain balance and avoid falls. Keep the opener’s manual on hand for emergency override instructions and adhere to all manufacturer’s safety guidelines. Disconnect power to the unit during setup to safeguard against electrical hazards. Lastly, keep remote controls out of children’s reach to prevent inadvertent operation.
Clearing Previous Opener Codes and Locating the Learn Code Button
Before programming your Genie garage door opener, it’s essential to reset the system by clearing any previous codes. This ensures your opener responds only to your new programming, enhancing security. To begin this process, locate the opener’s motor unit attached to the ceiling of your garage. On this unit, find a button labeled “Learn” or “Program” — its color may vary depending on the model.
Press this button and hold it for approximately 10 seconds or until the LED indicator beside it goes out. This action will erase all previously stored opener codes from the opener’s memory. Now, you’ve successfully reset your system, and your door will no longer respond to any previously programmed remotes or keypads.
Once the old codes are cleared, the same Learn or Program button will be used for syncing new devices. With the old codes erased, proceed to the next steps of programming with confidence that your garage door opener is ready to accept new programming instructions.
Programming Genie Garage Door Opener Keypads and Remotes
If you are setting up a new Genie keypad, start by opening the cover halfway. Press and hold both the “Program” and “Up/Down” arrow buttons until the lights blink twice. Release the buttons, then enter your desired pin and press the “Program” button once more. When the lights blink once, your pin is set. Close the keypad cover and proceed to link it with your garage door opener.
For the Genie remote, begin by locating the “Learn Code” button and LED indicator on your garage door opener powerhead. Press and release the “Learn Code” button; the LED indicator will start to blink. Aim your remote at the powerhead and press the button you wish to program three times. The opener lights will blink, confirming a successful programming.
If you find that the remote or keypad is not functioning correctly after programming, repeat the process ensuring each step is followed accurately. Remember that interference from nearby wireless devices can occasionally cause programming issues, so ensure a clear frequency when programming.
Testing the Programmed Genie Opener
Once you’ve successfully programmed your Genie garage door opener, it’s essential to ensure that the remote or keypad functions as expected. Begin by standing at a safe distance from the garage door to avoid any potential injury. Press the open/close button on your newly programmed device; the garage door should respond by moving up or down. If your garage door fails to respond, ensure the opener isn’t in lock mode and the batteries in your remote or keypad aren’t depleted.
Should the door movement be only partial or if the opener seems to struggle, it can indicate an issue with the door mechanism or opener motor, rather than the programming process. For keypads, it’s also prudent to test each individual button to verify that the keypad is effectively communicating with the garage door opener.
If your device is unresponsive, double-check the programming steps to confirm that no errors were made during the process. In some cases, interference from nearby electronics or metal surfaces can affect the signal, so try to eliminate any potential sources of interference and test the remote again.
Lastly, remember that it’s important to retest the device periodically after programming. This helps to confirm sustained functionality and to catch any potential issues early, ensuring the reliability and safety of your Genie garage door opener.