Adjusting garage door springs is a crucial task to ensure smooth and safe operation of your garage door; this article will guide you through the process.
Adjusting garage door springs can seem daunting, but with the right tools and a bit of know-how, it’s a task that can be handled safely and effectively.
This article will guide you through the process, providing step-by-step instructions for both torsion and extension springs.
Whether your garage door is not opening and closing properly or you’re just performing routine maintenance, understanding how to adjust the springs is essential.
Read on to discover the ins and outs of this crucial aspect of garage door upkeep, including safety precautions, necessary tools, and detailed adjustment procedures.
Key takeaways:
- Adjusting garage door springs is crucial for smooth operation.
- Torsion and extension springs function differently.
- Regular adjustment enhances functionality, safety, and lifespan.
- Safety precautions include disconnecting the opener and wearing protective gear.
- Different types and heights of garage doors require specific adjustments.
Understanding Garage Door Springs
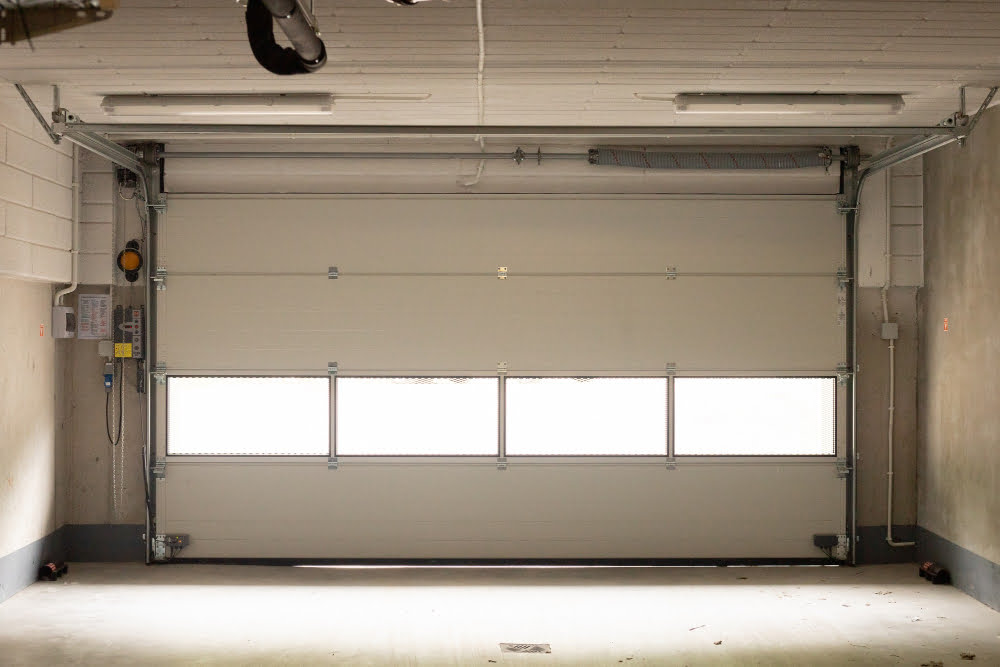
Garage door springs play an integral role in the smooth operation of your door. They function as a counterbalance system, offsetting the weight of the door, and enabling it to open and close with ease. These high-tension springs hold substantial force, and understanding their operation is key to DIY adjustment.
Profoundly, the two types of garage door springs – Torsion and Extension – function uniquely. Installed horizontally above the door’s opening, Torsion springs twist as the door closes, storing energy. Upon opening, they unwind, releasing this energy to help lift the door.
On the other hand, Extension springs, found on the sides of the door, work on the principle of stretching and contracting. They extend when the door goes down and store energy which is then used to lift the door as the springs contract. Knowing these distinctions will help differentiate the adjustment procedures.
Need for Garage Door Springs Adjustment

Garage door springs play a critical role in ensuring the smooth and effortless operation of your garage door. However, with frequent use, they tend to wear down over time and require adjustments. More frequent usage causes them to lose their tension gradually, a situation that can potentially cause the door to become unbalanced.
Ensuring that your garage door springs are correctly adjusted has several vital purposes:
- Enhances the functionality of the door – A well-adjusted garage door spring ensures that your door operates smoothly without sticking or refusing to open or close.
- Extends lifespan – Regular adjustments can prolong the operational life of your springs and by extension, your garage door.
- Increases safety – An improperly balanced door can cause serious injuries or damage to your property. Regular adjustments ensure safety.
- Improve energy efficiency – A balanced door helps maintain indoor temperature, reducing heating and cooling costs.
To fully enjoy these benefits and ensure the longevity of your door, it’s necessary to keep tabs on the state of your garage door springs and make adjustments when necessary. Remember, precision is key when it comes to adjustments.
Types of Garage Door Springs – Torsion and Side Mounted/Extension
Torsion springs, located above the garage door, work by twisting as the door moves. This twisting motion provides a counterbalance allowing the door to open and close smoothly. Typically, heavier or wider garage doors use a pair of torsion springs for additional support. These springs absorb most of the door weight, making them imperative to adjust properly for operational efficiency.
On the contrary, side-mounted or extension springs stretch and contract as the door operates. Found on either side of the door track, these springs balance the door by providing resistance against the door’s weight during motion. They’re common in residential garages for their lower cost and simpler installation process. The adjustment procedure for these differs from torsion springs, requiring a slightly different approach.
Indicators of Garage Door Spring Adjustment Necessity

Typically, several signs that indicate the necessity for spring adjustments include:
- 1. Door Closes too Quickly: If the garage door slams shut rather than slowly lowering, it could mean the springs are overly loose and require tightening.
- 2. Unbalanced Doors: Test the balance by disconnecting the opener and manually moving the door halfway up. If it doesn’t stay put, the springs could be improperly balanced.
- 3. Door Doesn’t Open Completely: If the garage door doesn’t fully open, it could signal that the springs are too tight and need loosening.
- 4. Trouble Lifting: If the door seems exceptionally heavy and tough to lift manually, this might be a sign of loose springs.
Remember, frequent inspections can help spot these issues early and ensure your garage door operates correctly.
Safety Measures for Spring Adjustment

Emphasizing caution, it’s crucial to disconnect the garage door opener from the power source to avoid unintended operation during adjustments. Always wear work gloves, safety glasses, and sturdy footwear for protection against potential spring breakage during the process.
Maintain a solid grip on winding bars and never place yourself directly in front of the spring. Maintain an off-center position to prevent injury in case of sudden unwinding.
Always verify that you use the correct winding bar size. An ill-fitted bar can slip and lead to accidents.
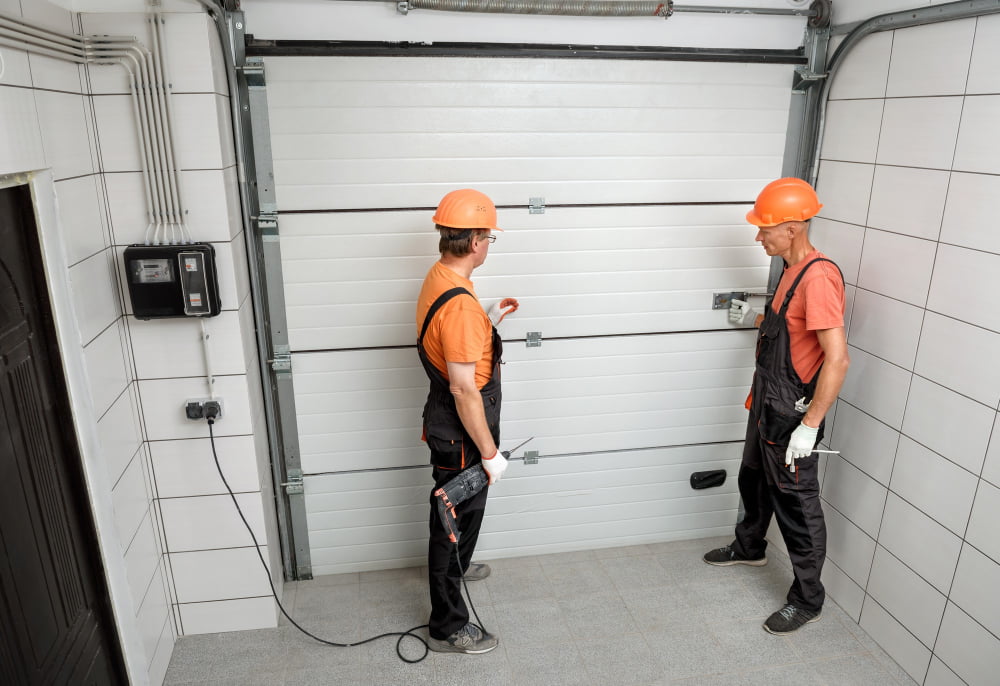
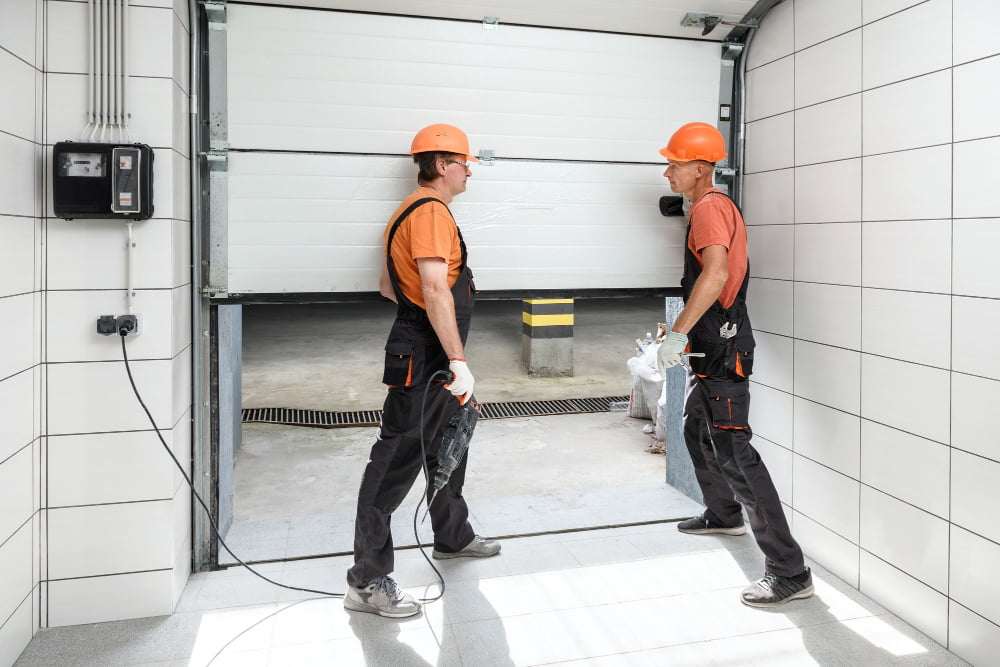
Remember, two springs in a system should preferably be adjusted simultaneously to maintain equal tension, providing balanced operation. Involving a second person in the process isn’t only helpful but safer.
If in doubt or unable to perform this task confidently, professional garage door technicians should be hired, as incorrect adjustments could result in serious injury or death, and could damage the garage door mechanism.
Preparation Steps for Spring Adjustment
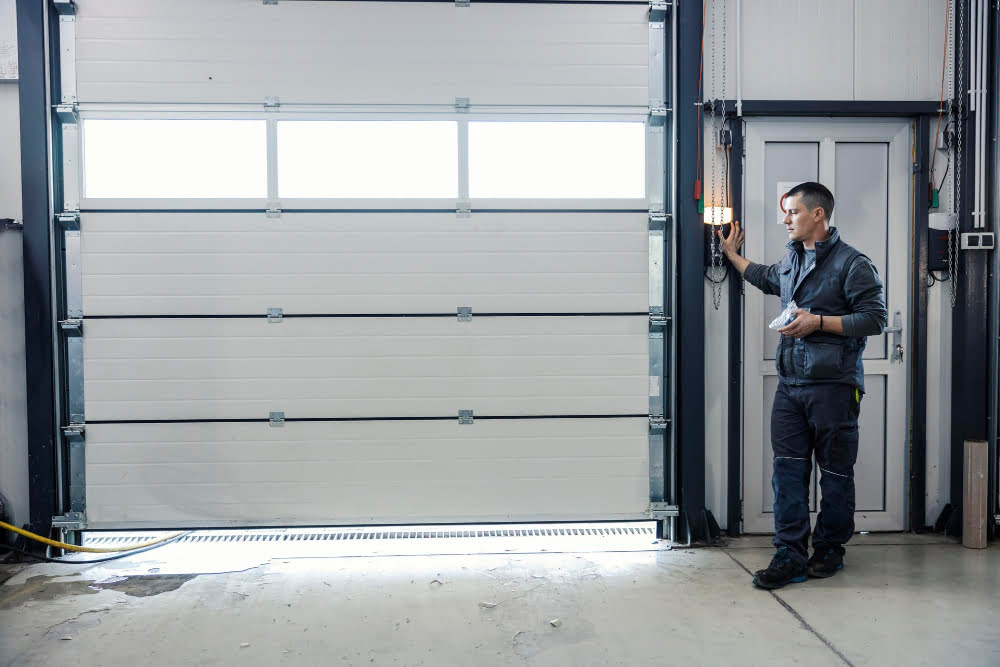
Before the adjustment process commences, ensure the garage has ample lighting conditions to grant visibility of all components. Double-check that the door is fully closed for safety reasons.
Pull the emergency release chain to disconnect the door opener. Gather your necessary tools – this usually includes vise grips, adjustable or open-end wrenches, and winding bars (for torsion springs).
Remember, one should never use screwdrivers as substitutes for winding bars, as they can lead to damaging accidents. Finally, don your protective gear, including gloves and safety glasses, to prevent possible injuries during the procedure.
Torsion Garage Door Springs Adjustment
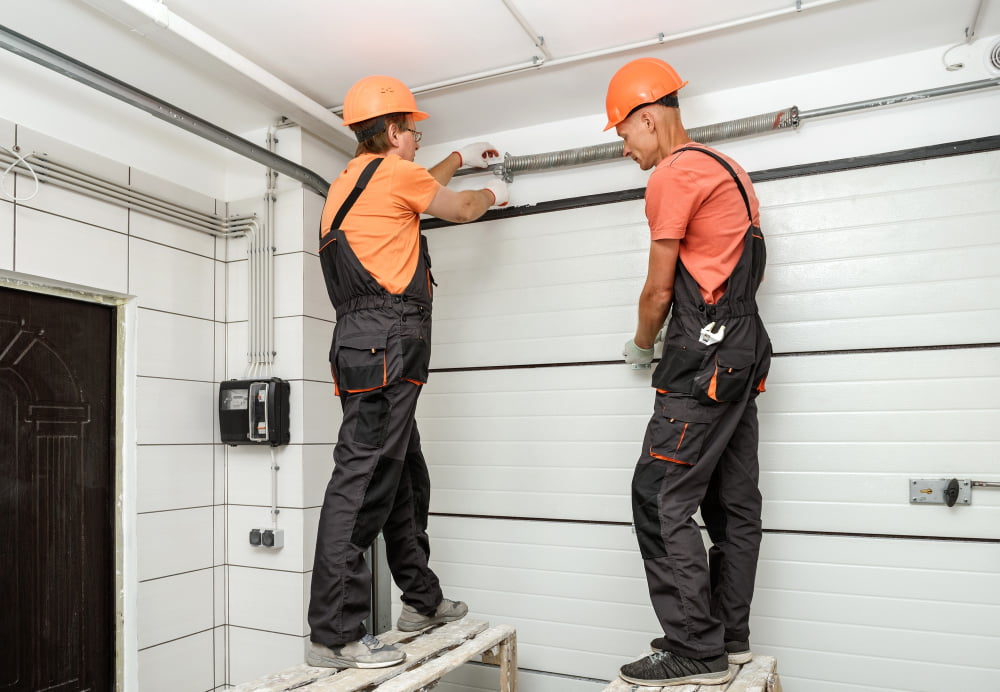
Safety glasses and proper tools, typically a winding bar and a wrench, are prerequisites for the task. Disengage the garage door opener before starting – this is vital to prevent any mishaps.
Once prepared, locate the winding cone – it’s at the opposite end of the spring from the center bracket and contains four evenly spaced holes. Those holes are where the winding bar goes. Be prepared for some resistance as the springs are under significant tension.
Place the winding bar into one of the bottom holes and apply steady pressure. It’s important to brace yourself at this stage as the tension release can be quite explosive. Use the wrench to loosen the set screws on the winding cone, this will allow you to adjust the spring.
Remember to count your turns. As a rule of thumb, 7-foot tall doors typically require 30 quarter turns, and 8-foot doors require 34. Once completed, tighten the set screws and remove the winding bar.
The entire process may need to be repeated if the door does not balance properly. Caution is urged at every step to ensure safety.
Turns Count for Garage Door Spring Adjustment
Understanding the count of turns is vital when adjusting your torsion spring. Usually, for a seven-foot door, a standard torsion spring requires approximately seven and a half turns. For a door taller by an inch, extra half turn may be needed.
Remember, each turn represents a full 360-degree revolution around the spring. Get accustomed to this so you don’t under- or overcompensate during the adjustment process.
It’s also important to mark the starting point before initiating the adjustment to monitor the number of turns accurately and keep track of the adjustment process. Use a permanent marking or a piece of tape to do so.
Finally, make suitable adjustments; keep in mind that while tightening adds tension, loosening decreases it. Don’t be afraid to revisit this process if your door doesn’t achieve optimal balance in the first go. Proceed carefully and methodically to ensure a proper adjustment.
Adjusting Side-Mount Springs Process
Further ahead in the process, to adjust side-mount springs, caution is a must because of their inherent tension. Here are the steps to consider:
1. Begin with the garage door in a fully open position and secure it with a pair of vice grips.
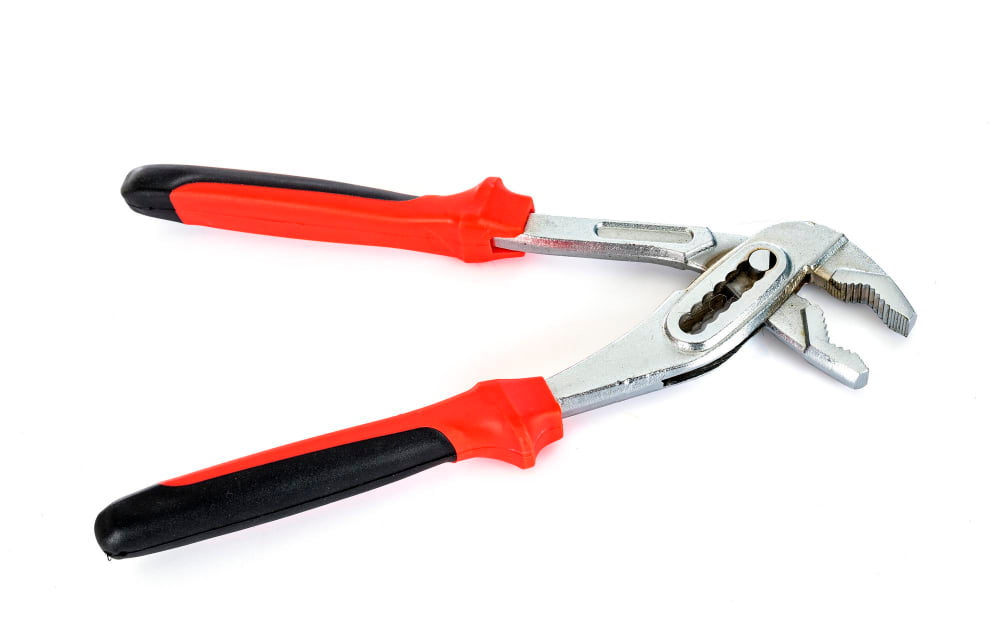
2. To loosen the springs, use adjustable pliers to hold the spring hook, then another pair to open the S-hook at the other end. Carefully move it to a lower hole to reduce the spring’s tension or to a higher hole to increase it.
3. Repeat the process for the other side of the garage door. Ensure both springs have the same level of tension for efficient operation.
4. Carefully remove the vice grips and let the garage door down slowly.
Perform this process meticulously to ensure a balanced adjustment and easy operation of your garage door, ensuring its longevity and avoiding unnecessary pressure on the motor.
Process for Different Garage Door Heights Adjustment
Every door height necessitates a specific spring adjustment to run effectively. For doors measuring up to 7 feet, adjust the extension spring by half an inch. If your door stands between 7 to 8 feet, the adjustment should be about 3/4 inch. Doors that are 8 to 9 feet tall may need a 1-inch adjustment and for the doors 9 to 10 feet in height, it’s best to adjust by 1 to 1-1/4 inches.
Remember to adjust both the springs equally to maintain the balance of the door. Undertaking this process cautiously and systematically will increase the lifespan of the garage door springs, promoting smooth operation.
Testing Garage Door Springs Balance and Adjustment
After completing the adjustment process, it’s crucial to check the balance of your garage door springs. Start by disconnecting the garage door opener, usually by pulling a cord or lever. Lift the door halfway manually, and let it go. If the door stays in place without being held, your springs are properly balanced. On the contrary, if the door moves when you let go, further adjustment is needed.
For a thorough balance test, open the garage door completely. The door should stay open on its own, without appearing to be heavy on one side. Problematic springs often cause the door to tilt to one side. In this case, further adjustments are advised.
Frequent testing should be a part of your maintenance routine, as the spring tension can gradually change over time. Professional checks are recommended, especially after DIY adjustments, to ensure the safety and longevity of your garage.
Maintenance and Lubrication of Garage Door Springs
To keep your garage door springs functioning optimally, regular maintenance is crucial. Here are some necessary steps:
1. Clean the springs: Remove any accumulated dust or grime from the springs. The buildup of these particles may limit the springs’ efficiency and cause unnecessary friction.
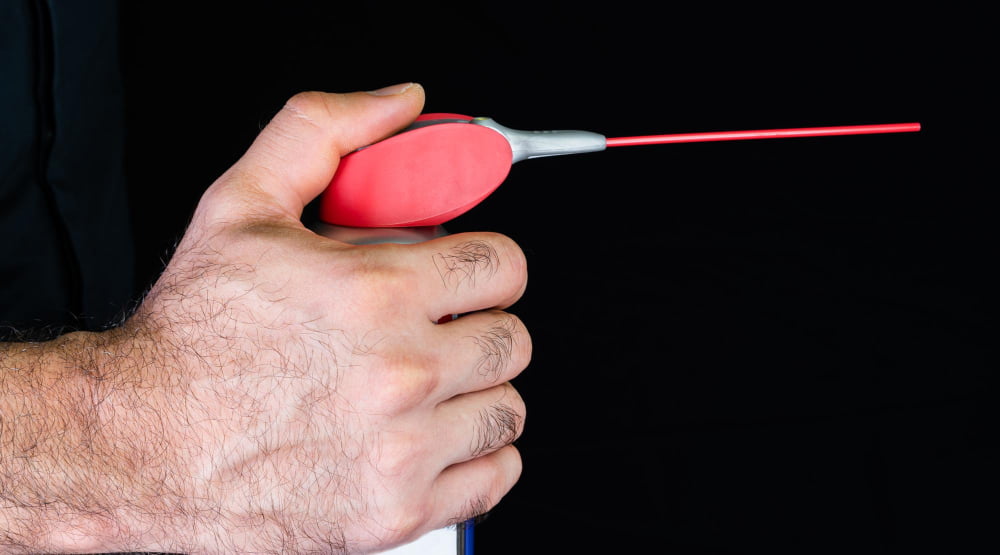
2. Lubricate: Use a high-quality silicone or lithium spray lubricant. Apply a light coating to the springs, ensuring all parts are covered. This helps reduce friction, keeping the springs operating seamlessly.
3. Regular inspection: Routinely check the springs for any signs of wear and tear. Look for rust, metal fatigue or any irregularities. Early detection could prevent a major breakdown.
4. Professional servicing: Once a year, consider professional servicing. Experienced technicians can spot minor issues before they become significant problems.
Remember, a properly maintained garage door spring not only ensures smooth operation but also prolongs the lifespan of the entire garage door system.
FAQ
What are the warning signs that a garage door spring needs adjusting?
As warning signs, a garage door spring may need adjusting if the door struggles to open or close, operates unevenly, creates excessive noise, opens too quickly, or remains stuck.
How does the type of garage door spring impact the adjustment process?
The type of garage door spring—whether torsion or extension—influences the adjustment process significantly since torsion springs require unwinding and rewinding, while extension springs may need the adjustment of hooks and pulleys.
What safety precautions should be taken when adjusting garage door springs?
When adjusting garage door springs, ensure to disconnect the garage door opener, use a sturdy ladder, wear protective gloves and eyewear, and if possible, have someone assist you for increased safety.