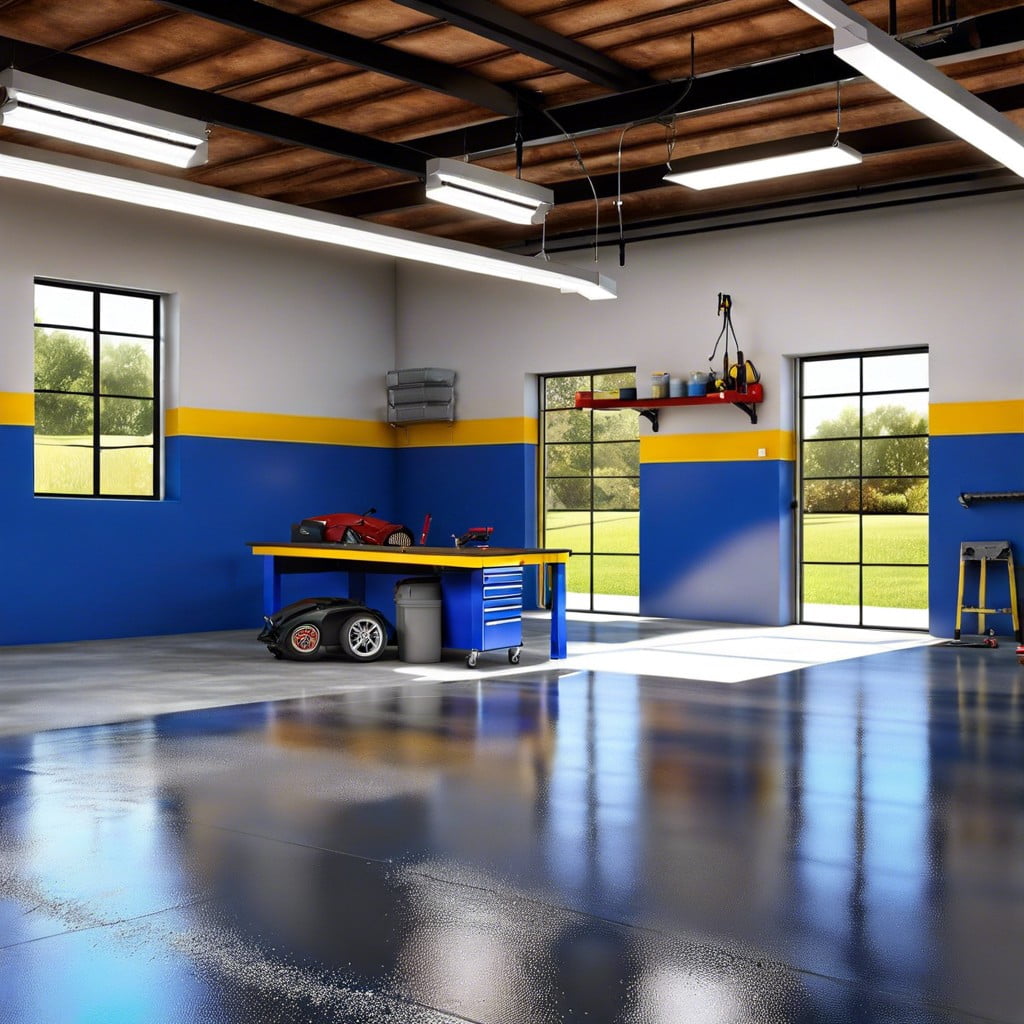
Learn how to apply epoxy to your garage floor, transforming it from drab to fab with a durable, sleek finish.
Key takeaways:
- Gather the necessary tools and materials for applying epoxy.
- Clear and prepare the garage floor before applying epoxy.
- Mix and apply epoxy coating, working quickly before it sets.
- Sprinkle color flakes onto the epoxy and apply a topcoat for durability.
- Follow tips for optimal temperature, cleanliness, coat thickness, timing, and ventilation.
What You’ll Need

Before diving into your garage floor transformation, gather all the right tools and materials to ensure a smooth process and a professional finish. You’ll need:
- Epoxy coating kit: Includes epoxy resin and hardener.
- Floor cleaner or degreaser: To remove grime and oils.
- Acid etching solution: Crucial for prepping the concrete.
- Stiff brush and broom: For thorough cleaning.
- Squeegee or roller: For applying the epoxy.
- Protective gear: Gloves, goggles, and a respirator mask.
- Paint mixer: To properly blend the epoxy components.
- Tarp or plastic sheeting: Protect areas around the work zone.
Having everything on hand before you begin will minimize frustration and help you keep your sanity intact—because no one enjoys a last-minute hardware store run in paint-splattered clothes!
Step 1: Clear and Prepare the Garage Floor
Before diving into the world of epoxy, it’s crucial that your garage floor is ready for its makeover. Start by giving the floor a good sweep to remove any dirt, dust, and debris. This might not be the most glamorous part of the process, but it’s essential for a smooth operation later.
Next, tackle any oil or grease stains. These can be stubborn guests that don’t want to leave, but with a bit of degreaser and elbow grease, you can evict them for good. Once the floor is stain-free, it’s time for a ride on the etching train. Concrete etching involves applying a special solution that roughens up the surface, helping the epoxy to adhere better.
Lastly, make sure the floor is completely dry before applying the epoxy. Moisture is epoxy’s arch-nemesis, and you don’t want it crashing your floor upgrade party.
Step 2: Mix and Apply Epoxy Coating
Before diving in, ensure you’re suited up in safety gear; gloves and goggles aren’t just fashion statements in this scenario! Now, grab your two-part epoxy resin and carefully follow the mixing instructions provided by the manufacturer. Most epoxies will need a stir of about three minutes to promote a good marriage between the hardener and the resin—consider this couple’s therapy for chemicals.
Once the mix is ready, start at the farthest corner of the garage and apply the epoxy in a thin, even layer using a roller attached to an extension pole. This will keep you from becoming a human pretzel trying to reach the distant parts. Overlap each stroke slightly to avoid any bare spots, proving that more is actually more in this case!
Work quickly as epoxy has a limited window before it starts setting. If you thought defusing a time bomb was tense, try spreading epoxy under the clock! For larger garages, consider enlisting a friend—choose someone you trust not to turn it into a sticky roller disco.
Step 3: Add Color Flakes and Apply Topcoat
Once the base layer of epoxy has been applied, it’s time to personalize your floor with color flakes. Sprinkle these flakes onto the wet surface, focusing on even distribution for a consistent look. Less is not more here; feel free to go flake-wild for full coverage unless you’re aiming for a more subtle finish.
After the flakes are set and any excess is swept away, it’s crucial to seal everything in with a clear topcoat. This not only protects your artistic endeavor but also enhances the floor’s durability and resistance to stains and abrasions. Apply the topcoat evenly, ensuring no flake is left behind from this protective embrace. Allow it to cure as per the specified time, turning your new floor into a glossy, stylish surface that’s as tough as the tires that will roll over it.
Tips for Epoxy Floor Coatings
While embarking on your epoxy adventure, remember a few tips to ensure a smooth, showroom-worthy surface that might make your neighbors jealous:
– Temperature plays a key role. Ideal conditions are between 50-80°F with low humidity. Too hot and the epoxy dries too quickly, too cold and it may not cure properly.
– Keep the floor clean. After prepping the surface, a final vacuum or wipe down pre-application prevents dust from ruining the finish.
– Think layers. Don’t skimp on the coat thickness. Applying the epoxy evenly and liberally helps avoid hot spots and ensures durability.
– Watch the clock. Epoxy has a limited working time once mixed. Organize and plan your application strategy to avoid rushing through the final corners as the epoxy starts to thicken.
– Ventilation is vital. Epoxy emits fumes during application and curing, so maintaining good airflow will keep your garage from turning into a nasal nightmare.
Keep these tips in mind and you’ll be stepping onto a robust and radiant floor that’s as tough as it is tasteful.