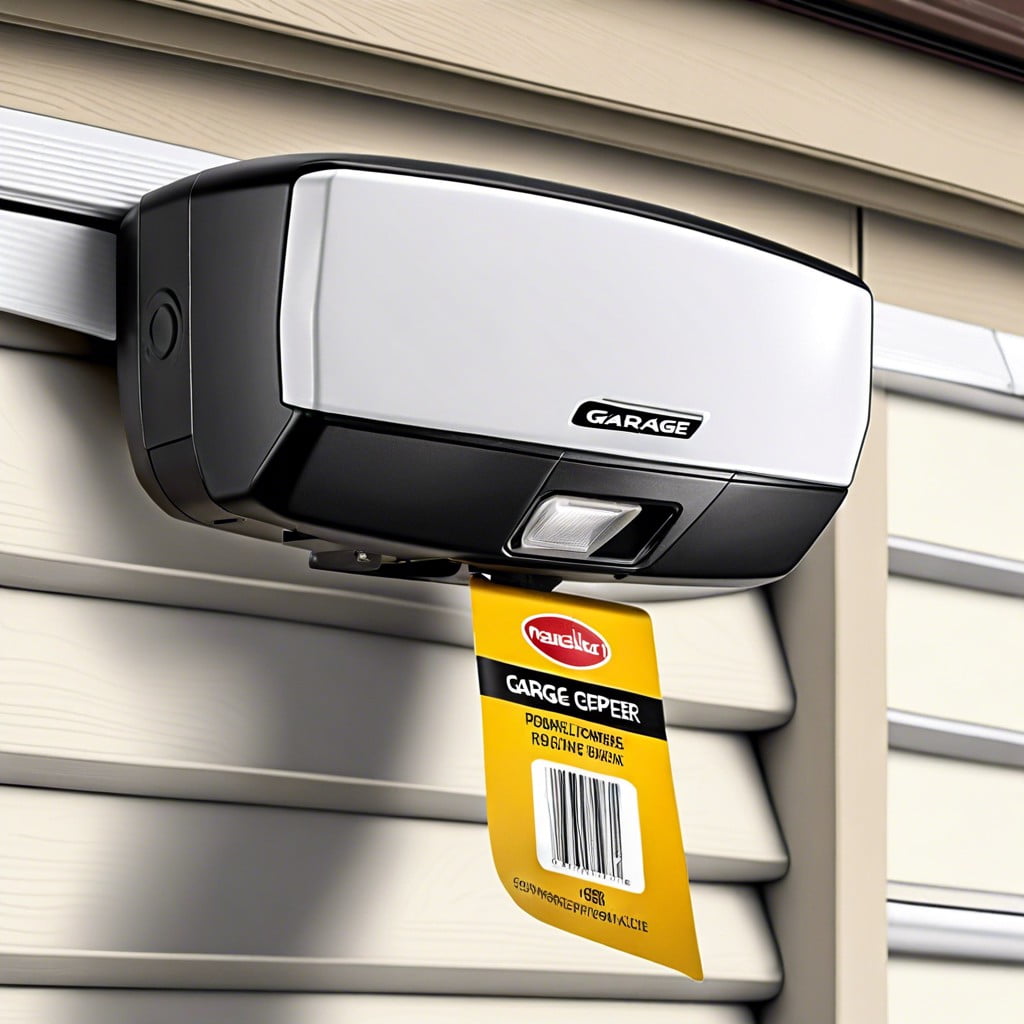
Learn how to easily change your garage door opener code with step-by-step instructions for enhanced security and peace of mind.
Key takeaways:
- Identify the type of garage door opener
- Locate the “Learn” or “Program” button on the opener
- Steps to change code for a keypad opener
- How to change code on a opener without keypad
- Follow safety precautions when changing the code
Determine the Type of Garage Door Opener

Identifying your garage door opener type is essential as it will determine your method for code changing. There are generally two types – those with a keypad and those without.
For openers with a keypad, you’ll often find that the process involves interacting directly with the keypad to key in the new code after pressing a series of buttons. The presence of a “Learn” or “Program” button on the motor unit, overhead in the garage, is a common feature of these models.
In the absence of a keypad, the procedure typically requires manual adjustment of switches inside the remote control or on the opener’s motor unit, or a series of button presses on the remote control.
Before proceeding, reference your opener’s manual to ensure correct identification and understanding of your specific model, as manufacturers may have unique features or steps. If the manual is not at hand, look for a model number on the unit and download the corresponding instructions from the manufacturer’s website.
Locate the “Learn” or “Program” Button On the Garage Door Opener
The “Learn” or “Program” button is typically positioned on the same side as the antenna of the garage door opener’s motor unit. This is often located at the back of the garage, either mounted on the ceiling or the wall depending on your specific setup. This button is sometimes behind a light cover that can be clipped or screwed off. Always ensure your ladder is stable if you need one to reach the unit.
Once you find the button, you’ll use it to enter the new code into the system. It’s a crucial step that allows you to sync your remote or keypad with the opener. Make sure the garage door is closed before you proceed with reprogramming to prevent accidents. Keep your garage door opener manual handy for specific instructions related to your model, as the location and the reprogramming process can vary slightly among manufacturers.
Steps to Change Code for a Garage Door With Keypad
Begin by pressing and holding the “Learn” or “Program” button located on the garage door opener until the LED light turns on. Next, enter your desired new code on the keypad. The new code should be a unique set of numbers that you can easily remember but is difficult for others to guess. Once entered, press the “Enter” button on the keypad.
You will typically see the lights on the garage door opener blink to indicate the new code has been successfully programmed. If the lights do not blink, refer to the device’s manual as the programming steps can vary slightly between models.
Once the new code is set, test the keypad by closing the garage door and entering the new code. If the door does not respond, repeat the steps or troubleshoot according to the manufacturer’s instructions. Regularly changing your code enhances security and prevents unauthorized access to your garage.
How to Change Code On a Garage Door With No Keypad?
If your garage door opener lacks a keypad, changing the code typically involves manipulation of the remote control. Find the remote control’s “Program” button, often located on the back or side of the device. Press and hold this button until the LED light turns on, indicating it’s ready to be programmed.
Release the “Program” button and then press and hold the button on the remote you’d like to program. Upon flashing or a confirmation click, the new code is set. If you’re programming a universal remote, ensure it’s compatible with your opener’s brand and follow the manufacturer’s instructions for synchronization.
For openers without a visible “Program” button, a sequence of button presses on the opener’s motor unit may be necessary. This often requires climbing a ladder to access the opener’s main housing, a task that should be approached with caution. Locate the correct sequence in the user manual.
Always erase old remotes from the system to prevent unauthorized access. This is typically done by holding the “Learn” button on the motor unit until the LED light turns off, indicating that all remote data has been cleared.
Verify the new setup by testing the remote. If the door doesn’t respond, repeat the programming steps or consult your owner’s manual for troubleshooting. Regular maintenance and code changes enhance security, ensuring that your garage remains a safe and functional extension of your home.
Safety Precautions
Before attempting to change your garage door opener code, ensure the following safety measures are in place:
Firstly, alert anyone in the vicinity to prevent accidental activation or injury while you are working on the opener. This is crucial to avoid any unintended mishaps.
Secondly, if using a ladder to reach the opener, position it stably and never overreach. Falling from even a short height can cause serious injury.
Thirdly, avoid touching the garage door opener’s electrical components. If you’re not familiar with electrical systems, consider consulting a professional to mitigate the risk of electric shock.
Lastly, after changing the code, test the garage door opener several times to confirm it responds correctly to the new settings. A garage door that does not function predictably can pose a danger to users and belongings.