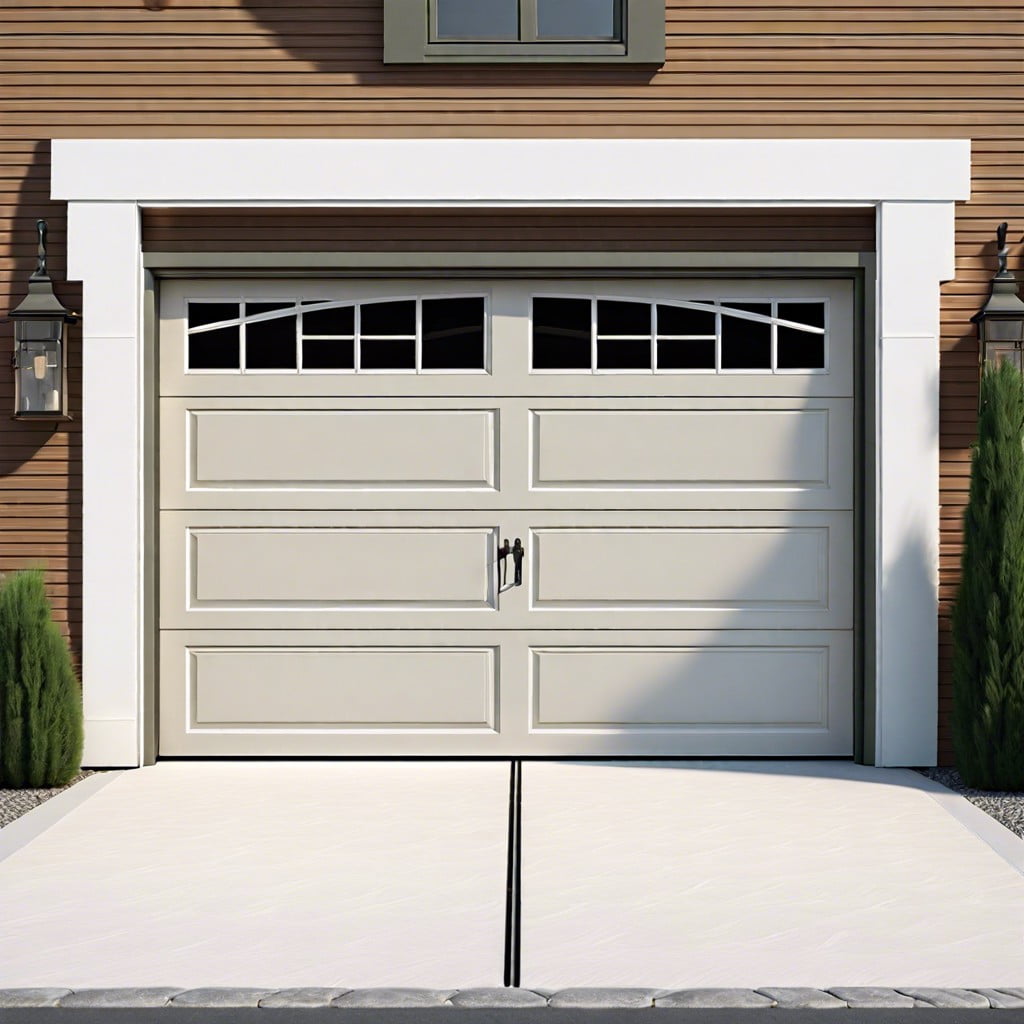
Learn how to fix that pesky gap on one side of your garage door with these straightforward steps.
Key takeaways:
- Garage door gaps can lead to energy inefficiency and unwanted critters.
- Inspect the stops and adjust or replace them if necessary.
- Adjust the limit switches to ensure the door closes properly.
- Replace worn weatherstripping seals to eliminate gaps.
- Periodically check and maintain the new weatherstripping seal.
What Is a Garage Door Gap?
A garage door gap is that pesky space where daylight, drafts, and even wayward critters sneak in through the sides, top, or bottom of your garage door. Imagine it as the gaping black hole that sucks away your garage’s cozy, weather-proof vibe and security.
- Common Causes: Often, gaps occur due to the weatherstripping wearing out, the door not sitting flush in its frame, or floor settling over time.
- Nuisances: These gaps can lead to energy inefficiency, letting in cold air in the winter and heat in the summer.
- Intruders: Bugs and rodents see these gaps as an open invitation. Unless you want to greet a raccoon next to your car, you’ll want to address this.
Understanding what causes these gaps can better prepare you to fix them, keeping your garage secure, energy-efficient, and raccoon-free.
How to Check for Garage Door Gaps

First, take a step back and give your garage door a good, hard look when it’s closed. You’ll want to inspect where the door meets the ground, specifically focusing on the sides. If you notice any light shining through or drafty spots, you’ve got a suspect gap.
Try this: get inside the garage and close the door. Flip off the lights for a dramatic reveal. Any beams of daylight or mini wind tunnels appearing along the sides? These are uninvited guests signaling a problem.
Run your hand along the edge where the door meets the frame. Feel any cool breezes or mild drafts? That’s another telltale sign of a gap.
Lastly, take a ruler or measuring tape and measure any visible gaps. Knowing the size will come in handy when you’re making adjustments or buying replacement parts.
Think Sherlock-level sleuthing but without the deerstalker hat.
Check the Stops
The door stops or tracks are those metal channels guiding your garage door up and down. If a gap on one side of your garage door exists, this could be a sign that the stops are out of whack. Here’s how to address that:
First, inspect the stops when the door is closed. If they’re bent or misaligned, it’s time for some adjustment. Sometimes, a good whack with a rubber mallet can do wonders. Channel your inner mechanic!
Next, ensure the stops are securely fastened to the door frame. Loose screws? Tightening them might just solve your problem. Keep an eye on those pesky screws; they tend to loosen over time.
Lastly, if your stops are damaged beyond repair, a replacement might be needed. It’s a small investment for closing that stubborn gap. Think of it as giving your garage door a little TLC.
Adjust the Limit Switches
Sometimes, the gap might be a sneaky trick your garage door is playing because the limit switches are not set right. Limit switches control where the door stops when opening or closing. If they’re off, the door might stop too early, leaving a gap.
First, locate the limit switch. It’s usually found on the motor unit of your garage door opener. You might need a step ladder, so bring that trusty sidekick along.
Use a screwdriver to turn the adjustment screws. Turning the screw one way will make the door close lower, while the other direction will have it stop higher. Small tweaks are crucial here—tiny turns can make a big difference.
After each adjustment, test the door. Open and close it a few times to ensure the gap is disappearing like Houdini’s latest trick.
If adjustments don’t close the gap, the problem might be more sinister, lurking deeper in the mechanism. But for now, these simple steps usually do the trick, no magic wand needed.
Replace the Weatherstripping Seal
Weatherstripping seals are like the unsung heroes of your garage door. They keep out drafts, rain, and pesky critters. Over time, though, these seals can wear out, leading to those annoying gaps. Here’s how to give that seal a much-needed makeover:
First, measure the length of your existing weatherstripping. It’s always a good idea to buy a bit extra, just in case an unexpected squirrel decides to help you out.
Next, remove the old seal. It usually slides out, but if it’s being stubborn, a flathead screwdriver can help persuade it. Just remember to be gentle; your garage door, unlike your dodgy car, deserves a soft touch.
Now, clean the area where the old seal was attached. It doesn’t need to be hospital-grade clean, but a bit of soapy water can go a long way. Just avoid getting the garage door all soapy and slippery – that’s a different kind of problem waiting to happen.
Finally, slide the new weatherstripping into place. If it’s a snug fit, a little dish soap can act as a lubricant. Make sure it sits even and flat – no one wants a wavy seal. Trim off any excess, and voila, gap be gone!
Keep an eye on your new seal periodically. You never know when it might need another little refresh.