Learn how to install a 240v outlet in your garage safely and efficiently with our step-by-step guide that even your dog could (supervise) — no electrician cape required!
Key takeaways:
- Gather tools: voltage tester, wire cutters, breaker.
- Turn off power before starting installation.
- Install the new circuit breaker securely.
- Run and secure wiring with proper fittings.
- Connect wires to the outlet with precision.
Gather Necessary Tools and Materials
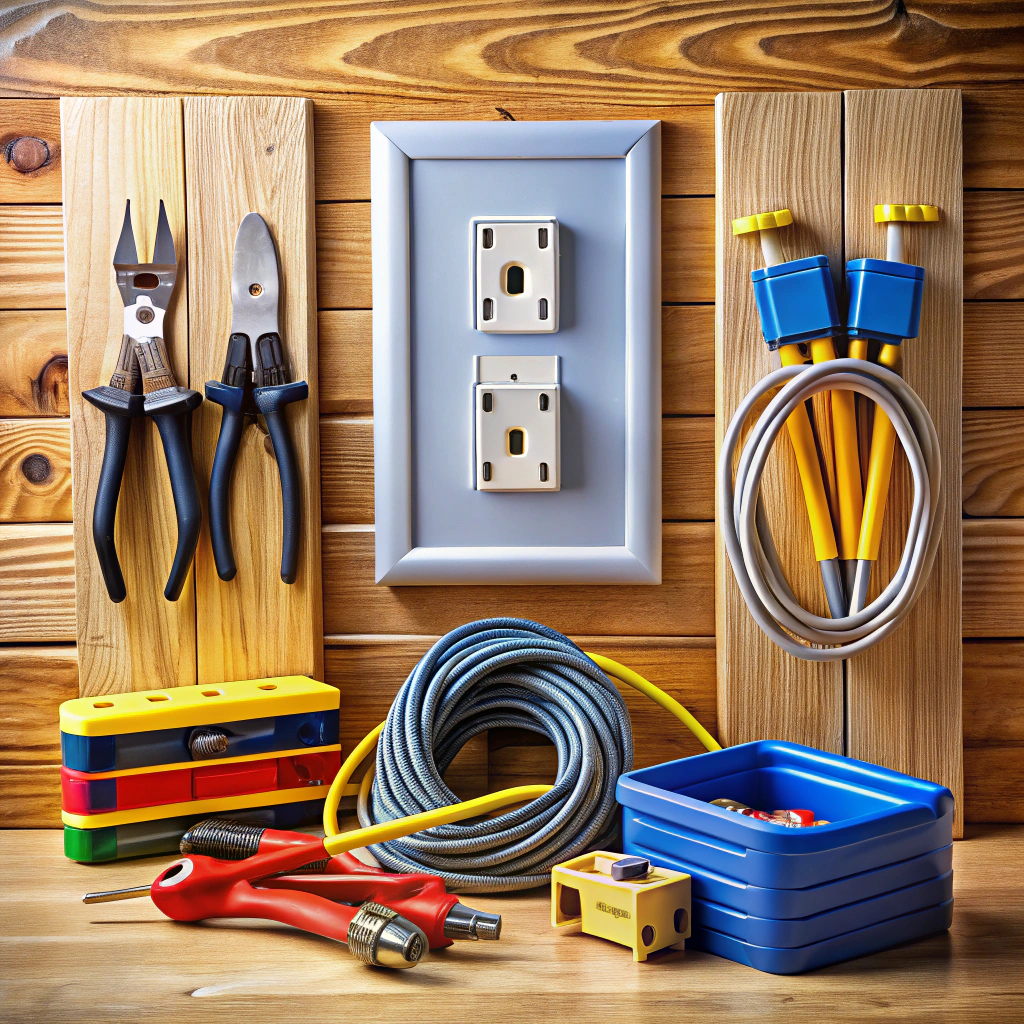
Time to raid the toolbox (and maybe the neighbor’s too if you’re missing something). Arm yourself with a voltage tester to ensure you don’t become an electric superhero by accident. Grab wire cutters and strippers—think of them as hairdressers for your wires. A drill with masonry bits is also a must, unless you fancy playing Tough Mudder with concrete walls.
You’ll need a new 240v breaker and the outlet itself—shiny, isn’t it? Don’t forget to stock on conduit or raceway to neatly run those wires, preventing chaotic spaghetti decor. A screwdriver, wire nuts, and electrical tape are indispensable allies on this electrifying journey. Remember a tape measure for those just-right lengths. After all, this isn’t Goldilocks and the Three Plugs—no room for porridge mishaps in outlet installation!
Turn Off the Power Supply
Safety first! Picture this: you’re about to wrestle an electrical beast, so let’s tame it by cutting off its power. It’s as easy as spotting Waldo with a highlighter.
- Locate the main electrical panel. It’s the big metal box that squeaks like an old door.
- Identify the main breaker switch. Spoiler alert: usually, it’s the largest switch in the panel.
- Flip it off and say “night-night” to electricity.
Double-check that everything’s truly off. Test a light switch—if it doesn’t respond, you’ve achieved electrical sleep mode. Just like hitting snooze, except less annoying!
Install the New Circuit Breaker
First, remove the cover of the breaker panel. Sounds like you’re a superhero, but remember, safety first.
Locate a free slot in the panel where your new circuit breaker will reside. Note that it’s not your sock drawer, but a neat spot for a shiny new breaker.
Insert the breaker gently into the slot. Like fitting a block into a toddler’s toy, it should click into place, all snug and secure.
Connect the circuit wires to the breaker. For a 240v outlet, you’ll need both the red and black wires connected, not because they look pretty, but because they complete the circuit. Fastening these with a firm hand will ensure a safe and reliable connection.
Lastly, double-check everything before closing the panel. It’s like tucking the panel in for a nap, ensuring no loose ends.
Run and Secure the Wiring to the Outlet Location
Now that you’re ready to channel your inner electrician, let’s get your wires in order. First, measure out the path your conduit or cable will take. Plan smartly to avoid any awkward loops. Remember, walls and rafters are your friends—mount your wiring securely.
Use a fish tape because, let’s be honest, it’s not for catching trout, but it will help guide the wire. Carefully pull the wiring through your conduits or any pre-drilled holes. Keep fittings snug and connections tight because nobody likes a loose end running amok.
Midway, take a step back and admire your handiwork. Does it look like a Picasso? Perfect. If Picasso did electricity. Remember to leave a little slack. You never know when you’ll need a bit more wire for unexpected rerouting or, heaven forbid, mistakes. Just don’t strangle the garage with excess.
All secured? Fantastic. Now go grab a coffee. You’ve earned it!
Install the 240v Outlet
Let’s get down to business. With your wires in place and looking like they mean it, it’s time to introduce the outlet itself into this electrifying affair.
First off, grab that trusty screwdriver. You’re going to open up the outlet box, where all the wire magic happens. Like a perfect pasta dish, the wires should be cooked just right—meaning they should be stripped back enough to expose the shiny interior without overdoing it.
Next, connect the hot wires (usually black or red), all while maintaining the air of a confident dance instructor. These beauties will attach to the brass screws. Remember, they’re not fashionably late, they don’t cross; they each go to a separate screw!
Now, for the neutral wire—cue the dramatic music—these usually white-tied gentlemen connect to the silver screw. Lastly, the ground wire, dressed in green or bare, takes its place on the green screw. They hold the fort and keep everything grounded, literally.
Once everyone’s seated, secure the outlet to the junction box and ensure it’s snug as a bug, but not overly so. Replace the faceplate, maintaining grace as if it’s a delicate crown atop a king’s head.
Voila! Everything’s tucked in neatly, ready to conquer the realm of electricity in style.