Learn the simple steps to installing garage door weather stripping, an essential task for maintaining temperature control and protecting your garage from external elements.
Installing garage door weather stripping is an effective way to keep out dust, water, and unwanted pests, while also helping to maintain temperature consistency within your garage. This straightforward process involves choosing the right weatherstripping material, measuring and cutting it to fit your door, and then securing it in place.
This article will provide a step-by-step guide on how to install garage door weather stripping, ensuring you have all the necessary details to complete this task efficiently and effectively. Whether you’re a seasoned DIY enthusiast or a novice, this guide will equip you with the knowledge you need to protect your garage from the elements.
Key takeaways:
- Weather stripping preserves garage temperature and prevents elements from entering.
- Bottom seals, threshold seals, and stop molding strips are common weather stripping types.
- Tools needed for installation: measuring tape, utility knife, screwdrivers, hammer.
- Steps for installation: measure, clean, apply weather stripping, trim excess.
- Maintain weather stripping by cleaning, inspecting, lubricating regularly.
Importance of Garage Door Weather Stripping
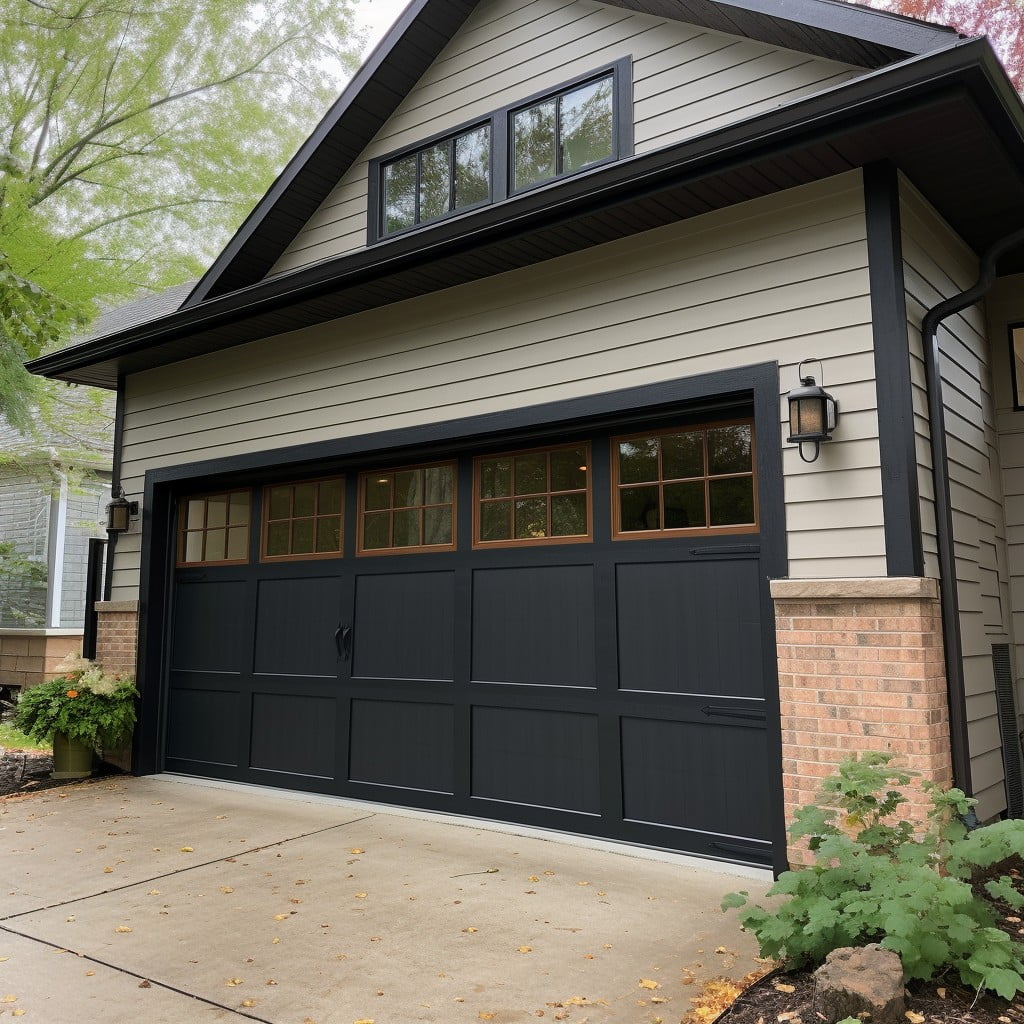
Weather stripping proves essential for numerous reasons. Firstly, it’s a significant player in preserving garage temperature, reducing the energy required for heating or cooling. Additionally, it acts as a barrier preventing water, dust, insects, and even rodents from entering your garage. Strengthening your garage door with weather stripping also enhances its overall lifespan by reducing exposure to elements that could cause corrosion or rust. Lastly, it aids in reducing noise pollution, especially in bustling neighborhoods or streets.
Types of Garage Door Weather Stripping
Essentially, three main types dominate the market for garage door weather stripping: bottom seals, threshold seals, and stop molding strips.
Bottom seals, as the name suggests, plug gaps at the bottom of the garage door. Strikingly versatile, they come in many profiles to accommodate different garage door designs and floor irregularities. T-end, bead-end, and bulb are the most common bottom seal shapes.
Threshold seals, on the other hand, adhere directly to the garage floor, rather than the door. They work exceptionally well with uneven floors, ensuring a tight seal by creating a raised strip that the garage door compresses when shut.
Lastly, stop molding strips are installed along the sides and top of garage doors. They function to shield from wind-driven rain and debris, and come in wood, PVC, and Aluminium variants.
Each type has a unique purpose but combined, they provide comprehensive insulation making your garage door weatherproof. Choice of the appropriate type depends on your specific needs and door design. Remember, the goal is a draught-free, insulated garage that keeps out the elements and saves energy.
Required Tools for Installation
To ensure a smooth and efficient installation of your garage door weather stripping, having the necessary tools at hand is a prerequisite. First among these is a measuring tape. This will allow an accurate assessment of how much weather stripping material your garage door requires.
Once your measurements are in, you will need a utility knife to cut the weather stripping material to your required lengths. Remember, ensure your blade is sharp to avoid jagged edges and uneven cuts.
A set of screwdrivers or a reliable power drill will be instrumental for affixing the weather stripping to the garage door frame. Another crucial tool you need to have on standby is a hammer, useful for securing both nails and screws where needed.
A pencil or marker is another essential item for marking measurements clearly on your materials. Lastly, a sturdy ladder will ensure that you can effectively and safely reach the top sections of your garage door. Each of these tools plays an integral role in facilitating a successful installation.
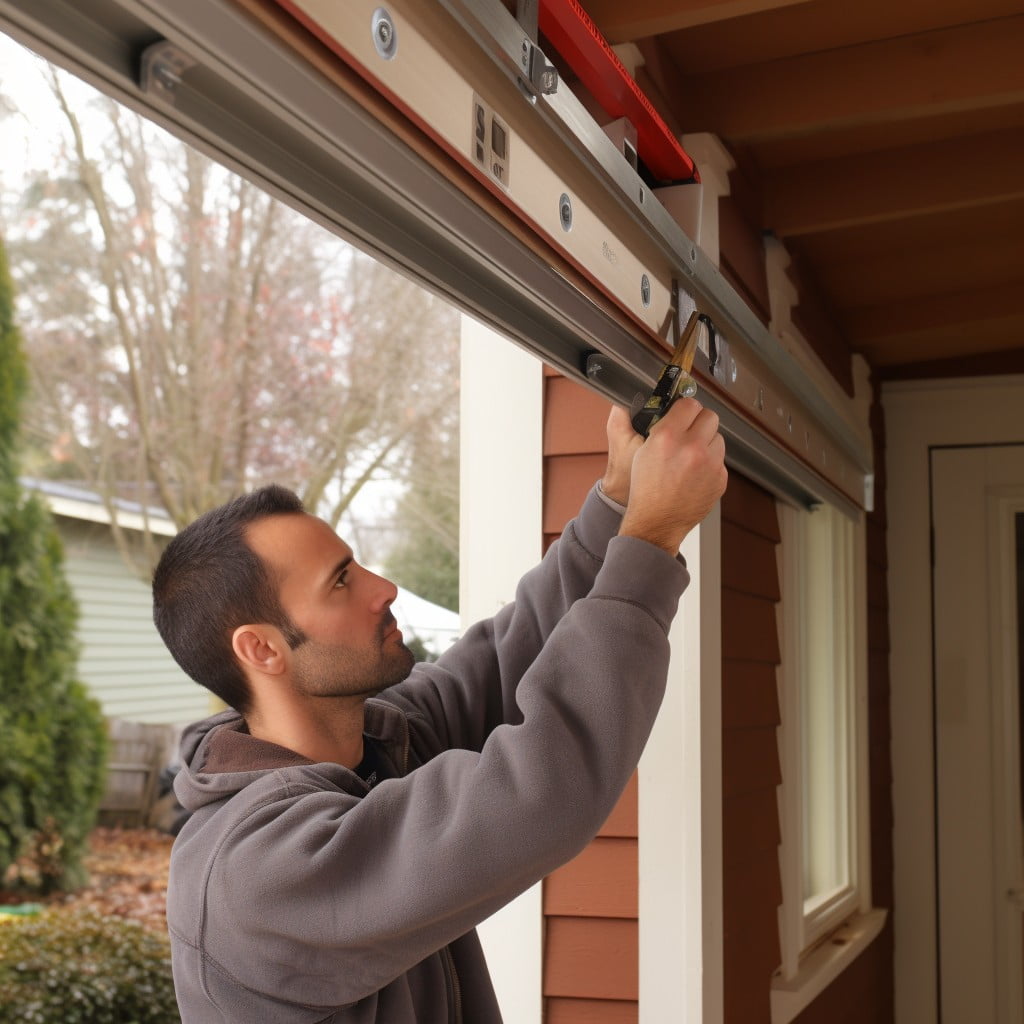
Detailed Guide for Garage Door Weather Stripping Installation
Firstly, ensure you have the right measurements of your garage door. Subtract one inch from the width and add two inches to the height of the door to account for the sides. With these accurate measurements, purchase the appropriate weather stripping.
Secondly, clean the area where you will be installing the weather stripping. Use an all-purpose cleaner to remove any dust, dirt, or grease. This will ensure that the adhesive sticks properly.
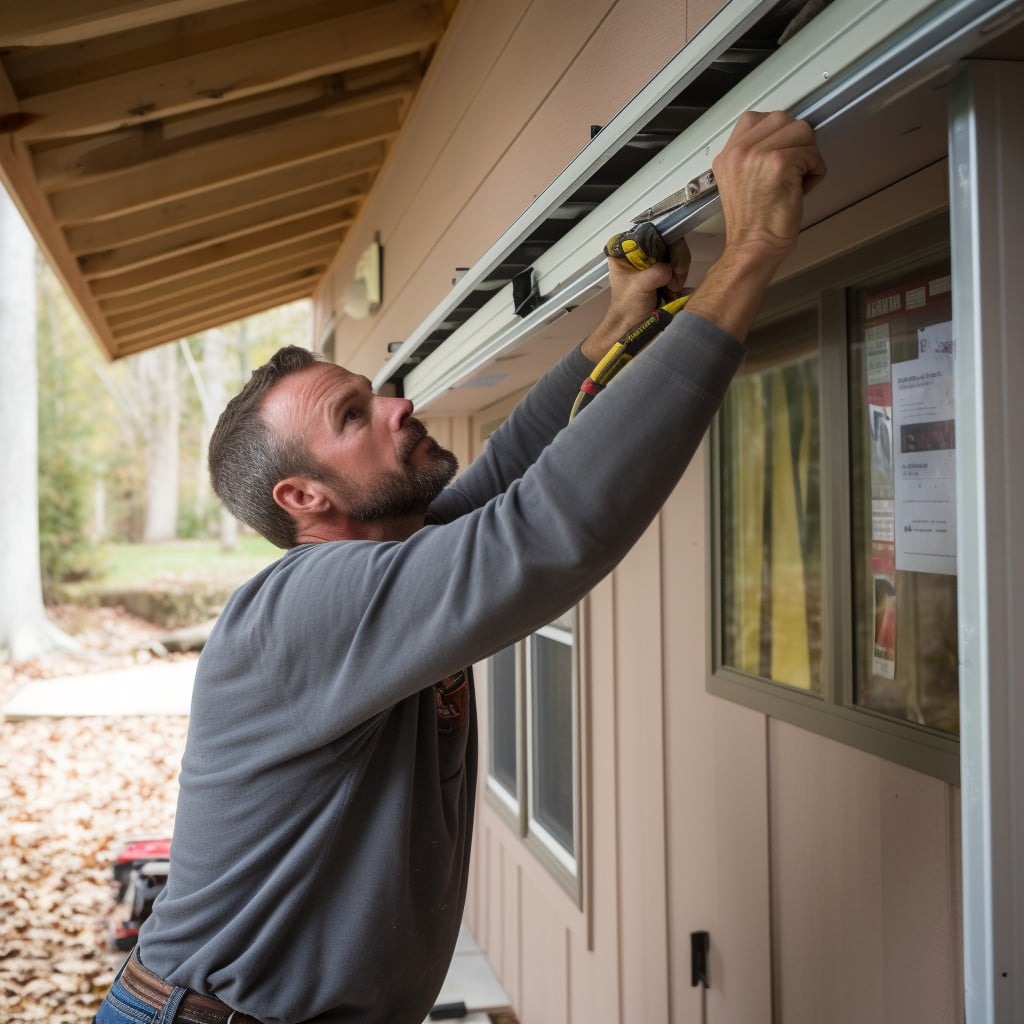
Then, start with the top of the garage door. Peel back the adhesive backing on the stripping and press it firmly into place. Make sure it is straight and even before you carry on.
Next, move on to the sides of the door. Use the same technique as you did with the top. Make sure that the weather stripping lies flat and is pressed firmly into place.
To ensure a tight seal, trim any excess stripping. This should be done with a utility knife for precision.
Repeat the process on the other side of the door. Again, trim any excess.
Finally, allow the adhesive to dry as per the manufacturer’s instructions before testing the door. Do not rush this step; the adhesive needs to fully set to provide an effective seal.
Do remember, accurate measurements, cleaning before application, firm and even pressing of stripping, allowing adequate time for drying – these are the key factors to keep in mind in order to achieve a successful installation of the garage door weather stripping.
Potential Errors During the Installation Process
Careful attention is key to avoid common hiccups during the task. If the stripping is too tight, it may cause difficulty in the garage door operation or even damage the door. Too loose, on the other hand, and it won’t serve its intended purpose of sealing your garage.
Measurements matter as well; precision is integral to the process. An incorrect measurement will result in gaps that allow water or air to seep in, negating the insulation properties.
Finally, not cleaning or properly preparing the garage door surface before starting can negatively impact the adhesion of the weather stripping, causing it to detach prematurely. Remove any residual adhesive, dirt, and moisture before beginning the installation process to ensure optimal sticking conditions.
These potential pitfalls are preventable with adequate planning, preparation, and careful execution. Your garage door will then be in prime condition to withstand the weather variations nature throws at it.
Tips for Maintaining Garage Door Weather Stripping
Regular checks and early detection of wear and tear are the most effective strategies to extend the lifespan of your weather stripping. Listed below are some proactive steps you can take:
- Clean with Mild Detergent: Periodically clean the weather stripping using a mild detergent and a soft cloth, alleviating buildup of dirt and grime that could cause damage.
- Regular Inspections: Routinely inspect the weather stripping for any visible signs of degradation or damage. This could be discolouration, cracks, or hardening of the material.
- Lubrication: Apply a silicone-based lubricant to keep the stripping flexible. Non-silicone based products might degrade the material.
- Avoid Harsh Chemicals: Don’t use harsh or abrasive chemicals for cleaning as they could deteriorate the weather stripping.
- Check for Misalignments: Check for any alignment issues in the garage door that could cause excessive friction and wear on the weather stripping.
Follow these tips to ensure your garage door weather stripping remains in optimal condition for a longer duration.
Impact of Weather Stripping On Overall Garage Isolation
Weather stripping creates a tight seal that closes off any potential gaps between your garage door and the garage floor or surrounding walls. This seal keeps out dust, pests, and reduces drafts significantly. In addition, it acts as an extra layer of insulation. It can trap heat during the colder months and keep your garage cool during the warm seasons by preventing the air from escaping. This could potentially lead to lower energy costs by reducing the strain on your heating or cooling system. Above all, weather stripping enhances your garage’s overall isolation, providing you with a more comfortable, energy-efficient space.
FAQ
Can the weather stripping on a garage door be replaced?
Yes, the weather stripping on a garage door can be replaced, although it's often advisable to enlist the assistance of a professional.
How do you seal a gap between a garage door and a wall?
Sealing a gap between a garage door and a wall can be effectively achieved by adhering weatherstripping seal to the door jamb, which tightens any gaps or cracks, and successfully prevents the intrusion of air, light, and pests.
What type of weather stripping is best for a garage door?
Vinyl or rubber weather stripping is often considered best for a garage door due to their durability and ability to withstand heavy weather conditions.
Does weather stripping a garage door help with energy efficiency?
Yes, weather stripping a garage door significantly improves energy efficiency by preventing heat loss during cold weather and maintaining cool temperatures during warmer months.
What tools are required to install weather stripping on a garage door?
To install weather stripping on a garage door, one would require a tape measure, utility knife, nail gun or hammer, roofing nails, and the weather stripping material.