Discover the necessary steps to accurately level your garage floor, enhancing its longevity and functionality.
Leveling a garage floor is an essential task that ensures the safety and functionality of your garage. When executed correctly, it can prevent unnecessary accidents and extend the lifespan of your garage.
This process involves identifying low spots, filling them with a self-leveling compound, and smoothing out the surface for a flawless finish.
In the following sections, you’ll find a detailed, step-by-step guide on how to level your garage floor, including the tools you’ll need, the types of leveling compounds available, and tips to ensure a successful project.
Stay tuned for a comprehensive guide that leaves no stone unturned.
Key takeaways:
- Safety: Level floors prevent trip hazards and ensure safe movement.
- Drainage: Level floors direct water flow towards drains, preventing damage.
- Aesthetics: Level floors give a clean, professional look and increase satisfaction.
- Functionality: Level floors guarantee stability for vehicles and storage units.
- Maintenance: Regular cleaning, mats, and inspections preserve a level floor.
Understanding the Need for a Level Garage Floor
A flat and even surface is imperative for a functional garage. Ensuring proper level can enhance safety, promote effective drainage, and provide stability to your vehicles and storage units.
1. Safety: Uneven floors can lead to potential trip hazards. A level floor is safer for movement, particularly when moving heavy equipment or parts across the space.
2. Drainage: Proper drainage is crucial in a garage to prevent water from pooling, which can lead to mold growth and structural damage over time. A leveled garage floor can aid in directing water flow towards the drain.
3. Aesthetics: A level floor gives your garage a cleaner, more professional look. This can increase satisfaction as a homeowner and potentially even bolster resale value.
4. Functionality: An uneven garage floor can lead to instability for parked vehicles, and storage units may lean or become unsteady. Conversely, a smooth, level surface guarantees stability.
Identifying an Uneven Garage Floor
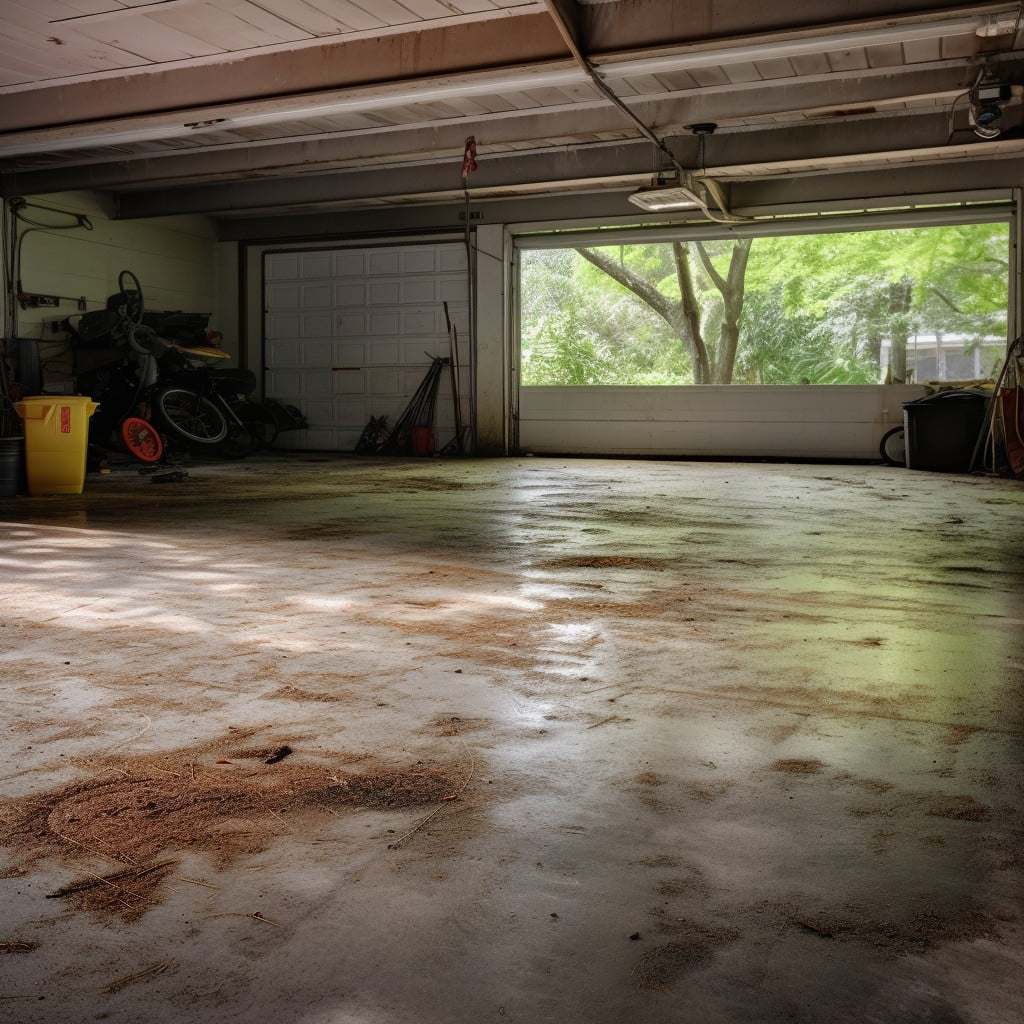
Recognizing signs of an uneven surface in your garage can be accomplished through a few simple checks. Start with a visual inspection, looking for noticeable cracks, slopes, or dips in the floor. Water pooling in certain areas after a wash or rain is another tell-tale sign of an uneven surface.
For an accurate assessment, use a long straight edge or laser level across the floor. This will help identify any high spots (peaks) and low spots (valleys). If the straight edge wobbles or sees light beneath it, you likely have an uneven floor.
Remember, even slight inconsistencies can lead to significant issues over time, affecting not only the usability of your garage but also damaging any racks, machinery, or vehicles housed. So, taking timely action is essential.
Collecting the Right Tools and Materials for Leveling
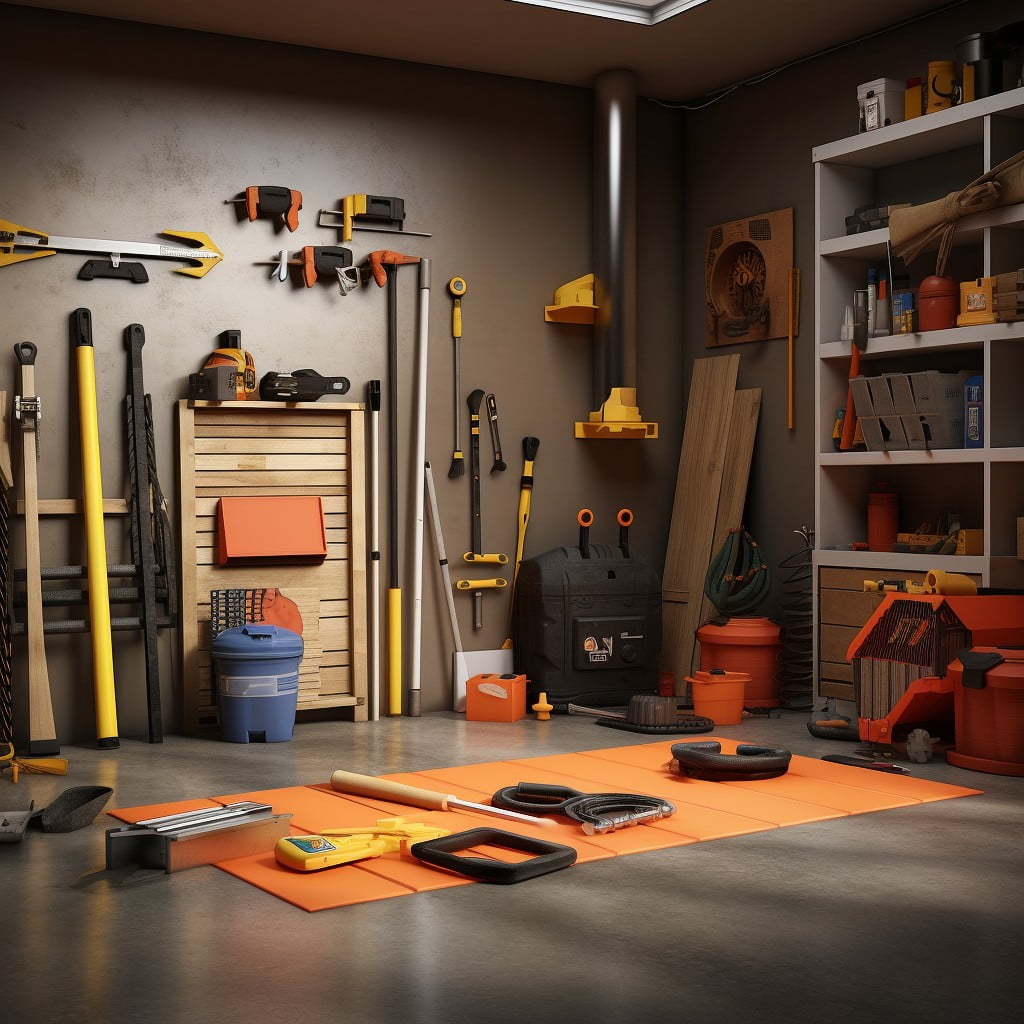
For a successful effort in leveling your garage floor, you’ll need specific tools and materials. First, a long level or laser level will be essential to accurately determine the dips and rises of your existing floor. Chalk or masking tape can be useful to mark these areas clearly.
The leveling compound serves to fill in the low spots, and there are various types to choose from. Self-leveling compounds are popular, being both easy to apply and quick to set. Remember to pick a compound that fits your floor type.
If your garage floor is made of concrete – a common occurrence – you’ll need a primer. This will help the leveling compound adhere effectively to the floor surface.
An array of standard tools will also be beneficial to have at hand. A trowel or squeegee facilitates the even spread of compound. A drill with a mixing attachment will ensure a smooth, lump-free mixture. These tools, alongside the protective gear such as gloves and safety glasses, set the ground for a successful floor leveling project.
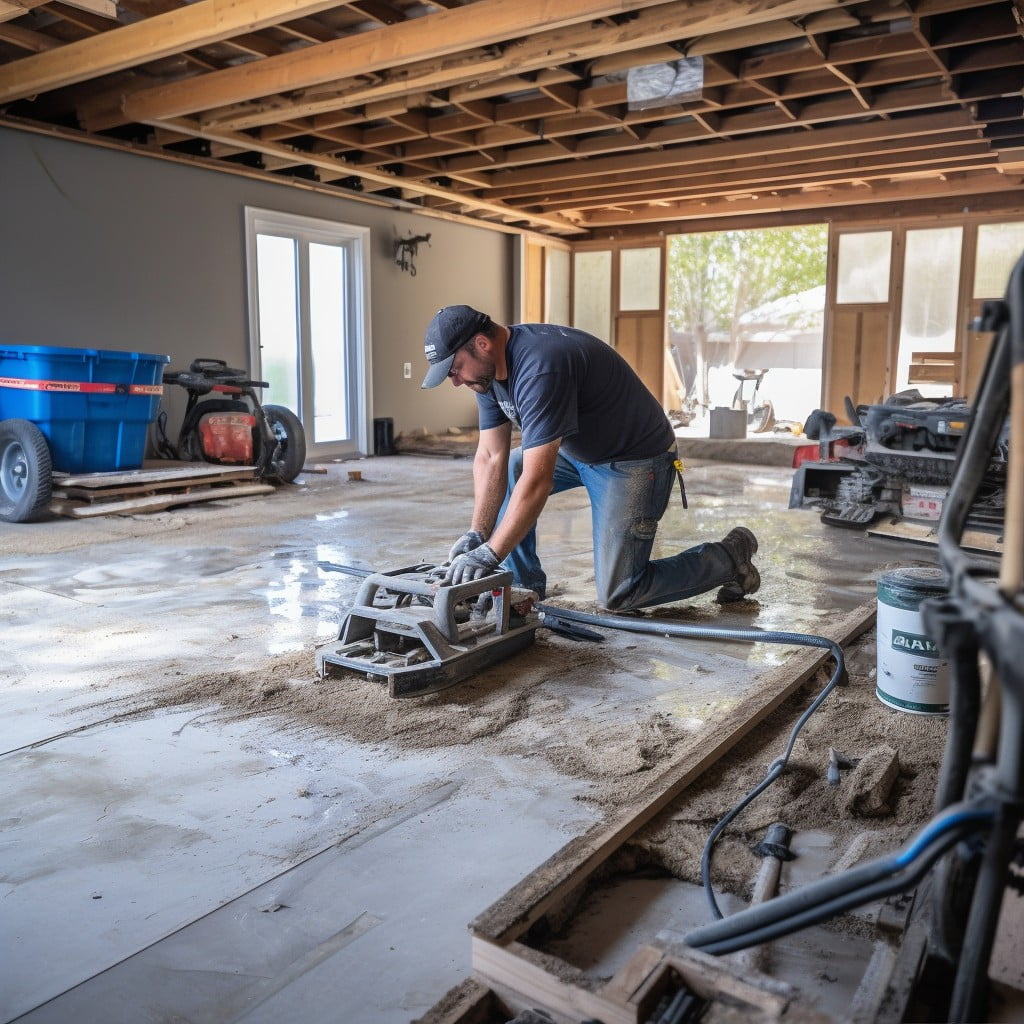
Detailed Procedure for Leveling a Garage Floor
Begin by thoroughly cleaning the floor, ensuring all dust, debris, dirt, and grease are removed to promote better adhesion. Use an industrial vacuum or a pressure washer for optimal results.
Next, identify and tackle any cracks or holes. Use a quality patching compound to fill them. Make sure the compound dries thoroughly before proceeding.
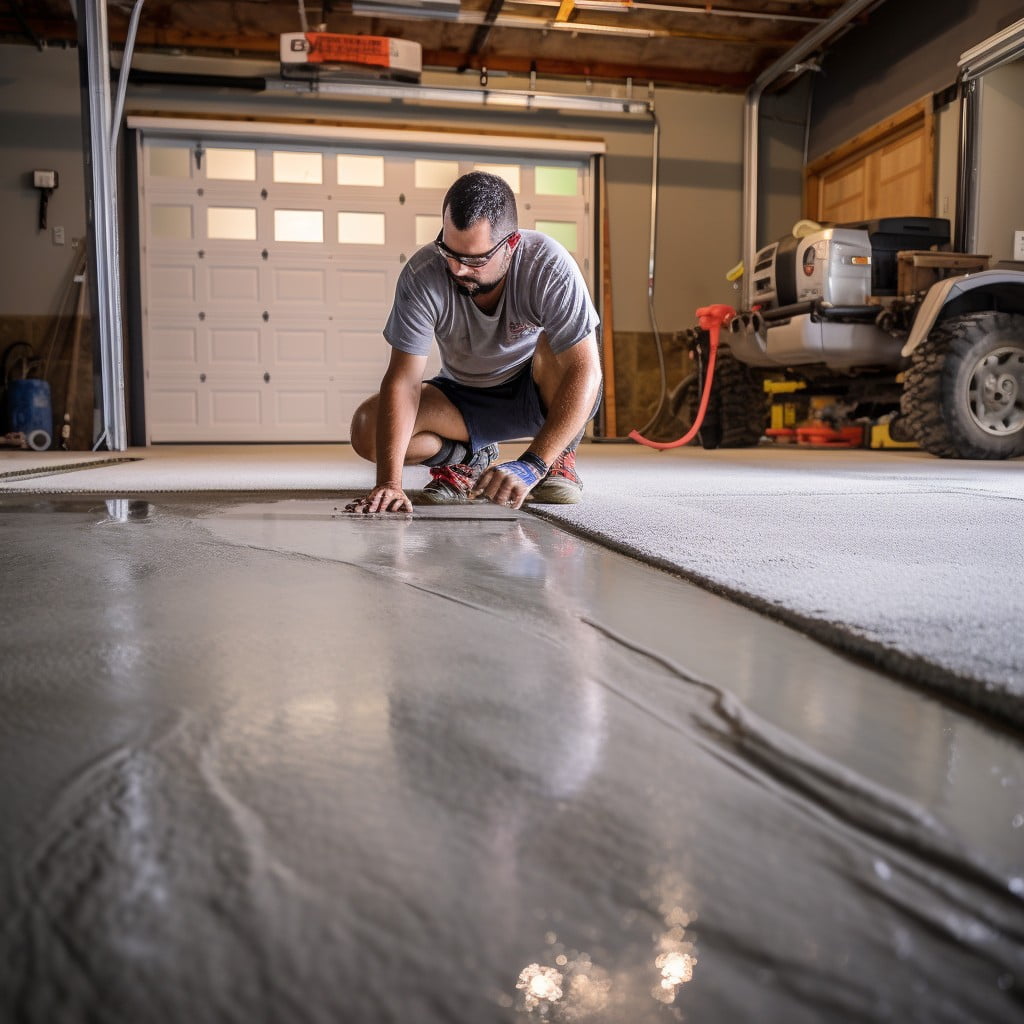
To fix larger depressions or uneven areas, use a self-leveling compound. Before application, make sure to dampen your floor, but avoid any puddling. This will prevent rapid drying and aid adhesion.
Pour the leveling compound from one corner of the garage, spreading it evenly towards the other side. Use a long-handled squeegee for even spread and optimal leveling.
For quality results, let the compound dry for at least 24 hours. Avoid walking on it or placing objects until it dries completely.
Lastly, ensure proper ventilation throughout the process. The compounds tend to have a strong odor, which can be harmful. Plus, perfect drying conditions require good airflow.
By following these steps carefully, you will achieve a flawlessly level garage floor. The process might seem a bit challenging, but with patience and attention to detail, it’s completely doable.
Addressing Common Challenges in Garage Floor Leveling
Sometimes, uneven foundations prove harder to fix than anticipated. Moisture accumulation is common and can lead to concrete cracking. The solution lies in waterproofing the garage to prevent moisture buildup.
It is also common to experience excessive dust on the garage floor due to concrete efflorescence. This can be resolved by sealing the garage floor, preventing dust from coming to the surface.
Working with high spots can be daunting. Most people resort to grinding but caution should be taken not to grind too much to avoid creating an uneven floor.
Lastly, lumps and bumps could result from poor concrete mixing. To address this, redoing the mixing and spreading process ensures a smoother, lump-free result. You may need to hire a professional in this case.
Adhering to Safety Measures During Floor Leveling
Donning proper protective equipment cannot be overstated. It is crucial to use gloves, eye protection, and sturdy footwear during the entire process. Concrete and leveling compounds can be hazardous to bare skin or eyes. These materials can also create a significant amount of dust, so a suitable dust mask or respirator is advisable.
The use of power tools or heavy equipment is also a common practice during garage floor leveling. Proper usage of such devices not only assists in avoiding physical injuries but also optimizes the results. For instance, concrete grinders and mixers can cause hearing damage due to their loud noise, so using earmuffs or earplugs can be beneficial.
A well-ventilated work area is another essential safety consideration. Chemical compounds used in leveling works can emit harmful fumes. Thus ensuring proper airflow can minimize the risk of related health hazards.
Lastly, if professional help is engaged, ensure that they adhere strictly to safety guidelines. Observing these safety measures helps to mitigate possible accidents while improving the overall success of the leveling job.
Preserving Your Level Garage Floor Over Time
To maintain the longevity and levelness of your garage floor, follow these recommendations.
1. Regular Cleaning: One basic, yet essential step, is keeping the floor clean. This can prevent wear and tear that results from debris and chemical accumulation.
2. Use Garage Mats: A good quality garage mat can provide an extra layer of protection against chemicals, oils, and weight from heavy vehicles, potentially reducing the stress on your newly leveled floor.
3. Seal and Reseal: Depending on the type of floor and sealant used, resealing can extend your floor’s life significantly.
4. Avoid Excessive Load: Overloading may cause the foundation to sink further, disrupting the level surface. Distributing weight evenly can help mitigate this.
5. Regular Inspection: Carrying out routine checks to identify early signs of an uneven floor is crucial. Early detection can lead to simpler, more cost-effective solutions.
6. Corrective Measures: If during inspection you notice any minor deviations, address them immediately before the problem escalates.
Preserving your garage floor is an ongoing task, but with regular care and attention, your floor can remain level and in good condition for a long time.
FAQ
What is the cheapest way to level a garage floor?
The most cost-effective method to level a garage floor is by utilizing a sand mixture, as it offers an affordable yet efficient alternative with results comparable to Self-Leveling Concrete (SLC) standards.
Can you self level a garage floor?
Yes, a garage floor can be self-leveled by applying a primer for better adhesion followed by a self-leveling coating on a scarified substrate or concrete slab.
What should I use to level my garage floor?
To level your garage floor, you should utilize a self-leveling compound, also known as liquid floor underlayment or floor resurfacer, within sections of level-cut rails.
How often should a garage floor be leveled for optimum maintenance?
A garage floor should typically be leveled every 5-10 years to maintain its optimal condition.
Is it possible to accurately level a garage floor without professional help?
Yes, it is possible to accurately level a garage floor without professional help by using self-leveling concrete mix and following the product instructions carefully.
What are some common signs that a garage floor needs leveling?
Common signs that a garage floor needs leveling include visible cracks, water pooling in certain areas, and unevenness that can be confirmed with a leveling tool.