In this how-to guide, you’ll learn the precise steps for measuring your garage door to ensure a perfect fit for replacements or upgrades.
Key takeaways:
- Use accurate and sturdy tools for precise measurements.
- Measure the width and height of the door opening.
- Check the headroom above the door to ensure clearance.
- Measure the depth of the backroom for smooth operation.
- Write down measurements and be thorough to avoid future headaches.
Secure the Necessary Tools
Before you dive into the world of tape measures and garage doors, let’s talk about gearing up. You won’t need a garage full of tools—just a few essentials. Grab a sturdy, easy-to-read tape measure; accuracy is key here, and something flimsy won’t do you any favors. You’ll also need a step ladder for reaching those higher spots safely. Don’t forget a notebook and pen to jot down your measurements; relying on memory can lead to a comedy of errors! Lastly, if you have one handy, a digital camera or smartphone can be useful to snap pictures in case you need a visual reminder of what you’ve measured.
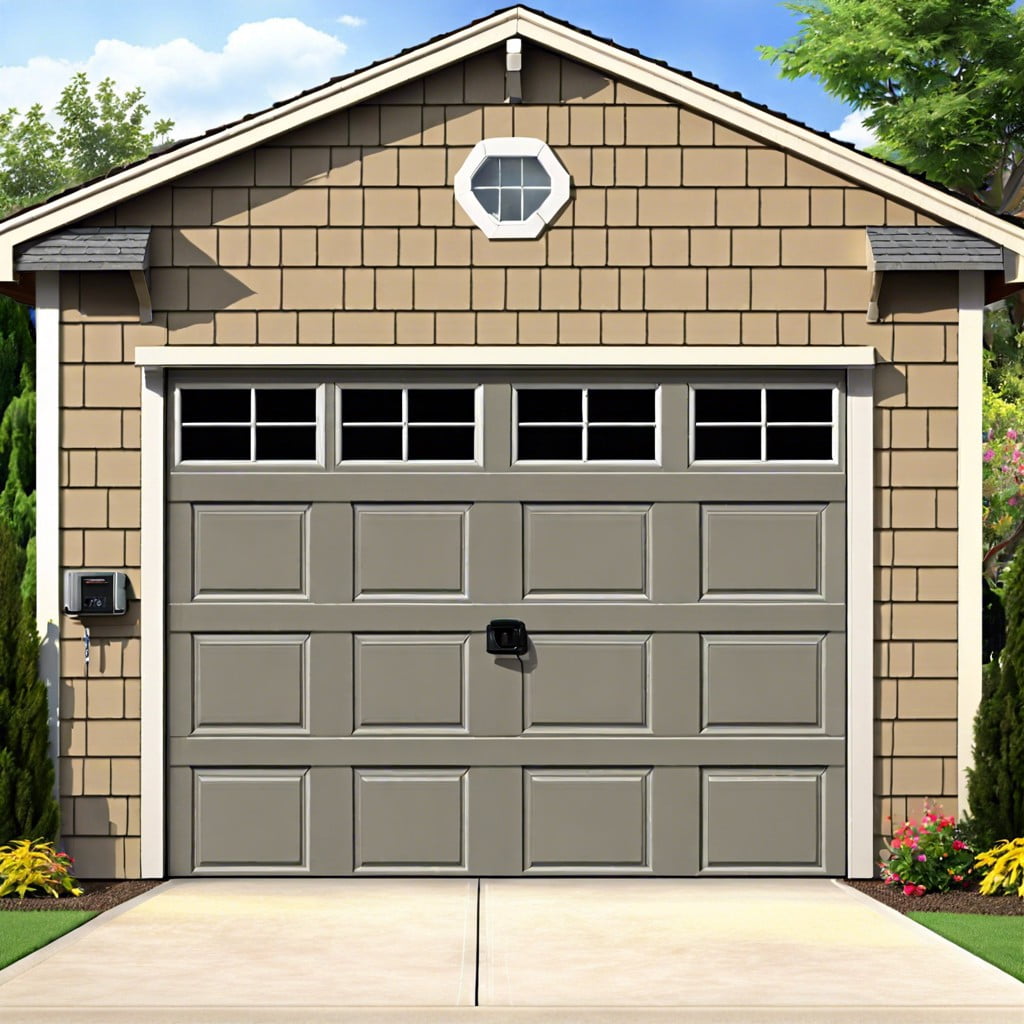
Measure the Width of the Door Opening
Start by grabbing your trusty tape measure, because precision is key and guessing just won’t do! Align the tape measure from one side of the garage door frame to the other. Ensure you measure at the widest point, typically across the middle, to capture any slight variations in width that might exist. Record this measurement in feet and inches. This will serve as a crucial dimension for selecting a new garage door or verifying that a specific door will fit — because nobody enjoys the surprise of a misfit garage door, right? Remember, accuracy now can save a renovation headache later!
Measure the Height of the Door Opening
To get an accurate height measurement, stand inside the garage facing the door opening. Place the end of your tape measure at the floor level, ensuring it lies flat and extends straight upwards. Stretch it to the top of the door opening, at the inside edge, and note the measurement to the nearest inch. This is crucial because even a slight miscalculation can lead to selecting a door that won’t fit. Remember, the accurate height measurement helps in determining the correct size of the door and ensures smooth operation upon installation. Be thorough, as a misstep here could turn your garage door experience from opening with a breeze to raising a storm!
Check the Headroom Above the Door
When measuring headroom, you’re ensuring there’s enough space above the garage door for the opener and tracks. Start by taking a tape measure from the top of the door opening to the nearest obstruction. Ideal headroom varies by door type, but typically, 12 inches is the minimum required.
If you have a garage door opener or plan to install one, aim for at least 15 inches of clearance to accommodate the opener mechanism. Low headroom kits are available if your garage can’t meet these standards, but they might require more precise installation. Always double-check your specific door’s requirements since variations can occur.
Measure the Depth of the Backroom
To ensure your new garage door operates smoothly, attention to backroom space is crucial. This area behind the door opening is where the door will retract when opened. Typically, the depth needed should equal the height of the door plus an additional 18 inches. However, for automatic garage door openers, add an extra few feet to accommodate the mechanism.
Grab your tape measure and start from the garage door opening towards the back wall. Measure up to the furthest point you can, ensuring there are no obstructions. If space is tight, consider a rolling door that requires less backroom. Note down your measurements carefully—precision here can prevent a world of headache later.