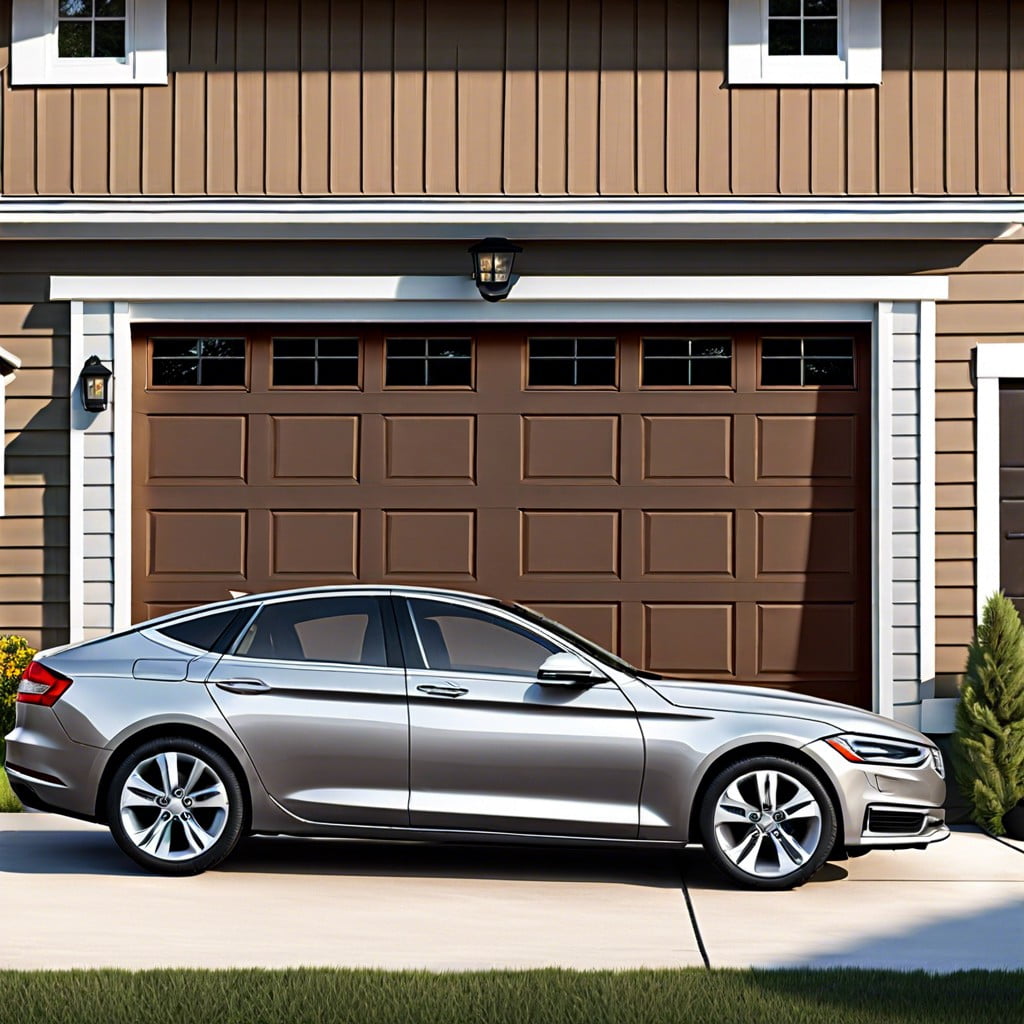
This article provides a straightforward guide on how to pair your garage door opener with your car for seamless access.
Key takeaways:
- Identify garage door opener make and model
- Confirm compatibility with car’s built-in remote system
- Locate garage door opener panel in car
- Initiate learning mode on garage door opener
- Test functionality of paired opener
Determine the Type of Garage Door Opener
Before initiating the pairing process, it’s crucial to identify your garage door opener’s make and model. Different manufacturers use varying frequencies and technologies which must align with your vehicle’s built-in system.
Start by checking the side or base of your garage door opener motor unit for a label or embossed text. It should display the model number and frequency details. For a seamless pairing experience, record these specs; you’ll typically find compatible cars list these same details in their owner’s manual or company website.
In cases where the garage door system is older or lacking visible branding, consulting the original owner’s manual may provide necessary information. Alternatively, if the manual is misplaced, manufacturer websites offer databases where entering the model number retrieves the needed specifications.
Understanding the specific type of garage door opener you have determines the compatibility and ultimately the success of the pairing process with your car. Keep this information handy as you proceed to confirm compatibility with your vehicle.
Confirm Compatibility With Your Car
Before proceeding with the pairing process, it is crucial to ensure that your vehicle is equipped with a built-in remote control system, commonly referred to as HomeLink or Car2U, which allows you to control your garage door opener from inside your car.
Most cars manufactured after the year 2000 come with this feature, but you can verify by checking your car’s owner’s manual or looking for the remote system buttons, which are typically located on the overhead console, visor, or mirror.
Additionally, confirm that your garage door opener operates on a frequency compatible with your car’s system. The information about compatible frequencies and systems can often be found in the garage door opener’s manual.
If your car lacks a built-in system or the frequencies aren’t compatible, there are aftermarket remote systems available that can bridge the gap, allowing successful pairing with your garage door opener.
Locate the Garage Door Opener Panel in Your Car
In most vehicles equipped with a built-in garage door opener system, commonly known as HomeLink, the control panel is typically located on the overhead console, sun visor, or rearview mirror. To find the exact spot in your car:
- Check the owner’s manual for the precise location and instructions specific to your vehicle’s make and model.
- Look for the panel, often identified by three buttons, which may be labeled or have LED indicators.
- Ensure the key is in the accessory (ACC) position to activate the electronic systems if your vehicle requires it.
Once the panel is located, proceed with programming by pressing the necessary buttons in sequence, as your owner’s manual describes. If your car doesn’t have a built-in system, you’ll need a compatible handheld remote to pair with the opener.
Initiate the Learning Mode On the Garage Door Opener
Once you’re ready to sync your car with the garage door opener, find the ‘Learn’ or ‘Smart’ button on the garage door motor unit. This button is typically located on the back of the unit, but it may require you to remove a light cover or control panel. Be sure to have a ladder or sturdy platform to safely reach the button.
Press and release the ‘Learn’ button. You’ll usually see an indicator light illuminating or hear a beep, signaling that the opener is in learning mode. This mode typically stays active for about 30 seconds, giving you a brief window to pair your vehicle.
Quickly move to your car to complete the pairing process while the garage door opener is in learning mode. The next steps must be done during this 30-second window, so make sure to perform them promptly. Remember to keep the garage door opener’s user manual handy for reference in case the indicator signals differ or additional steps specific to your model are needed.
Test the Functionality of the Paired Opener
Once the pairing process is complete, testing the opener’s functionality is crucial to ensure the process was successful. Stand clear of the garage door and press the programmed button in your car. The door should respond by either opening or closing, depending on its initial position.
If the door does not move, ensure you are within range, generally no more than a few car lengths away from the garage. If range is not the issue, retry the pairing process, as an error may have occurred during programming.
No response after a second attempt may indicate a more complex compatibility issue or a malfunctioning opener. Consult the manual for troubleshooting steps or consider seeking professional assistance.
Should the door operate as expected, test the system a few more times for consistency. Frequent, successful operation indicates a properly paired opener. If you notice any irregularities, such as erratic door movement or intermittent response, address these immediately for safety and convenience.