Discover the essential steps to prepare your garage floor for an epoxy coating, ensuring a flawless finish and durable result.
Prepping your garage floor for epoxy is a process that requires precision and attention to detail. It involves cleaning, repairing, and priming the surface before applying the epoxy coating.
This article will guide you through each step, ensuring you achieve a professional and durable finish. From selecting the right cleaning solutions to understanding the importance of a moisture test, all the necessary details are covered here.
By following this comprehensive guide, you’ll have all the information you need to successfully prep your garage floor for epoxy.
Key takeaways:
- Use the right tools and equipment for garage floor prepping.
- Get all the materials needed for prepping the garage floor.
- Follow proper techniques to remove dust, dirt, and debris.
- Degrease the garage floor before applying epoxy.
- Learn the details of concrete etching techniques for optimal adhesion.
Required Tools and Equipment for Garage Floor Prepping
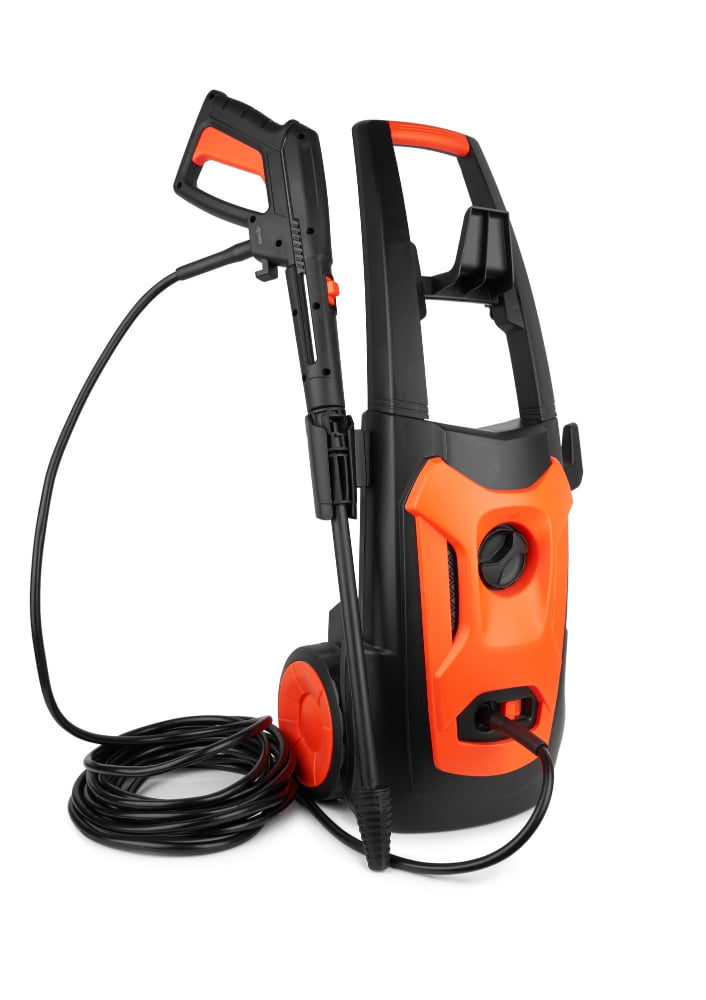
Having the right implements on hand not only expedites the process but also ensures a quality finish. Start with a broom or vacuum for elimination of dust and surface debris. For stubborn stains and heavy-duty cleaning, a pressure washer is a worthy investment. To handle grease spots, a degreaser is necessary.
Next, a concrete etch solution and a plastic watering can will work wonders to open up the concrete pores, key for optimal epoxy adhesion. A stiff-bristled brushing broom is essential for efficient etching.
Lastly, you’ll need epoxy. The two-part system, which includes a resin and hardener, is a popular choice. Also for a professional touch, wrappers, rollers, and a paint tray for application should feature in your toolkit. Remember, safety comes first – protection goggles and rubber gloves are mandatory.
Materials Needed for Prepping Garage Floor for Epoxy
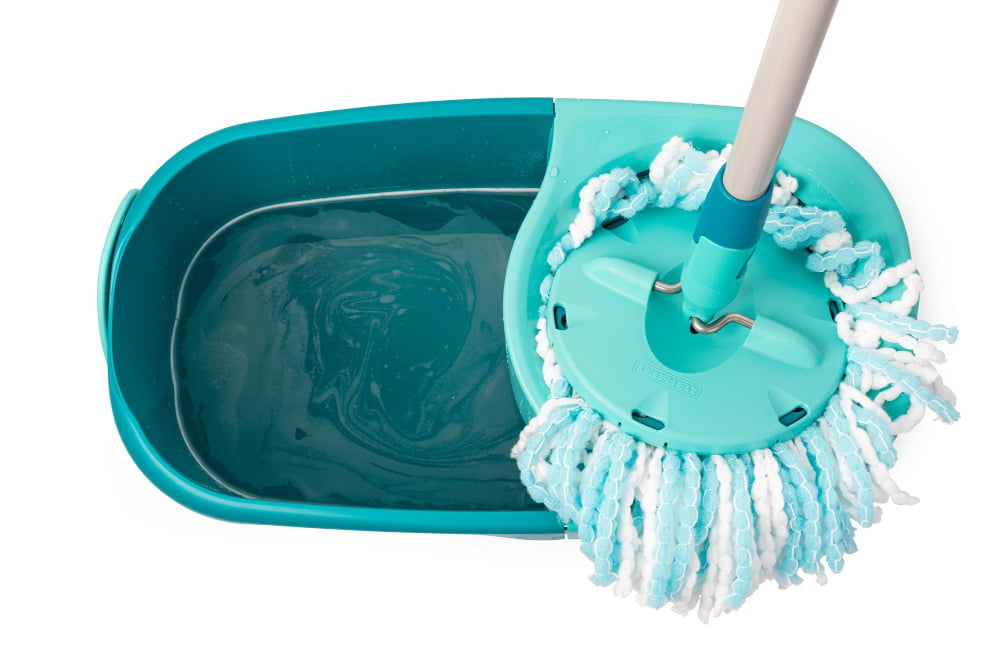
To properly prep your garage floor for epoxy, several materials will be necessary. First, a broom or shop vacuum will aid in removing dust, dirt, and loose debris. A mop and bucket are required to thoroughly clean the space. Degreaser or detergent is crucial for eliminating stubborn stains or oil spots. An etching solution or muriatic acid is essential for creating a surface texture that allows the epoxy to bond well. Finally, you’ll need a garden hose or power washer for rinsing. Protective gear such as gloves, safety glasses, and boots is a must during this process due to the use of chemicals.
Techniques for Removing Dust, Dirt, and Debris From Garage Floor
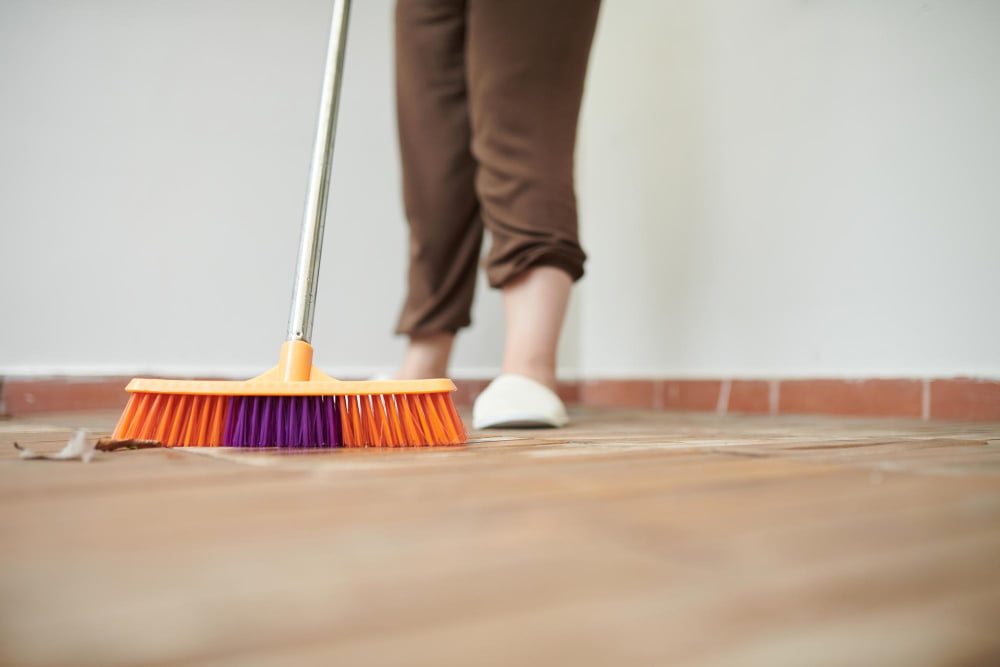
Adhering to a thorough cleaning ritual is paramount to obtaining a pristine, dust-free surface for epoxy application. Start by sweeping the floor with a concrete broom to dislodge superficial dirt and dust. A dustpan and broom will suffice for smaller garages, but consider a push broom for larger spaces, which can cover more ground quickly.
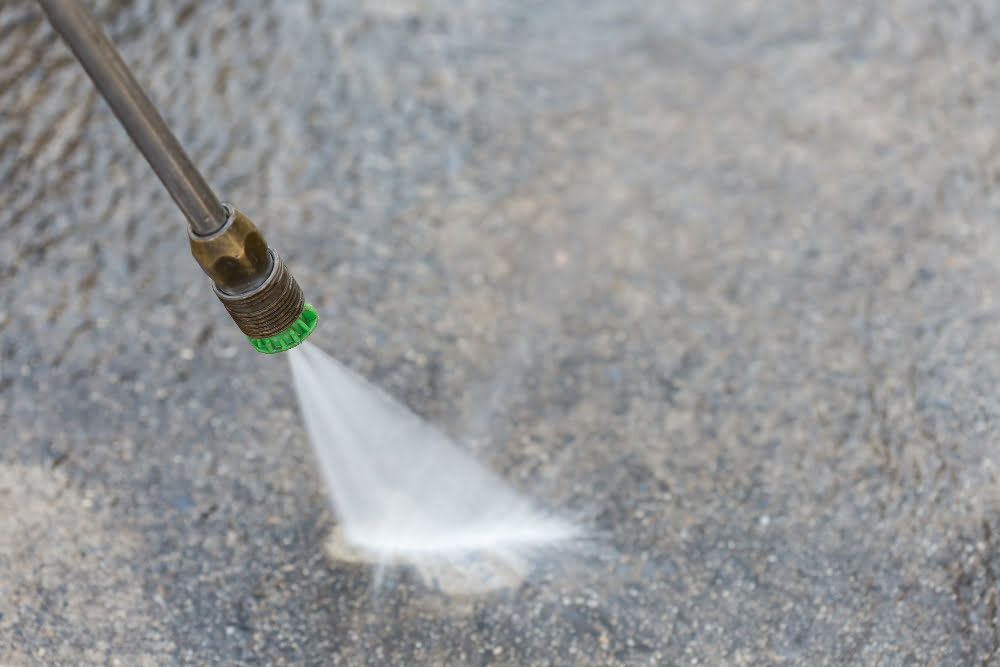
After sweeping, use a shop vacuum to remove finer particulate matter that a broom might have missed. To engage with tougher stains and ingrained dirt, resort to a pressure washer. This high-powered tool uses water at a very high velocity to blast away grime and remove stubborn dust and debris.
Lastly, clear the garage and allow it to dry thoroughly before advancing to the next phase. This precise cleaning procedure will set the stage for a successful garage floor transformation with epoxy.
Degreasing the Garage Floor Procedure
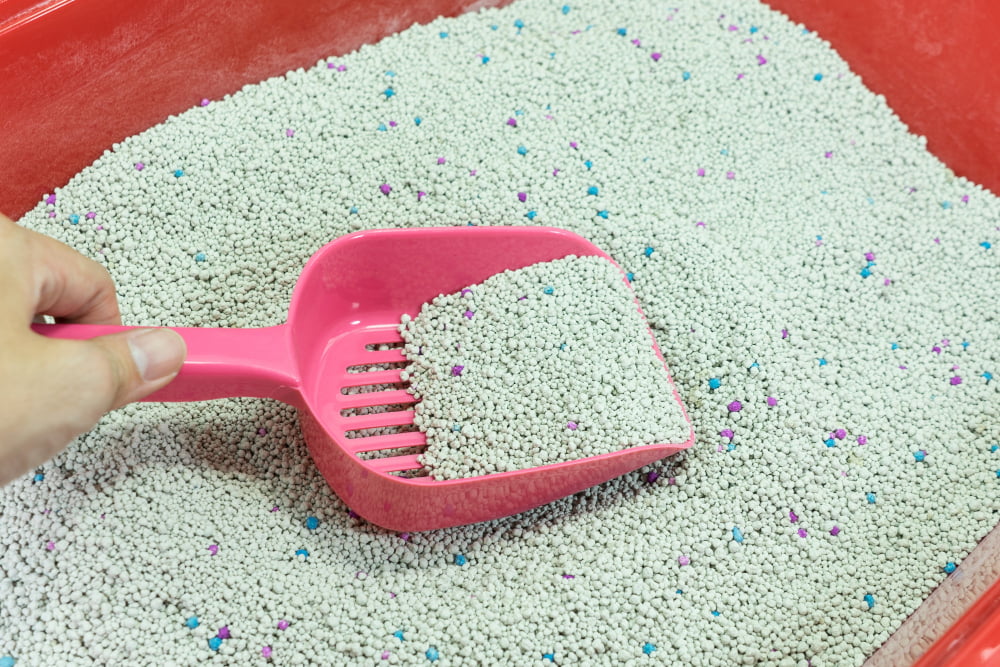
Before epoxy application, ensure the surface is devoid of oil spots, which may impede the adherence of the epoxy. Begin by sprinkling a generous amount of sawdust or cat litter on the oil stains, let it stand for a couple of hours for absorption of the grease.
Afterwards, sweep up the sawdust or cat litter. Proceed to pour a commercial concrete degreaser onto the oil stains, strictly following the instructions on the product packaging. Scrub the area with a stiff-bristled broom to break up the oil residues.
Continue to lightly mist the floor with water before beginning to scrub. Scrub away rigorously to fuse water, degreaser, and grime together. Repeat the process until all traces of oil and grease are eliminated.
Details On Concrete Etching Techniques for Garage Floor
To ensure the epoxy adheres properly, concrete etching is crucial. Essentially, this process roughens the surface to create a better bond.
There are two effective etching methods to consider:
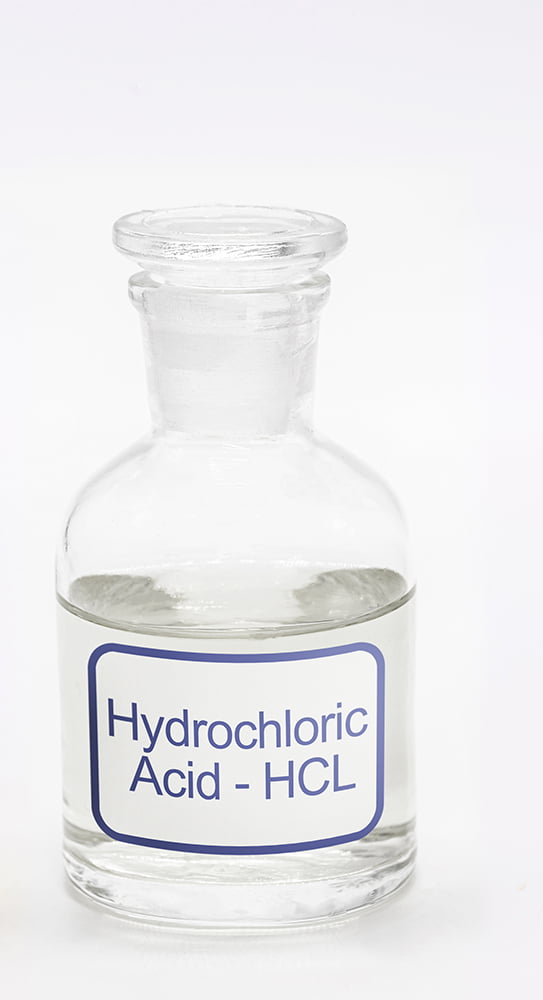
- 1. Acid etching involves the use of muriatic acid or, preferably, a safer alternative like phosphoric acid. Always work in properly ventilated areas with necessary safety gear such as gloves and goggles. Mix the acid as instructed, apply it to the floor, allow it to react, and finally rinse well. Neutralize any remaining acid, such as baking soda mixed with water.
2. Mechanical grinding, often considered the superior method, provides a more consistent etching result. You’ll need a concrete grinder tool for this, which operates much like a floor polisher. From diamond hand brushes to walk-behind grinders, choose what works best based on the size of your garage.
Remember, the goal is to achieve a surface texture resembling medium-grit sandpaper. This allows the epoxy a strong grip, ultimately resulting in a robust, long-lasting finish.
Process of Rinsing the Garage Floor After Etching
After the etching job is done, it’s time for a comprehensive rinse-off. Make use of a garden hose to wash away all the etching solution from the surface. Ensure the garage floor is thoroughly soaked and any etching solution is diluted. Wash it all the way into the driveway rather than towards a drain to avoid pipe damage.
Keep rinsing till the water runs clear, and there’s no fizzing or bubbling on the floor, certifying the absence of acid. Avoid allowing the floor to dry during rinsing as etching solution residue can become more challenging to remove once dried.
In case the drain is the only option, neutralize any remaining acid by scattering some baking soda on the wet floor. With acid completely neutralized, it’s now safe to pump the water down the drain.
Wait for the garage floor to thoroughly dry before progressing to the next epoxy application stage. Remember, not allowing adequate drying time may negatively impact the adhesion of epoxy to the garage floor.
Instructions On Mixing Epoxy Paint for Garage Floor
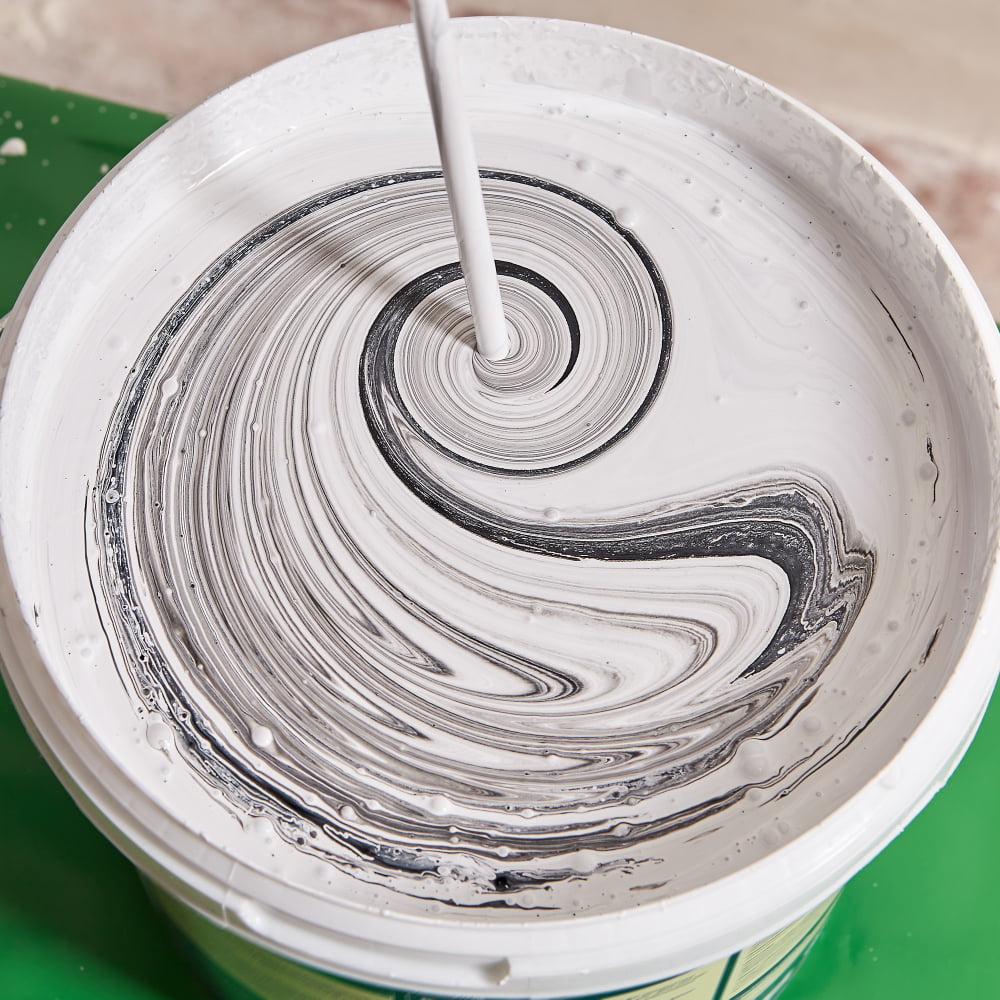
When ready to prepare the epoxy, begin by opening both the resin (Part A) and the hardener (Part B). Pour these contents into a clean, dry bucket. Ensure not to interchange the lids to avoid any cross-contamination.
A drill with a mixer attachment is ideal for this stage, as it allows for a thorough and even mix. For approximately two minutes, stir these two components together. Make sure not to whip the mix, as this can introduce air bubbles that might compromise the final finish.
To ensure optimal adhesion, the epoxy mix needs to be left to stand for roughly 30 minutes to initiate the ‘induction time’. This allows the materials to interact on a chemical level.
Remember, once the two parts are mixed, they begin to react, and the pot life countdown begins. This pot life varies depending on the specific product and temperature, so refer to manufacturer’s instructions for the exact timeframe. A cooler environment extends pot life, whereas high heat reduces it.
Timing is essential here, and attention to detail ensures a perfect mix that results in a durable and aesthetically pleasing garage floor finish. Always make sure to mix a new batch for each layer of epoxy you apply to maintain a consistent and professional result.
Steps to Correctly Apply Epoxy to Garage Floor
Begin with a dry, clean floor that’s been prepped with a concrete etcher. Then, carefully mix the two-part epoxy paint, ensuring not to stir air bubbles into the mixture.
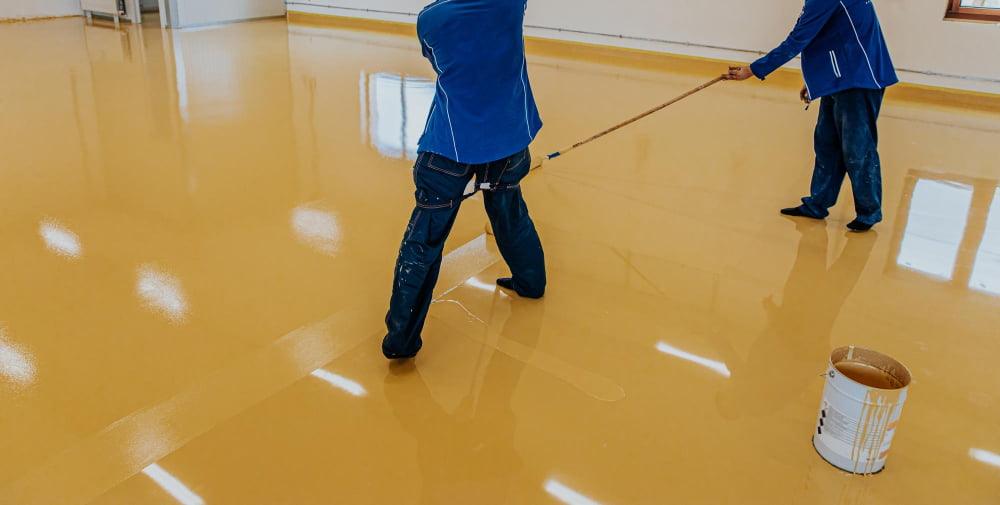
Start painting from a corner and move towards the exit point, using a wide brush to paint around the edges of the floor. Follow up with a roller for the larger sections.
Paint a thin first coat to establish a strong bond. Allow the first layer to dry for 12 to 24 hours before applying a second coat. Maximize durability by topping the final layer with a sealant once the epoxy is completely dry.
Remember, always maintain proper ventilation during this process.
Methods for Adding Color Chips to Garage Floor Epoxy
Once you’ve applied the initial coat of the epoxy, sprinkling color chips can elevate the aesthetic of your garage floor and camouflage minor blemishes.
Here’s the process:
1. Start with a small handful of chips, tossing them lightly onto the wet epoxy. Aim for a random pattern, exploiting different angles and trajectories for a more natural look.
2. Continue adding chips, paying attention to variety and coverage. Avoid areas of heavy concentration or bare spots for the most pleasing result.
3. Take a step back occasionally to scrutinize your work from different viewpoints, ensuring an even distribution of colors and textures.
4. Remember, adding more chips is always possible, but removing excess ones is a mammoth task. So less is more in the initial stages.
5. Finally, ensure you allow enough time for the chips to embed into the epoxy before applying the sealing coat. This will lock the chips in place and protect them from wear and tear.
To summarize, sprinkling color chips into your wet epoxy can provide an expert touch to your garage floor. Take your time, distribute evenly, and keep checking your work.
FAQ
How do you prep a garage surface for epoxy?
To prep a garage surface for epoxy, you should scrub the area with a degreaser and stiff brush, rinse the concrete and let it dry for a minimum of three hours, use a floor maintainer with a light-grade sanding pad if it’s painted to remove the glossy top coat, and cleanse the region using a bristle broom and an all-purpose cleaner.
Do I need to sand garage floor before epoxy?
Yes, it’s necessary to sand your garage floor before applying epoxy to create a rough surface, which ensures proper adhesion of the epoxy coating.
What is the importance of acid etching in the epoxy preparation process for a garage floor?
Acid etching is crucial in the epoxy preparation process for a garage floor as it opens up the pores of the concrete, allowing the epoxy coating to penetrate effectively and secure a strong bond.
How can garage floor imperfections or damage be addressed before applying epoxy?
Garage floor imperfections or damage can be addressed before applying epoxy by thoroughly cleaning the surface, mending any cracks or dents with a patching compound, and grinding the surface to ensure proper adhesion.
Is it necessary to apply a primer before the epoxy coat on a garage floor?
Yes, applying a primer before an epoxy coat on a garage floor is necessary as it helps to ensure a stronger adhesion and more uniform finish.