In this article, we’ll delve into the steps necessary to successfully reattach a garage door.
If your garage door has become detached, don’t fret! This is a common issue that can be resolved with a few simple steps. This article will guide you through the process of reattaching your garage door safely and efficiently, covering everything from the necessary tools and precautions to a step-by-step guide. By following these instructions, you’ll have your garage door functioning smoothly in no time.
So, if you’re ready to tackle this DIY project, let’s dive right into the details.
Key takeaways:
- Understanding the function of the Emergency Release Cord
- How to properly locate and pull the Emergency Release Cord
- Steps to safely reconnect your garage door to the automated opener carriage
- Ensuring the garage door is completely closed before attempting to reattach
- Inspecting and troubleshooting potential garage door alignment issues
Understanding the Function of the Emergency Release Cord
The Emergency Release Cord, typically colored red, plays an integral role in the functioning of your garage door. In essence, it is a manual override that disconnects the door from the automated opener. This feature becomes crucial during power outages or when the remote is malfunctioning. It gives you the control to open and close the door manually. An understanding of its function will help you to safely and effectively reattach your garage door when need be.
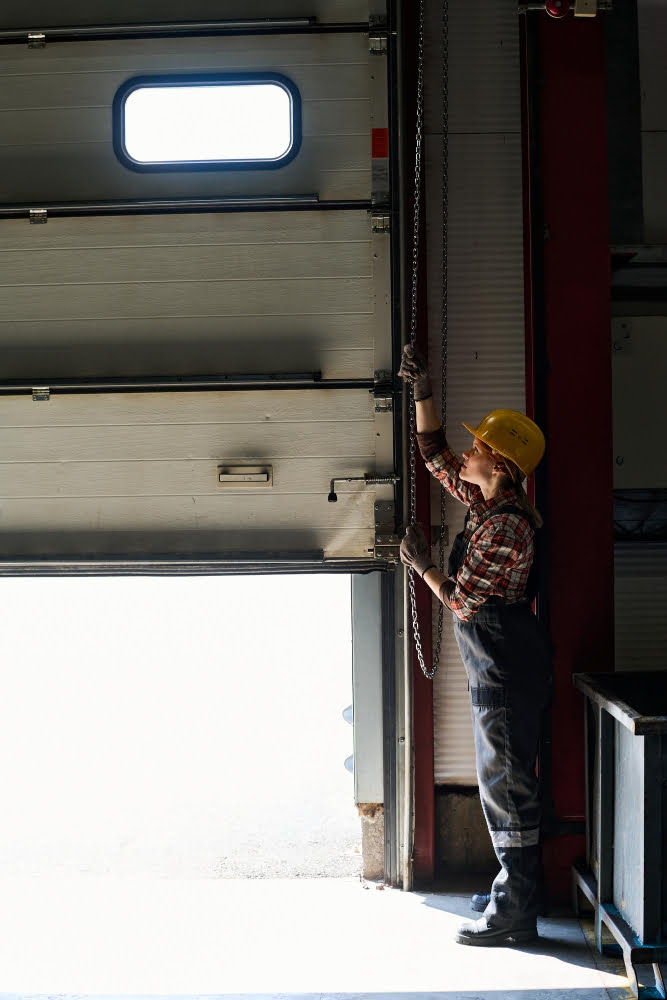
How to Properly Locate and Pull the Emergency Release Cord
Begin by examining the middle rail of your garage door system to find a colored cord hanging down – that’s your emergency release cord. Color can vary depending on the brand, but often, it is red. This cord connects to the trolley, allowing the door to be manually operated when necessary.
To use this feature correctly, first, ensure the garage door is fully closed to prevent it from crashing down. Then, exert a smooth pull on the cord. You’ll feel a slight snap — this is a positive indication that you’ve disengaged the automatic opener, and the door is now in manual mode. It is important to remember to use this feature only when absolutely needed as frequent use may wear it out prematurely.
Please refrain from pulling the cord if the door is open, except in instances of emergencies, as this might lead to uncontrolled movements of the door, causing damage or injury. Understanding your garage door’s functionality and operating the emergency release mechanism properly increases the lifespan of your garage door system. Your safety is important, make sure to follow these guidelines.
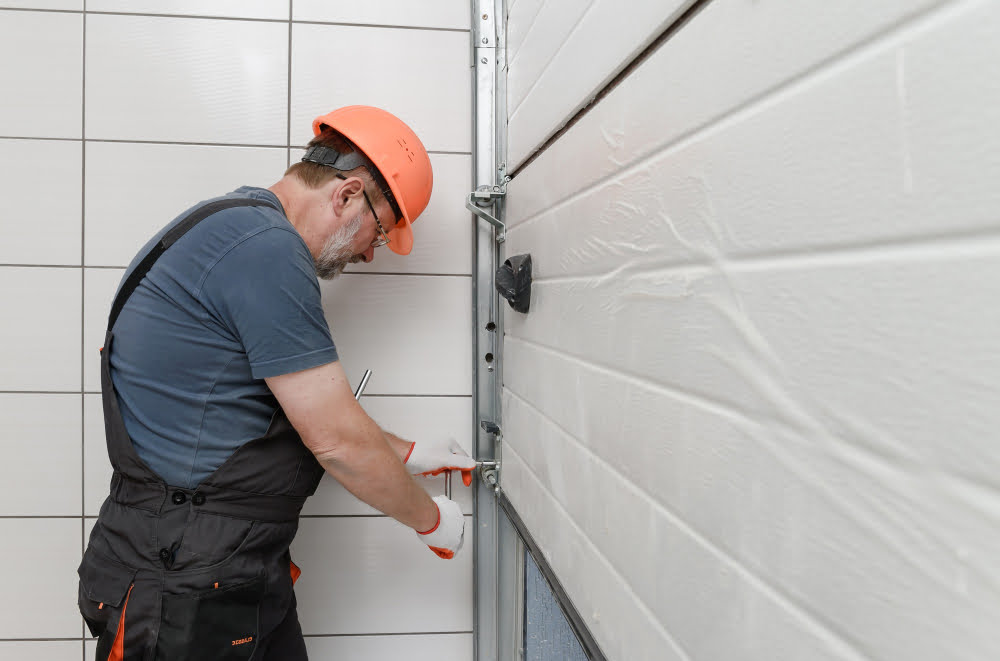
Steps to Safely Reconnect Your Garage Door to the Automated Opener Carriage
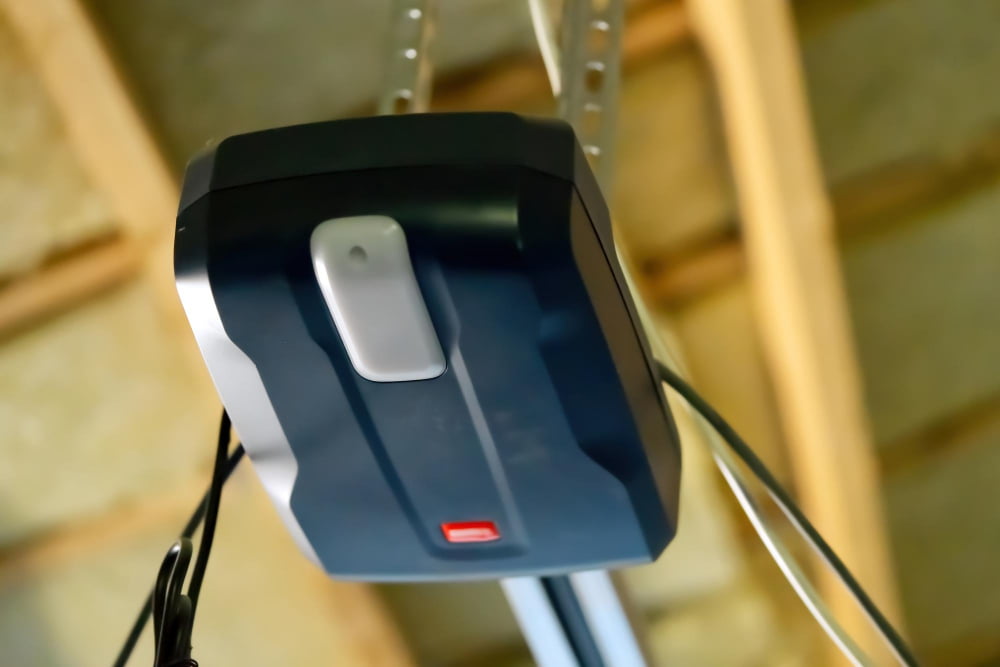
Before getting started, ensure all safety measures are in place. Switch off the overhead garage door opener to prevent any unexpected movements.
1. Raise the garage door manually by securing a firm grip on the handle, if provided, or on the bottom edge, and lifting upward until fully open.
2. Utilize the overhead opener assistance by pushing the button corresponding with your garage door; this should trigger the carriage to move along its track.
3. On reaching the stopping point or its furthest point along the track, find the carriage assembly. This mechanism connects the garage door to the opener.
4. After ensuring the carriage has stopped, reach out and align the two components: the carriage assembly and the garage door arm. Slide or snap them back together, depending on your door type.
5. Once securely connected, turn the garage door opener back on.
6. Test the door’s automatic functions. If it moves smoothly and syncs appropriately with the opener, you’ve successfully completed the reattachment.
Remember, always refer to your owner’s manual when in doubt about any step in the process and never risk your safety by handling heavy components unsafely.
Ensuring the Garage Door Is Completely Closed Before Attempting to Reattach
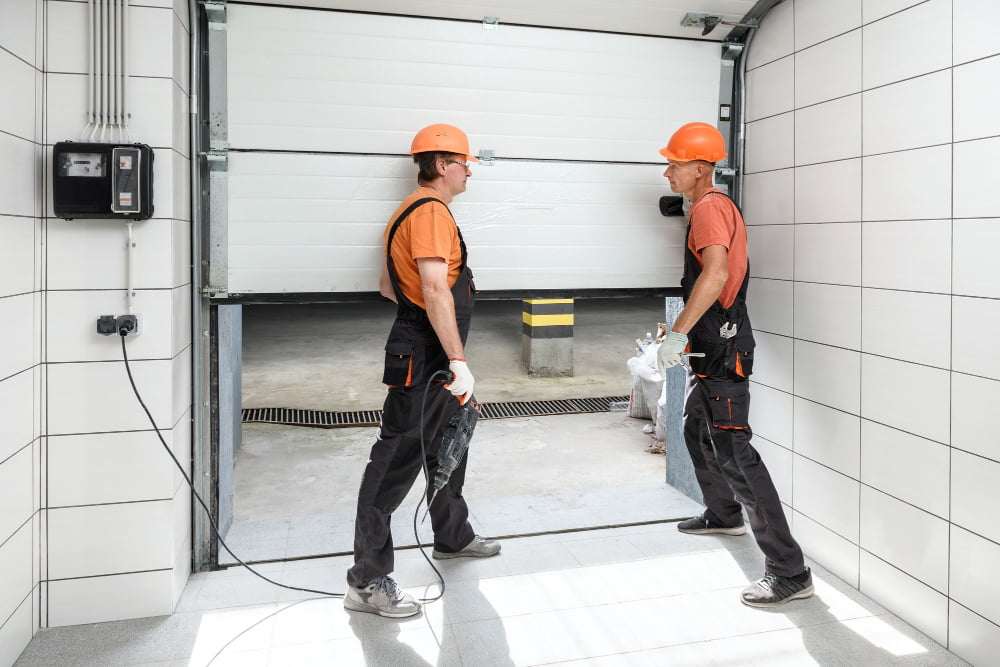
To maximize safety during the reattachment process, it is critical to have the garage door fully closed. This prevents any unnecessary strain on the springs and cables, thus minimizing potential damage.
Consider the following:
- 1. Manually Lower the Door: If your door is open, pull the emergency release cord and lower it gently to the ground. Pay attention to any resistance or noises, as they might indicate underlying issues that need to be addressed.
- 2. Check Alignment: Once closed, scrutinize if the garage door is lying evenly against the ground. Any discrepancies could affect the reattachment and operation.
- 3. Secure the Door: Engage the garage door lock or place c-clamps on both tracks right above the top rollers to ensure the door remains closed during reattachment.
Remember, safety first. Working on a closed door poses fewer risks and enables a smoother reattachment process.
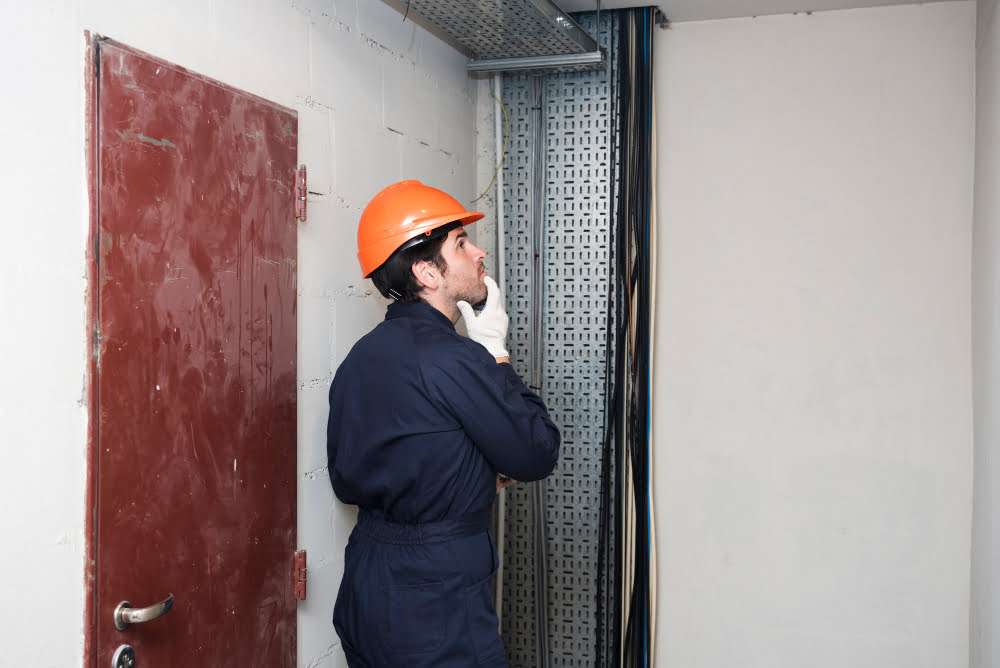
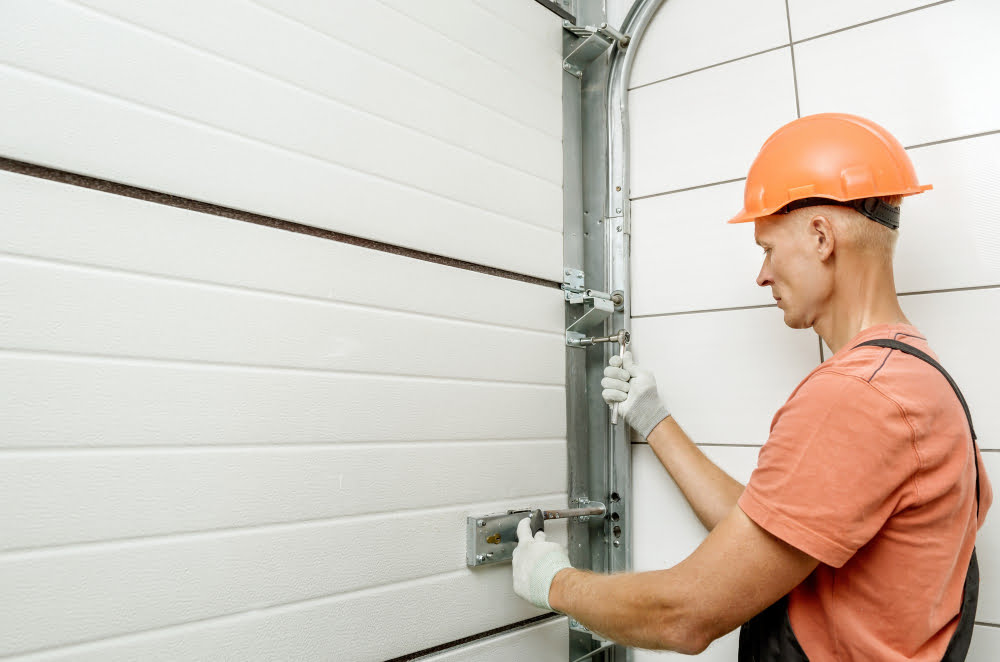
Inspecting and Troubleshooting Potential Garage Door Alignment Issues
To ensure the successful reattachment of your garage door, careful inspection of the alignment is pivotal. Here are a few steps to help you identify and correct potential problems:
1. Check the tracks: A misaligned or bent track could prevent smooth operation. To correct this, loosen the screws holding up the track, adjust it to the necessary position, and then tighten the screws back in.
2. Examine the door level: Use a level to ensure the door is perfectly horizontal. In case it’s not, you might need to adjust the tension in the springs or cables.
3. Evaluate the rollers: Ensure that they’re in good condition and moving freely. If not, replace or lubricate them as needed.
4. Inspect the weatherstripping: Damaged or worn-out weatherstripping can affect the door alignment. Replace it if necessary.
By following these steps, you can address alignment issues that may have been preventing your garage door from correctly connecting to the opener carriage.
Maintaining Your Reattached Garage Door for Optimal Functionality
Proper maintenance is key in ensuring the longevity and functionality of your reattached garage door. Fundamental procedures can help.
1. Make Regular Inspections: Always perform regular checks on the door hardware. Assess the condition of components like springs, cables, and rollers. Any notable malfunctions should be speedily resolved.
2. Lubricate Moving Parts: Lubrication reduces friction, cutting down the wear on door parts. Using a high-quality silicone or lithium spray grease is recommended; apply regularly on the rollers, hinges, and tracks.
3. Tighten Up The Hardware: Due to regular use, the ordinary operation of your garage door may result in loosened fasteners over time. A routine check and tightening where necessary would prevent avoidable problems.
4. Clear Tracks: Ensure the tracks on either side of the door are free from debris and dust. You can use a level to ensure that they are vertically aligned.
Adherence to these maintenance tips will pave the way for an optimally functioning garage door and limit frequent emergency reattachments.
Navigating Common Issues After Reattachment of the Garage Door
Occasionally, issues arise in the aftercare stage. These usually include matters like garage doors not remaining closed or reopening immediately. Others face challenges with the garage door remote not functioning as expected or hearing an unusual noise when operating the door. To rectify these problems, consider the following steps:
1. Look into Realigning the Safety Sensors: In some instances, the safety sensors may be displaced, causing your door to reopen immediately. Be sure to align sensors properly so the invisible safety beam they produce is not broken.
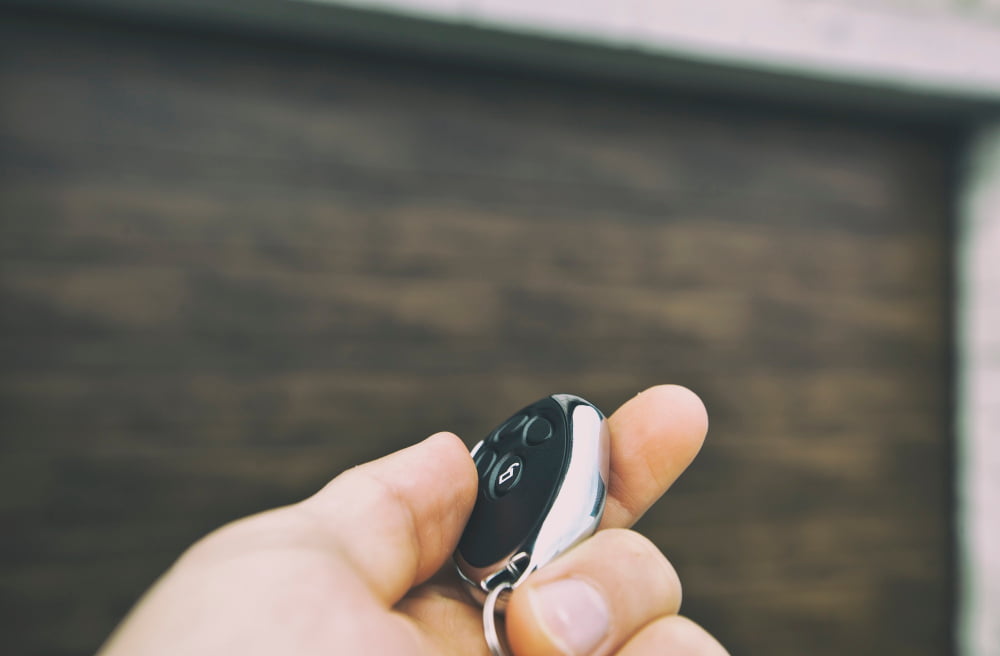
2. Double Check the Remote’s Battery: An often overlooked factor with remote operability is a weak or dead battery. Ensure to replace them regularly for effective use.
3. Lubricate the Door Opener: Usual noises may indicate that your garage door opener requires lubrication. A quick application of garage door lubricant to the gears and moving parts can significantly reduce noise.
4. Deal with Stuck Door Opener Buttons: If your garage door is not closing, it’s possible a button on your door opener got stuck. Resolving this requires disconnecting and reconnecting the opener.
Remember, if problems persist after carrying out these troubleshooting steps, it may be time to call a professional to avoid damaging your garage door system further. An expert’s input will ensure the longevity and smooth operation of your garage door.
FAQ
What are the common issues encountered when reattaching a garage door?
Common issues when reattaching a garage door include misaligned tracks, worn-out hardware, broken springs, improper force settings, and remote control problems.
What tools are necessary for successfully reattaching a garage door?
To successfully reattach a garage door, one must have a wrench, ratchet and socket set, screwdriver, pliers, hammer, tape measure, level, and safety glasses.
How can professional help benefit the process of reattaching a garage door?
Hiring professionals for reattaching a garage door ensures correct installation, minimizes the risk of accidents, and could potentially prolong the life of the door due to their specialized knowledge and tools.