Learn how to fix common garage door issues quickly and effectively with these easy steps.
Key takeaways:
- Inspect and tighten hardware for stability.
- Check and adjust door balance.
- Lubricate moving parts for smooth operation.
- Inspect and repair tracks for alignment.
- Replace weatherstripping to eliminate drafts.
Inspect and Tighten Hardware
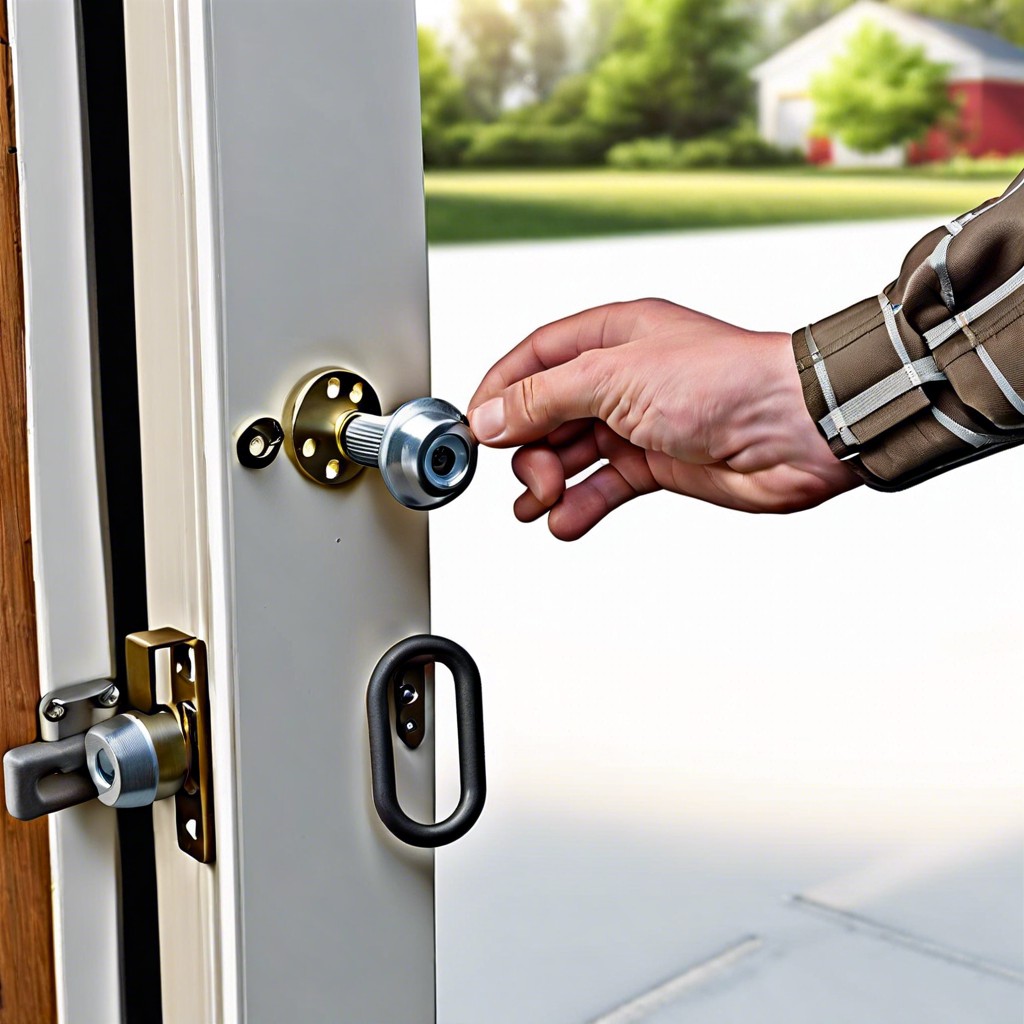
Grab your trusty wrench! Begin by examining all the roller brackets and bolts. Loose hardware is the sneaky culprit behind creaky, unstable garage doors. A few turns of the wrench here and there can work wonders.
Look for hinges that are wobbly or have started to wear out. If they’re rusty or look like they’ve survived a zombie apocalypse, they might need replacing.
Remember the spring brackets. These little guys hold a lot of tension. If they’re loose, your garage door could go from zero to problematic in no time.
Lastly, give the tracks a once-over. Bolts slipping out here not only spell trouble for the door’s movement but can suddenly turn your garage into a puzzle room.
A tightened garage door is a happy, quiet one. And who doesn’t love peace and quiet?
Check and Adjust Door Balance
First, disconnect the garage door from the opener by pulling the red release handle. You’ll need to manually lift the door halfway. If it stays put like a well-behaved puppy, you’re good. If it slams shut or shoots up, it’s time to adjust the balance.
For doors with torsion springs, call a professional—those things can be feistier than an angry raccoon. For extension springs, lower the door, grab your trusty wrench, and turn the spring tension to even things out.
A balanced door will effortlessly stay in place. If it doesn’t, adjustments are necessary. And remember, sometimes it’s best to make small changes and test frequently. Patience, my friend, is key.
Lastly, if you’re frequently adjusting the balance, it might be time to consider replacing the springs. Better safe than stuck under a rebellious garage door.
Lubricate Moving Parts
For smooth operation, grab a high-quality garage door lubricant. Avoid WD-40 as it’s a degreaser—great for squeaky hinges, terrible for garage doors.
Start by spraying the springs. Give them a light coat, ensuring even distribution. Next, hit the rollers. A little goes a long way here, so don’t go overboard. Focus on the ball bearings inside the rollers. If you spot any nylon rollers, skip lubricating them but steel ones are fair game.
Move on to the hinges. This is where the magic happens—literally. Lubricate the pivot points, and watch your door transform from a grumpy old man into a graceful ballerina. Finally, attend to the lock mechanism. A quick spritz keeps it functioning smoothly, saving you from being locked out when you’re already late for work.
And voila, smoother than a jazz saxophonist on a Friday night.
Inspect and Repair Tracks
Let’s get down to tracking! First, grab a flashlight and take a good look at the tracks on both sides of the door. You’re looking for dents, bumps, or any obstacles. Tracks need to be smooth like butter.
If you find any minor dents, a rubber mallet works great for knocking them back into shape. For larger dents, a piece of scrap wood and a hammer can do wonders.
Now, check for alignment. Misaligned tracks wear out your door faster than a puppy on a sugar rush. Use a level to make sure they’re straight. If not, gently loosen the screws holding the tracks and tap the tracks into the correct position. Tighten the screws when you’re done.
Last but not least, clear out any grime or debris from the tracks. A clean track is a happy track. A vacuum and a damp cloth work wonders here.
There you have it—some quick and dirty tips to keep your garage door tracks in top shape.
Replace Weatherstripping
If your garage tends to feel like a drafty cavern, it might be time to focus on the weatherstripping. This magical material seals the gaps around your garage door, keeping the elements out and the warmth in.
Here’s what to do:
First, yank off the old, worn-out weatherstripping. It’s been through enough.
Next, clean the surface where the new stripping will stick. Nobody likes dealing with dirt when trying to get a good seal.
Measure twice, cut once. You don’t want to end up with a piece too short or too long. Like Goldilocks, your stripping should be just right.
Finally, press the new weatherstripping into place. Make sure it’s secure and snug to keep out that pesky draft.
Voilà! A cozier, more efficient garage with a simple switch.