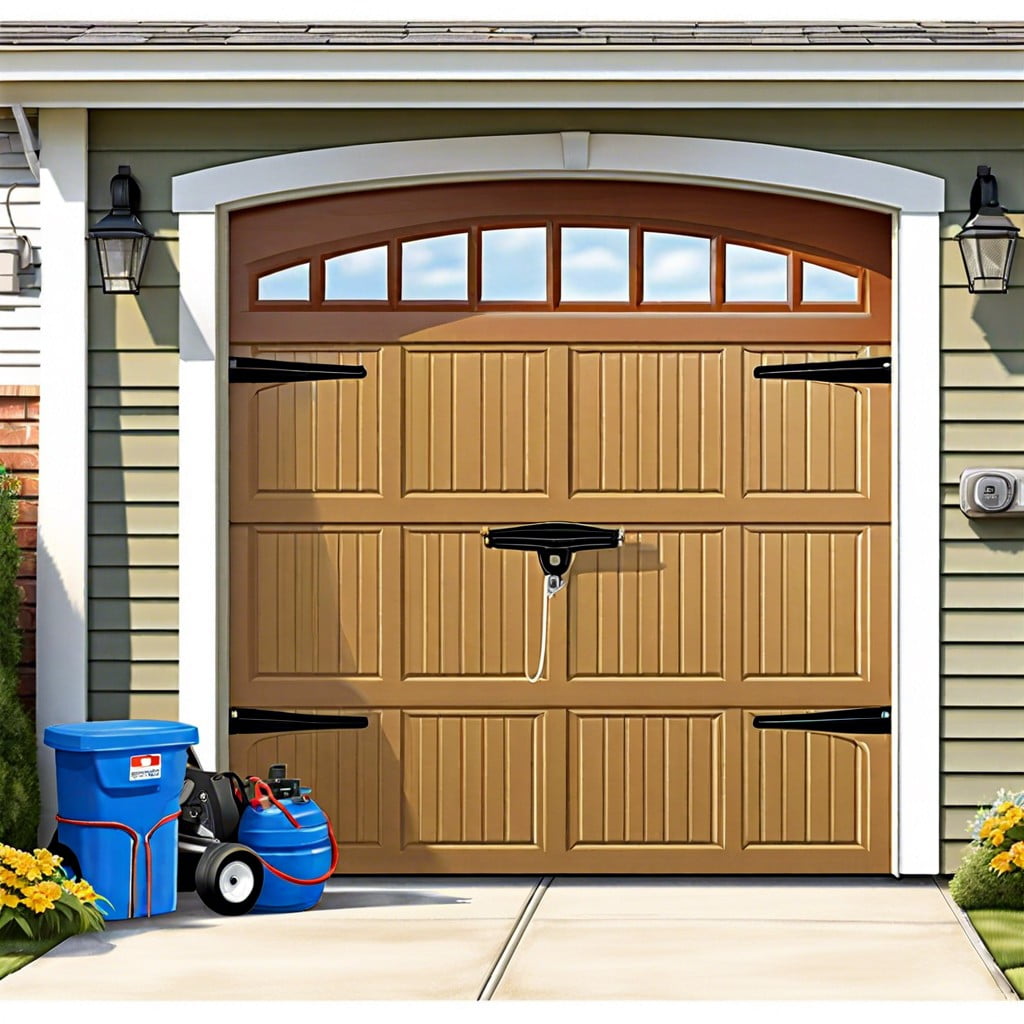
Learn the step-by-step process to safely replace a garage door cable and ensure the smooth operation of your garage door.
Key takeaways:
- Prioritize safety when replacing garage door cables.
- Look for signs of wear or damage on the cables.
- Disconnect power to the garage door opener before starting.
- Release tension from springs before removing cables.
- Adjust cable tension properly for smooth and safe operation.
Safety Precautions

Before embarking on the task of replacing a garage door cable, prioritize safety to prevent accidents and injuries. Always wear protective eyewear and gloves to shield yourself from potential harm when handling cables and springs, which can be under high tension. Ensure the garage door is in the closed position to minimize the risk of it crashing down unexpectedly. Disconnect the garage door opener to eliminate any chance of unintended activation, and carefully handle tools and components with alertness to your surroundings. If the task seems beyond your capability, do not hesitate to seek professional assistance. Remember, safety is paramount; no repair is worth risking personal injury.
Identify Signs of Wear or Damage On Cables
Inspect your garage door cables regularly for fraying, rust, or strands that are coming loose—these are clear indicators of wear. Over time, cables can also stretch, reducing their effectiveness in holding tension. Look for any kinks or twists, which could compromise the cable’s integrity and potentially cause it to snap. Pay special attention to the area near the bottom roller bracket, as damage is most common there due to the high tension the cables endure during door movements. If the cable appears to be in poor condition, it is imperative to replace it to prevent the door from malfunctioning or causing injuries.
Disconnect Power to the Garage Door Opener
Before starting maintenance on your garage door, it’s critical to ensure it’s safe to work on. The first step is to disconnect the power to prevent the door from being inadvertently activated, which could lead to injury. To do this, unplug the garage door opener from the electrical outlet. If your opener is hardwired into the electrical system, switch off the relevant circuit breaker or remove the corresponding fuse from the fuse box.
Once the power is cut, disengage the opener from the garage door. Typically, this involves pulling on the emergency release cord, which hangs from the opener carriage. This step is essential; it allows you to operate the door manually and ensures complete control as you work on the cables. As an added precaution, use locking pliers or a clamp to secure the door in place to prevent it from opening during repairs, which also helps alleviate tension on the cables. Prioritizing safety cannot be overstressed – taking these measures protects both you and the garage door system from unnecessary risk.
Release Tension From Springs
Before attempting to remove cables, it’s crucial to release the tension held by the torsion springs. Engaging the emergency release handle will allow you to manually operate the door. Raise the door to its fully open position; this will relieve most of the tension.
For doors with extension springs, securing the door open with C-clamps on the track just below the bottom rollers will prevent the door from suddenly dropping, ensuring your safety. With the door secured, you can detach the springs from the track bracket or the eye bolt on the garage door frame.
If your garage door uses a tension spring, you should find a set of winding bars and carefully insert them into the winding cone. Make sure you are wearing proper eye protection and gloves; this step is critical because the springs are under tremendous tension.
Slowly and cautiously unwind the springs by turning the winding bars a quarter turn at a time, allowing the tension to release gradually. Avoid standing directly in front of the winding bars to mitigate the risk of injury in case they slip.
Once the tension is fully released, you can safely proceed with removing the cables. It’s crucial to remember that adjusting or releasing tension from springs carries a significant risk of injury or property damage and is best left to professionals if you’re not confident in your abilities.
Adjust Cable Tension
Proper cable tension is critical to ensure your garage door operates smoothly and safely. Here are the steps to adjust the tension once a new cable is in place:
- Begin by opening the garage door fully to reduce tension on the cables.
- Secure the door in place using clamps on the tracks beneath the bottom rollers to prevent it from dropping.
- Locate the cable drum at the top of the door. The drum houses the cable and is fixed to the shaft running above the door.
- Loosen the set screws on the cable drum with a wrench. Do this carefully, keeping your grip firm to prevent the drum from spinning uncontrollably.
- Pull the cable tight, but do not overtighten, as this could cause undue strain on the drum and bearings.
- Wind the cable onto the drum evenly, making sure it sits in the grooves without any overlaps or kinks.
- Once the cable is taut and properly seated, retighten the set screws on the drum. While securing the screws, hold the cable in place to maintain the correct tension.
- After adjusting both cables (if applicable), remove the clamps and slowly lower the garage door to check the balance and tension.
- It’s important to remember that the goal is to achieve a balance where the door remains level and moves smoothly without the cables being too loose or too tight. If unsure about the process or if the tension does not seem correct after adjustment, seek professional help to prevent damage to the door or injury.