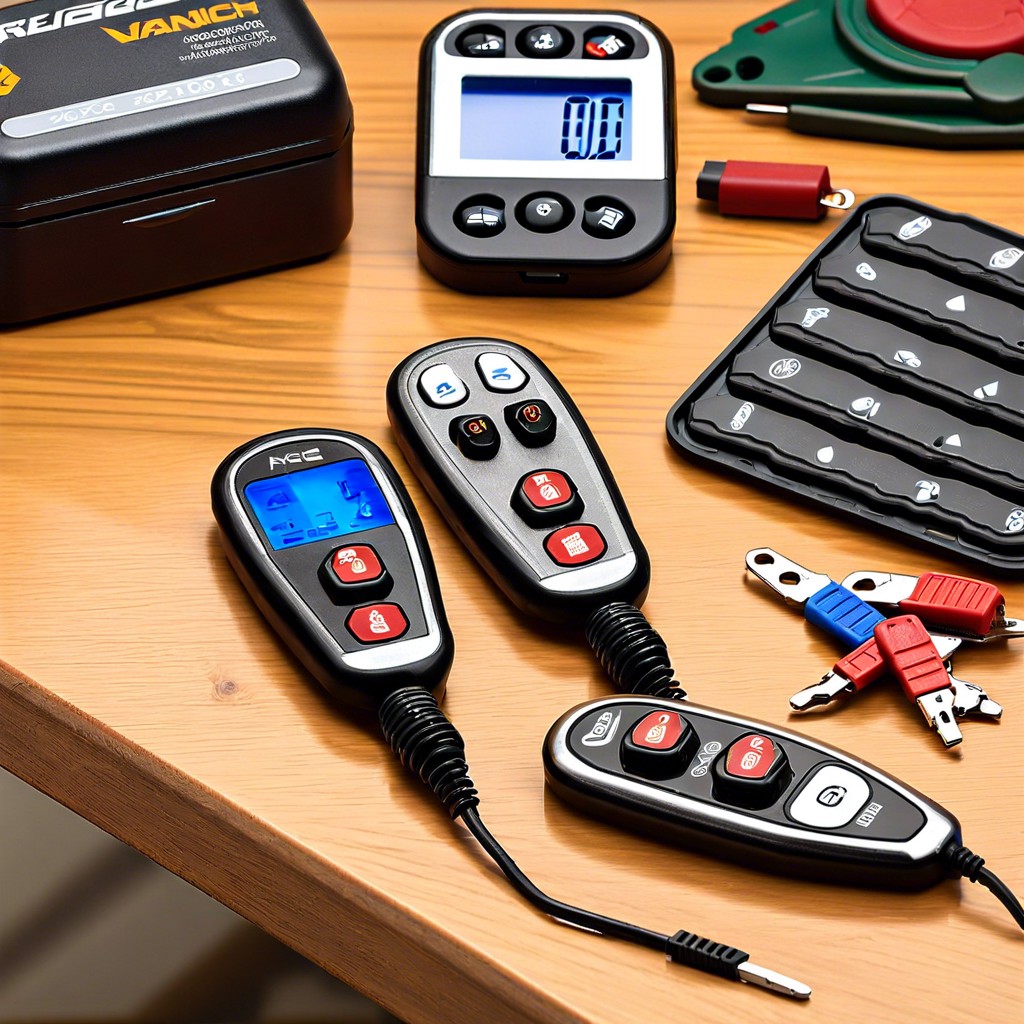
Learn how to replace your garage door remote quickly and easily with step-by-step instructions.
Key takeaways:
- Identify your current garage door opener’s model.
- Check compatibility for universal remote options.
- Program the new remote using the “Learn” button.
- Test the remote’s range and functions thoroughly.
- Erase the old remote from the opener’s memory.
Determine What Garage Door Remote You Need

Start by inspecting your current garage door opener. Check if there’s a model number visible. This information is typically found on the back or side of the opener unit itself. Not sure where to look? It’s usually in a spot so obscure that it could double as a winning location for hide-and-seek.
Research the specifications of your opener. Different models require different remotes — they aren’t all born equal. Think Cinderella’s slipper, but for garage doors.
Consult those slightly dusty manuals if you still have them. No manual? No worries. The manufacturer’s website can often provide critical info. They’ve built it, after all, so they’ll likely know what works.
Consider the frequency and brand. Most manufacturers offer remotes that only work with openers operating on specific frequencies. It’s not unlike matching socks — can’t pair stripes with polka dots, right?
And if you’re feeling adventurous, explore if a universal remote is an option. It might save the day like a superhero in spandex, but proceed with caution; not all universes end in happily ever after.
Figure Out If a Universal Remote Will Work
Before rushing to buy a new remote, check if a universal remote is a valid knight in shining armor for your garage door woes. Here’s what to consider:
Brand compatibility: Confirm your garage door opener’s brand and model number. Most universal remotes are superstars when it comes to covering popular brands, but they falter with a few elusive ones. Make sure your opener isn’t part of the rare breed.
Frequency: Garage door openers often communicate through frequencies like 300 MHz, 310 MHz, or 390 MHz. Look at your opener’s manual or ingratiate yourself with the internet to double-check which frequency it uses. A mismatch here is like trying to listen for a cat’s meow in an orchestra.
Model vintage: If your garage door opener is older than your vinyl record collection, a universal remote might not be the best dance partner. Historic openers have a penchant for unique, difficult-to-replace remotes that compete with unicorns on the rarity scale.
Features: Some universal remotes offer additional glitz, such as the ability to control multiple garage doors, or buttons customizable for spaceship launches (just kidding on that one), but focus on useful features like extra programmable options, in case the family expands with more cars—or more garages!
Program Your New Garage Opener Remote
Ready to bring your garage door remote to life? Here’s how you can become the Programming Pro you were always meant to be:
First, locate the “Learn” button on your garage door opener unit, typically a hider on the power-packed motor. It might be awkwardly perched, like it’s hiding a secret, but it’s there. Trust the process.
Press the “Learn” button. You’ll usually get a brief window of about 30 seconds to execute your next move. If you’re feeling like an international spy, you’re right on track.
Now, grab your new remote. Press and hold the button on the remote you want to sync. Listen for a click, or look for a blinking light on the opener that says, “Mission Accomplished!”
If your garage door opens or closes in response, congratulations! You can now add “Telekinetic Garage Manipulator” to your resume.
Don’t forget to check the manufacturer’s manual for specific instructions, as not all remotes are created equal. Some might have secret steps like they’re auditioning for a magic show.
Test the New Remote
Here comes the fun part: trying out that shiny new remote!
- Stand a few feet away to avoid an impromptu garage-door selfie.
- Hit the button and wait for the magic. If the garage door opens, you are now a certified remote wizard (or at least a lucky button pusher).
- Check the range by slowly walking backward while pressing the button. It’s not an athletic competition, but now you know how far you can control the door.
- Test the close function. Ensure it doesn’t stop halfway or go hyperactive like a yo-yo.
- Observe for any odd noises suggesting your garage door is auditioning for a robot in a sci-fi movie.
If everything works well, celebrate with a victory dance—just not too close to the moving door!
Erase the Lost Remote From the Opener’s Memory
It’s a bit like breaking up with your high school crush. Let’s make sure your opener has moved on from that lost remote.
- Locate the Learn Button: This ain’t a treasure hunt, but it might be tucked away on the garage motor unit. Typically, it’s above the antenna wire, sometimes hiding in plain sight under the lens cover.
- Press and Hold: Press that button like you mean it! Holding it for about 6-10 seconds usually does the trick. You’re basically wiping the memory slate clean, so no remotes can work until you reprogram them.
- Confirm Memory Erasure: Watch for the indicator light; when it blinks, flashes, or throws a miniature disco party, the memory’s cleared. It’s like hitting Ctrl+Alt+Del on all remote connections.
Now you’re free from the clutches of that wayward remote, ready to embrace a new remote without the baggage.