Discover the step-by-step process of replacing rollers on a garage door to ensure smooth and efficient operation.
Replacing rollers on a garage door can be a straightforward task when you have the right tools and guidance. This article will walk you through the process step by step, ensuring you understand how to safely remove the old rollers and install new ones.
Whether your garage door has become noisy or the rollers are simply worn out, this guide will provide the comprehensive details you need. By the end, you’ll have the know-how to effectively replace the rollers on your garage door, saving you time and potential repair costs.
Key takeaways:
- DIY roller replacement saves time and potential repair costs.
- High-quality rollers reduce noise and ensure smooth operation.
- Required tools: screwdrivers, pliers, new rollers, ladder, clamp.
- Safety measures: garage door down, safety gloves, glasses, assistance.
- Procedures for middle, top, and bottom garage door roller replacement.
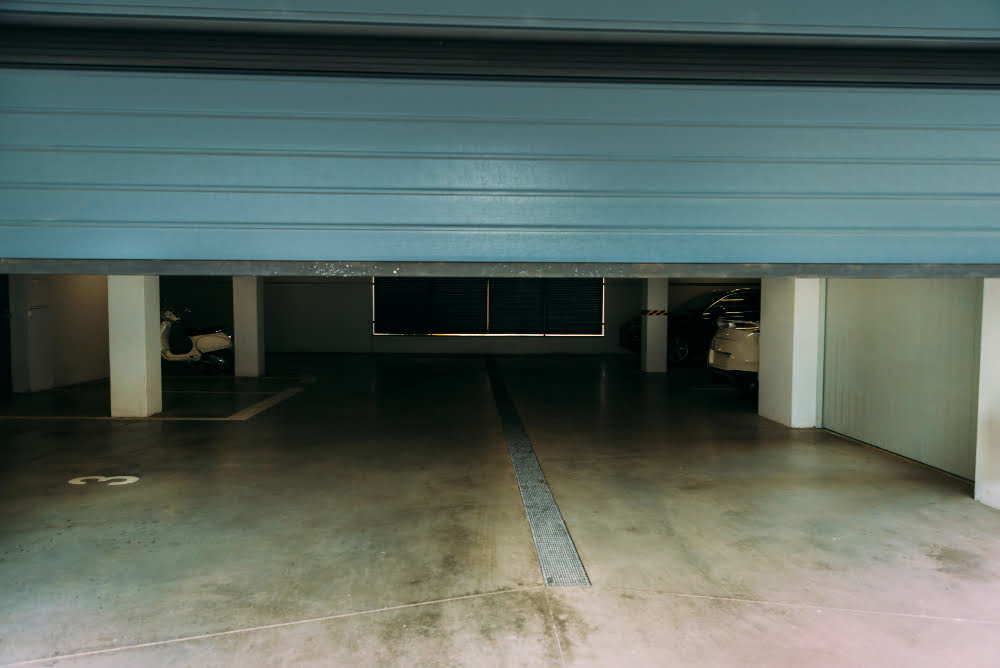
Garage Door Roller Function and Importance
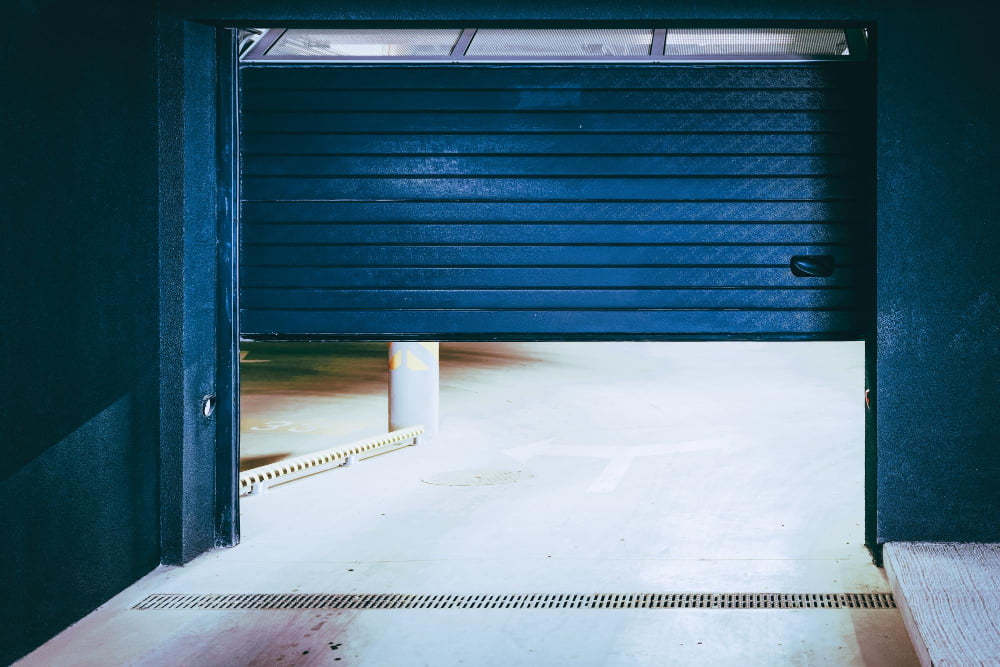
Garage door rollers form a crucial part of your garage door’s overall functioning as they allow the door to open and close smoothly. Attached to the door with hinges, these small wheels run within the track, reducing friction as the door moves. This not only ensures operational efficiency but also prolongs the lifespan of the garage door system by minimizing wear and tear.
It’s important to note that high-quality, well-maintained rollers considerably reduce noise levels during garage door operation. Hence, regularly inspecting and promptly replacing worn-out rollers not only ensures seamless operation, it also contributes to a serene home environment.
Required Tools for Roller Replacement
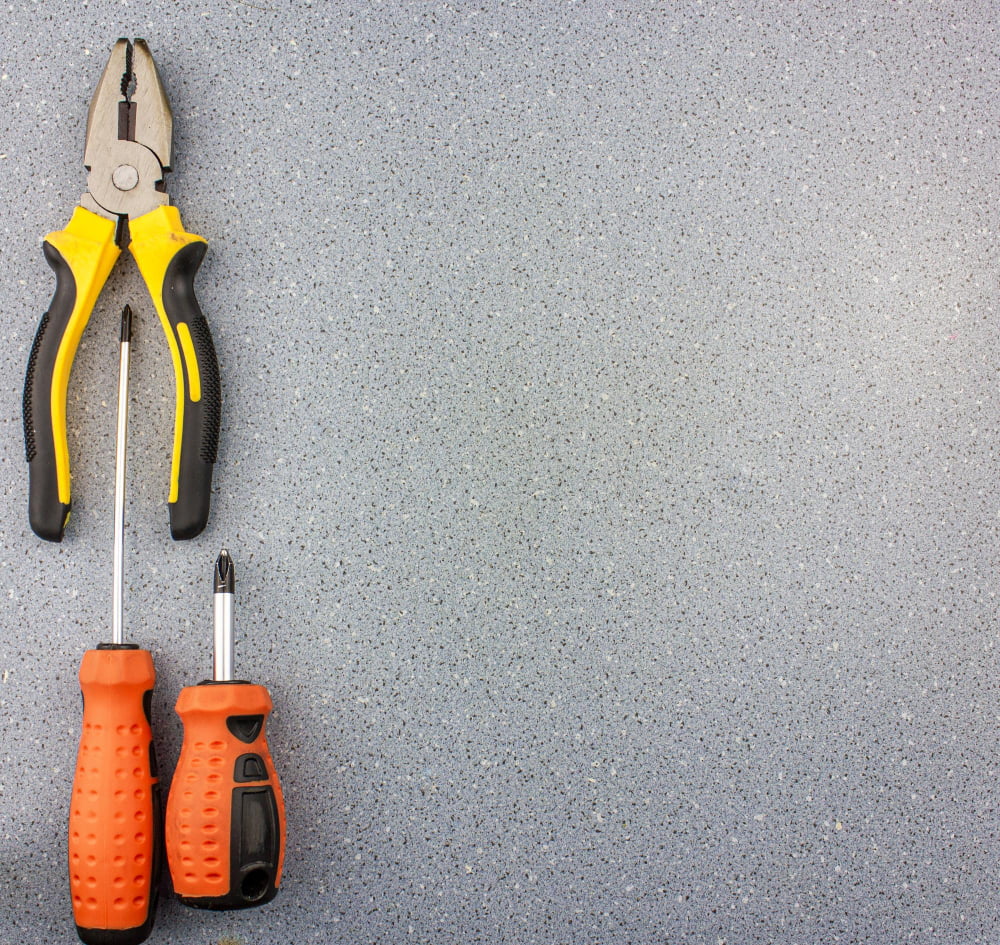
A successful roller replacement calls for the right resources. Having them at hand not only assures a smoother process but also significantly reduces the risk of accidents:
1. A standard set of Screwdrivers: These will be used for unscrewing the garage door brackets and other parts.
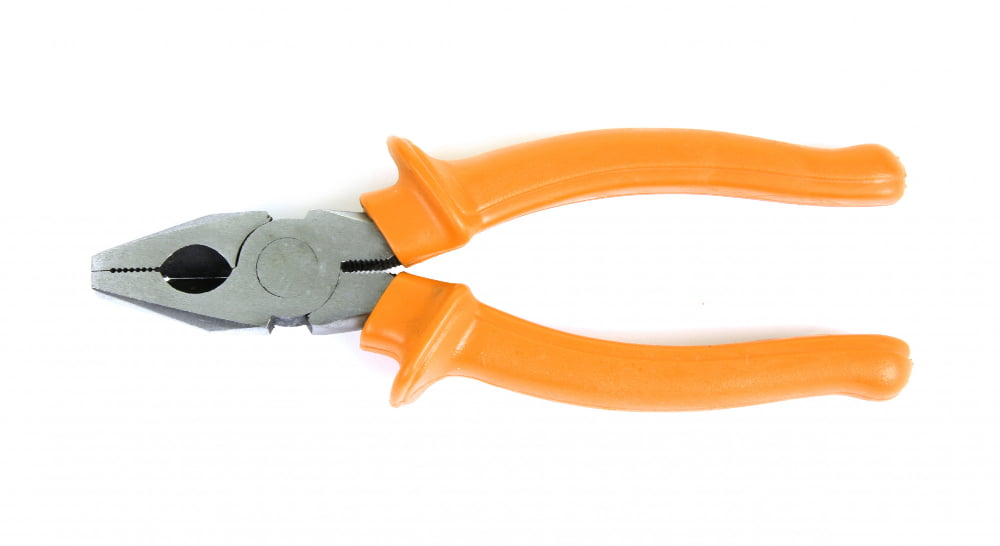
2. A Pair of Pliers: Pliers are critical for pulling out old or damaged rollers effectively.
3. New Garage Door Rollers: Ensure that you have good quality rollers that are compatible with your garage door system.
4. Ladder: A sturdy and well-balanced ladder is needed to reach the top rollers safely.
5. Clamp: This tool is necessary for holding the door in place while changing rollers.
6. Pry Bar: Useful for leveraging pressure when removing stubborn roller units.
7. Safety Gear: Always prioritize safety. A pair of gloves and safety glasses are essential to protect you from potential injury.
Having all the tools ready can make the roller replacement process effortless and quicker. Be sure to cross verify the specific tools needed based on your garage model and door setup.
Essential Safety Measures Before Roller Replacement

Ensure the garage door is in the down position to avoid any unexpected movement. Unplug the automatic door opener to eliminate the risk of accidental activation.
Wear safety gloves when handling rusty or sharp metallic parts to prevent skin injuries. Use safety glasses to protect your eyes from dust, debris, or breaking parts during the process.
It’s also wise to have someone aware of your activity in case of emergencies. Lastly, never attempt to remove the bottom bracket on your own as it’s under extreme tension and could result in severe injury.
If you’re uncomfortable with this process, don’t hesitate to reach out to a professional. Keep in mind, your safety is of utmost importance.
Procedure for Replacing Middle Garage Door Rollers
Initially, stabilize your ladder next to the garage door. Begin by unfastening the pliers that secure the old rollers in place. Once secure, pry out the old roller using the flathead screwdriver, taking care not to apply too much pressure which can cause unnecessary damage.
Transitioning to the new rollers, insert them into the track. Ensure the stem fits properly into the hinge. Once the roller is in place, use the pliers to fasten the new roller, verifying its secure placement. Repeat this process for each middle roller.
During the replacement process, continuously check for garage door balance. In case of imbalance, reassess the placement of each replaced roller. Avoid rushing through the process; correct alignment is crucial to proper garage door operation.
Remember to maintain regular lubrication of all rollers once replaced, regardless of their position. This simple maintenance step can greatly enhance the durability and efficiency of your garage door system.
Method for Replacing Top Garage Door Rollers
Begin with fully opening the garage door. This will relieve the pressure on the springs, ensuring a safe working environment. Utilizing a clamp or locking pliers on the track beneath the roller will safeguard the door from falling.
With a little wiggle, remove the roller bracket from the door by unfastening the bolts. Be careful as these top brackets can be under a lot of pressure due to the weight of the garage door.
For a clean removal, angle the roller out and away from the hinge. Apply slight force to slip out the roller from the track. It should come out along with the bracket without causing any damage.
Before inserting the new roller, check that it’s free from defects and moves smoothly. Slide the roller into the hinge on the door, then back into the track. Secure the bracket back to the door and ensure everything is tightened.
Remove the clamp or locking pliers from the track. Slowly lower the garage door to test the functionality of the new roller. You should notice a significant reduction in noise and smooth operation.
Remember, regular maintenance and lubrication are key to long roller life.
Steps to Substitute Bottom Garage Door Rollers
Begin by releasing the garage door from the opener with the help of the emergency release cord. Proceed to raise the door halfway before securing it in place – C-clamps or locking pliers on the tracks below a roller can assist with this.
Next, remove the bolts and nuts from the lowest hinge brackets on each side of the door, using an appropriate wrench or ratchet. Carefully slide the roller out of the bracket sleeve and then proceed to remove the roller from the track.
Now, slide the stem of the new roller into the hinge sleeve. Rotate the roller until it aligns with the track, then gently roll the door down to reinsert the roller in the track. Replace the bolts, securing the roller in the hinge.
Repeat this process on the other side. Once both bottom rollers have been replaced, properly inspect the replacement and initial function of the door. Use caution and open and close the door slowly to ensure new rollers are functioning correctly. You’ve successfully replaced the bottom garage door rollers!
Addressing Common Problems After Roller Replacement
After the roller replacement process, it’s common to encounter some issues. Not to worry, these are usually easy to solve!
1. Door Is Unbalanced: If your garage door seems unbalanced, it could be due to uneven placement of the rollers. Ensure they are all aligned and running smoothly on the tracks.
2. Noisy Operations: Excess noise during operation may indicate that the rollers aren’t properly lubricated. Applying garage door lubricant can alleviate this issue.
3. Difficulty Opening/Closing: If the door is tough to open or close, double-check the fastening of the brackets holding the rollers. They may need to be tightened or loosened for optimal performance.
4. Roller Pops Out: In case the roller pops out of the track, check the sizing. A big roller may not fit properly and require a smaller one. Conversely, a roller that’s too small may not stay put in the track.
5. Slow Opening Speed: A garage door with new rollers might open slower than usual if the tracks are too tight. Consider adjusting the track alignment.
Remember, for complex or persistent issues, it’s best to call a professional to avoid causing damage or personal injury!
FAQ
How often should garage door rollers be replaced?
Garage door rollers should typically be replaced every 10-12 years, although their lifespan can vary depending on the material, be it plastic, nylon, or steel.
How do I know if my garage door rollers are bad?
Your garage door rollers may be bad if they show visible signs of wear or damage such as cracking, chipping, bent pieces, loose components, or broken seals in the case of rollers with ball bearings.
Are garage door rollers universal?
No, garage door rollers are not universal, with most residential rollers being close to 1 3/4 inches in diameter, while commercial and industrial doors use two-inch and three-inch rollers.
What are the key signs of wear and tear in garage door rollers?
Key signs of wear and tear in garage door rollers include excessive noise during operation, difficulty in opening or closing the door, and visible damage or rust on the rollers.
How much time does it typically take to replace garage door rollers?
The typical time for replacing garage door rollers is approximately two to three hours.
What essential tools are needed for the replacement of garage door rollers?
For the replacement of garage door rollers, essential tools include safety glasses, a clamp, a ladder, pliers, a wrench set, replacement rollers, and a pry bar.