Learn how to effectively seal your garage door to keep out drafts, debris, and pests with practical steps you can do yourself.
Key takeaways:
- Clean debris before sealing for better adhesion.
- Measure accurately to avoid gaps and crooked fits.
- Use adhesives or screws to secure weatherstripping.
- Brush seals adapt to uneven surfaces effectively.
- Regularly check seals to maintain insulation efficiency.
Bottom Weatherstripping
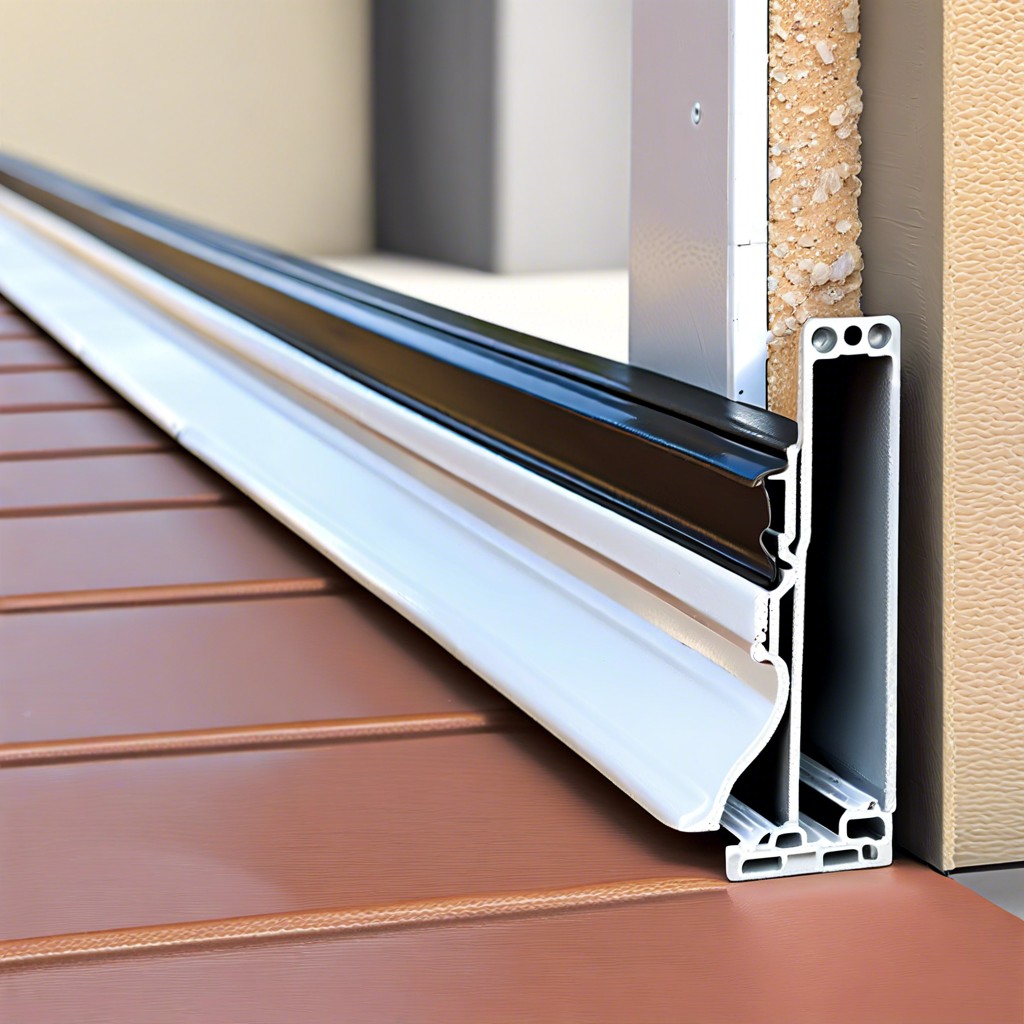
First, clear any debris from the bottom of the garage door. This ensures a clean surface for the seal to adhere to.
Measure the width of the door. You want the weatherstripping to cover the entire edge without gaps. Precision here can save you a headache later.
Remove the old, worn-out strip. It’s often attached with screws or nails. A little elbow grease goes a long way.
Cut the new weatherstripping to size. If your strips come in a roll, unroll and measure twice to cut once.
Align the new strip along the bottom edge of the door. Start at one end and work your way to the other.
Secure it in place with screws, nails, or adhesive, depending on the type of weatherstripping you have. If screws or nails are used, space them evenly for maximum hold.
Test the door by closing it to ensure a snug fit. The strip should compress slightly to form a seal. If you can still see daylight peeking through, you might need thicker weatherstripping.
Threshold Seal
Consider this the moat to your garage castle—a threshold seal effectively keeps water, debris, and little critters from sneaking in.
First, clean the area thoroughly, because nothing sticks well to grime. Measure the width of your garage door and cut the seal to match. No one likes a crooked moat.
Next, you’ll want to apply adhesive, usually included with your seal kit. Just remember, it sticks like your favorite tune on repeat, so be precise. Place the seal strip directly on the floor where the garage door meets the ground, pressing firmly to ensure it bonds well.
Finally, close the door to ensure a snug fit. Admire your handiwork and give yourself a high-five. Or an awkward solo fist bump—your choice.
Top and Side Weatherstripping
Start the process by measuring the dimensions of the door’s top and sides. You wouldn’t want to be one of those folks who wing it and end up with weatherstripping that fits like a square peg in a round hole.
Next, choose a suitable material. Vinyl or rubber weatherstripping is highly recommended—they’re durable, flexible, and also, let’s be honest, just look snazzy.
Clean the surface of any grime, dust, or cobwebs that’ve set up camp. The adhesive backing or screws (depending on your weatherstripping kit) will only stick to clean surfaces. Otherwise, you’ll be back to square one faster than you can say “drafty garage.”
Install the strips along the door’s edges, ensuring a snug seal without impeding the door’s movement. Cut off any excess material. You want it to look like it was done by a pro, even if you’re a weekend warrior.
Lastly, admire your handiwork and relish the thought of fewer leaves and critters making surprise visits. It’s a small but mighty improvement.
Brush Seals
Okay, imagine a giant toothbrush for your garage door—kind of like those car wash bristles, but for keeping out the elements instead of soap and water. Brush seals are long strips with dense bristles that sweep away drafts, dust, and even insects. Here’s the magic:
They’re installed around the edges of the door, often alongside other seals, to fill in gaps.
The bristles are flexible, so they move with the door without sacrificing the seal.
They can be trimmed to fit perfectly, like a very precise haircut for your garage door.
Grab a drill and some screws, because installation is a DIY dream. Just attach the strip to the door frame or the door itself.
Bonus: they’re great for uneven surfaces. The bristles adapt, ensuring no gaps remain.
It’s like having a loyal, hardworking pet guarding your garage—minus the feeding and walking.
V-Type Seals Between Panels
When it comes to sealing those pesky gaps between your garage door panels, V-type seals are your best pals. These flexible seals fit snugly in the joints between the panels, acting like a barrier against the elements. Think of them as the ninjas of weatherproofing — silent but effective.
First, clean the area between the panels to ensure the V-type seals adhere properly. Dust and grime are the arch-enemies of effective sealing.
Next, measure the width of the panel gaps to determine the correct seal size. This isn’t one-size-fits-all, so precision is key. It’s like tailoring, but for your garage.
Once you’ve got the measurements sorted, cut the V-type seal to the appropriate length. A little extra at each end won’t hurt — you can always trim it down.
Finally, install the seals in the gaps. The flexible design allows them to compress as the panels close, creating a tight seal. A snug fit means better insulation and fewer drafts.
Pro-tip: Regularly check these seals for wear and tear. Over time, they can become less effective, and a timely replacement will keep your garage cozy and your energy bills in check.
There you have it. With V-type seals, you’ll keep those drafts at bay, and maybe even keep out the odd spider looking for a new home. Win-win.