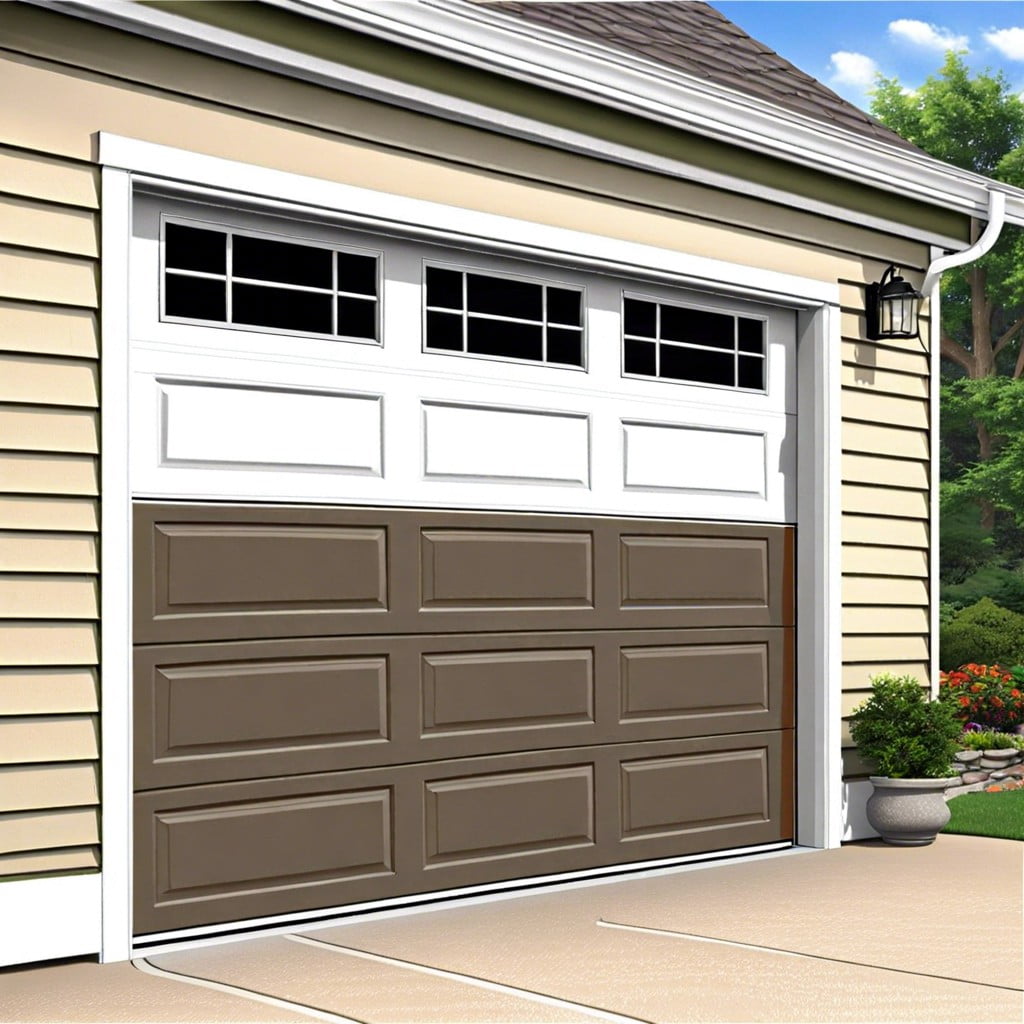
Learn how to seal the sides and top of your garage door to keep out drafts, pests, and moisture with these straightforward steps.
Key takeaways:
- Check and Replace Bottom Weatherstripping
- Install Weatherstripping on Top and Sides
- Consider Brush Seals for Added Protection
- Benefits of Weatherproofing Your Garage
- DIY-Friendly Weatherstripping Installation
Bottom Weatherstripping

First things first, inspect that bottom edge. You’ll want to ensure a snug fit when the door closes. Check out some common culprits:
Gaps: Get low and look from inside the garage. If you can see daylight, that’s definitely a problem.
Cracks: The existing weatherstripping might be torn or cracked—kind of like your grandma’s ancient chocolate chip cookie recipe.
Compression: Over time, weatherstripping can lose its springy nature, leading to less effective sealing.
Now, the fix is easier than fitting into those jeans from high school. Just grab a replacement bottom weatherstripping kit. Most come with simple instructions, but here are the basic steps:
- Measure the width of your garage door. Let’s avoid a comedy of errors.
- Remove the old strip—don’t be shy. Yank it off.
- Clean the area. A little elbow grease goes a long way.
- Slide or nail in the new weatherstripping.
Voilà! Your bottom is now properly sealed and ready to perform.
Top and Side Weatherstripping
For the top and sides of your garage door, weatherstripping is a game-changer. It’s like giving your door a cozy blanket and saying, “No drafts allowed!” Here’s how you can conquer this:
First, gather your materials: weatherstripping (preferably with adhesive backing), a measuring tape, and a utility knife. Oh, and a ladder – unless you’re Spider-Man.
Measure the length of the top and sides of the garage door frame. A measuring tape is your best friend here.
Cut the weatherstripping to match these dimensions. Precision is key; you don’t want any gaps. Gaps are the villains in this story.
Peel off the adhesive backing from the weatherstripping. This part is oddly satisfying. Stick it firmly along the inside edges of the door frame. Make sure it’s snug and smooth.
For the top of the door, it’s best to have someone hold the ladder. Safety first, adventurers!
Weatherstripping not only blocks drafts but also keeps out bugs. So, think of it as adding a “No Pest Allowed” sign to your fortress.
Your garage door is now ready to tackle the elements. Victory!
Now you’ve got the sides and top snugly sealed, preventing unwanted intrusions and saving on energy costs.
Brush Seals
Brush seals are like the Swiss Army knife of garage door weatherproofing. They consist of a strip of bristles attached to a backing that mounts to the top and sides of your garage door. These bristles are flexible but durable, and they follow the contours of your door as it moves. Here’s why you might want to consider them:
First, they keep out the creepy crawlies. Bugs and rodents will think twice before trying to breach your garage fortress thanks to these dense bristles.
Second, they’re great for blocking drafts. No more chilly air seeping in during winter or your precious air-conditioned air escaping in the summer.
Third, they’re effective at keeping out dust and dirt. Less sweeping and more time doing anything else—sounds like a win.
Lastly, they’re surprisingly easy to install. With a few screws and a drill, you can get them up and running in no time.
Consider brush seals your all-in-one solution for a snug, secure garage. Keep the pests and drafts out while keeping the comfort in. Perfect!
Why Should I Weatherproof My Garage?
Keeping the elements out is crucial. Weatherproofing your garage can prevent drafts, making it more energy-efficient and cozy. You’re not heating the entire neighborhood anymore!
It also keeps pests out. Those little critters love sneaking in through gaps. Nobody invited the ants or the spider family reunion.
Moisture can wreak havoc. Sealing those edges helps keep rain and snow at bay, preventing rust and mold. Your tools and equipment will thank you.
Soundproofing, anyone? A well-sealed garage can actually help reduce the noise from outside. No more startling because of next door’s early morning leaf-blower sessions.
Can I Install Weatherstripping Myself?
Absolutely! Installing weatherstripping is a DIY-friendly project. Here’s why:
It’s cost-effective. You don’t need to hire a professional, which translates to more money in your pocket—perhaps for that new power tool you’ve been eyeing.
The materials are readily available. Most hardware stores carry a variety of weatherstripping options. If you’re an online shopper, a few clicks are all it takes.
No fancy tools required. Basic tools like a utility knife, tape measure, and perhaps a screwdriver will get the job done. Easy-peasy!
It’s quick. A typical installation can be completed in just a couple of hours, leaving you plenty of time to binge-watch that TV series you’ve been putting off.
The process is straightforward. Measure, cut, peel, and stick. You’ll spend more time deciding what pizza to order for dinner.
Who knew sealing up drafts could be so satisfying?