Learn how to install a Chamberlain garage door opener efficiently with step-by-step guidance to simplify your DIY project.
Key takeaways:
- Choose the right Chamberlain opener for your needs and preferences.
- Gather the necessary tools and materials before starting installation.
- Assemble the rails and mount the power unit securely.
- Position the safety reversing sensors and make electrical connections.
- Program the remotes and test the functionality of the opener.
Selecting the Right Chamberlain Garage Door Opener Model
Chamberlain offers a variety of garage door openers tailored to different needs and budgets. First, assess the size and weight of your garage door. A heavier door might require a more powerful motor, think 3/4 horsepower instead of the standard 1/2 horsepower. If you’re all about cutting-edge tech, opt for a model with built-in Wi-Fi, allowing you to open or close your garage door from your smartphone. This is perfect for tech lovers who tend to forget whether they’ve closed the door!
Also, consider the drive type. Belt drives are supremely silent, ideal if your garage is attached to your living space and you’re not a fan of rumbling noises during your favorite TV show. Alternatively, chain drives are a wallet-friendly option that are durable and reliable, though a tad noisier. Lastly, don’t forget about security features. Look for openers with rolling code technology which changes the access code each time the door is used, thwarting any potential garage bandits.
Choosing the right model is crucial for an efficient installation and long-term satisfaction. Make sure the opener fits your garage’s needs and your personal preferences for a smooth, seamless operation.
Tools and Materials Needed for Installation
Before you dive into the installation, ensure you have all necessary tools and materials handy. You’ll need a set of screwdrivers, both Phillips and flat-head, to tackle various screws and brackets. A drill with a set of drill bits is crucial for making pilot holes for mounting. Don’t forget a tape measure for precise placement and a level to keep everything straight.
Wrenches and sockets are needed to tighten bolts and nuts, ensuring your opener is securely attached. Additionally, a ladder is indispensable to reach the higher parts of your garage. It’s wise to have wire cutters and strippers too, as you’ll be handling electrical wiring.
Lastly, gather the materials included with your Chamberlain opener kit: mounting brackets, rails, screws, and the safety sensors. Now, you’re equipped to move forward with confidence!
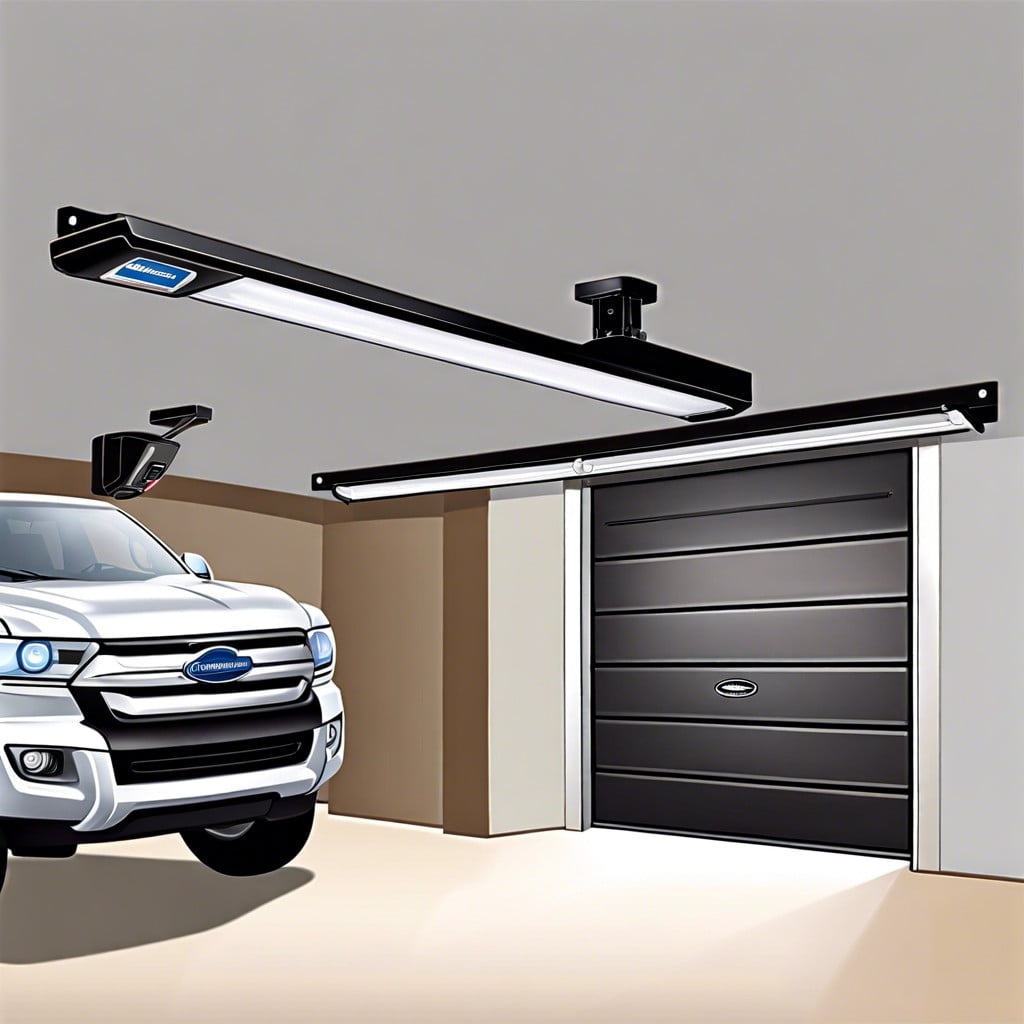
Installing the Rails and Mounting the Power Unit
Firstly, assemble the rail sections according to the Chamberlain opener model instructions. Ensure each piece snaps together securely, forming a strong backbone for your opener. This will ensure smooth operation and reduce wear over time.
Next, locate the center point above your garage door when it’s closed. This is where you’ll attach the header bracket. Use sturdy lag screws for mounting, as this bracket bears most of the opener’s mechanical force during operation.
With the rail constructed and the header bracket in place, you’re ready to mount the power unit. This typically requires hoisting the motor unit onto the rail, ensuring it’s evenly balanced. If the motor is off-center, it can lead to uneven wear and tear.
Secure the power unit to the ceiling with angle irons or brackets. It’s crucial to check your garage ceiling can support the weight. Consider additional supports if necessary to avoid any sagging or movement.
Finally, ensure that all connections along the rail are tight and secure before proceeding. A wobbly rail could turn your door into a rogue robot, and nobody wants a garage uprising!
Setting Up the Safety Reversing Sensors and Electrical Connections
Ensuring your garage door opener functions safely revolves around correctly positioning the safety reversing sensors. These sensors prevent the door from closing if something obstructs the path. Typically, they should be installed approximately six inches above the ground on either side of the garage door.
For the wiring, you’ll connect the wires from the power unit to each sensor, then from the sensors to the opener itself. Make sure to securely fasten the wires along the walls or ceiling, using clips or insulated staples. This keeps the setup tidy and prevents damage to the wires.
Finally, connect the opener to your home’s electrical system. Usually, this involves plugging the unit into a standard outlet, but you might also integrate it with a permanent wiring system if your home is set up for this feature. Be sure to follow local codes and regulations for electrical installations in your area.
Once all connections are in place, give the system a test run to ensure everything is aligned and operational before moving on to programming the opener. Handling electrical connections might seem like you’re defusing a bomb, but fear not—it’s usually as simple as plugging in a toaster! Just follow the manual, and you’ll be up and running in no time.
Programming the Remotes and Testing the Garage Door Opener
After successfully setting up the hardware, it’s time to bring your Chamberlain garage door opener to life by programming the remotes. This is where you get to push buttons and see things happen—an almost magical process!
Start by finding the “Learn” button on your garage door opener’s motor unit. It’s typically located on the back or side and is color-coded, making it easy to spot. Press and release this button; you’ll usually see a light turn on, indicating it’s in learning mode.
Quickly proceed to press the button on your remote. You should hear a click or see a flashing light from the opener, confirming the remote is paired successfully. For those who like instant gratification, this is it!
Don’t forget to test the garage door by using the newly programmed remote. Hit the open or close button and watch your garage door obey your command as smoothly as rolling out a red carpet. If it doesn’t work as smoothly as hoped, recheck your steps or consult the manual—sometimes tech just wants to test our patience!
For multi-remote programming, repeat the same steps with each controller. It’s easy once you get the hang of it, and you’ll be a door-opening wizard before you know it. Keep your manuals handy for troubleshooting or setting additional functions. Your garage door is now not just a part of your home, but a well-connected part of your tech arsenal.