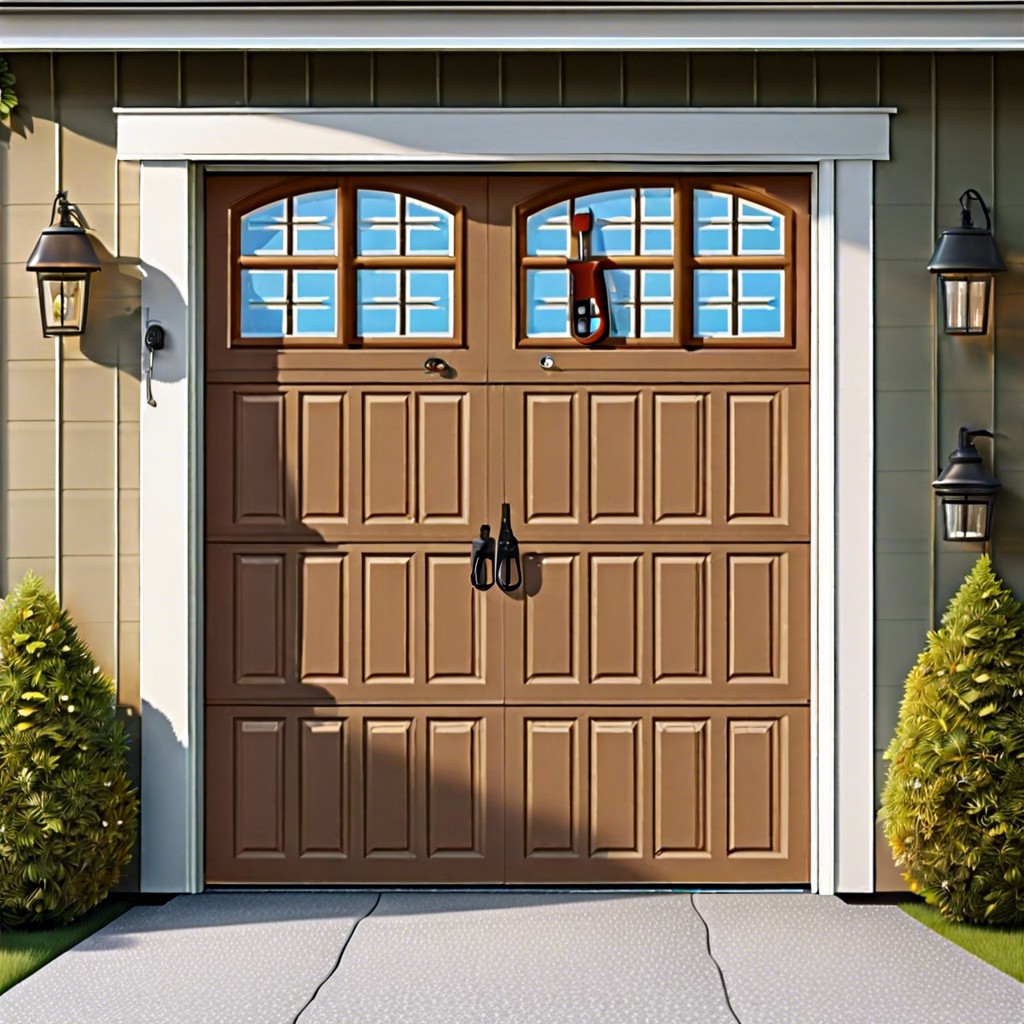
Learn how to insulate your garage door to keep your garage warmer in winter and cooler in summer, saving energy and enhancing comfort.
Key takeaways:
- Insulating garage doors enhances temperature control.
- Clean and check for old weather stripping first.
- Measure accurately for a snug insulation fit.
- Seal edges to prevent drafts and maintain warmth.
- Regularly inspect insulation for effectiveness over time.
Preparing the Garage Door

First things first, ensure the door is clean and dry. A dirt-free surface helps the insulation stick better. Grab a mild detergent, a sponge, and give that door a good scrub. Rinse and let it dry.
Next, check for any old weather stripping around the door edges. Is it looking like it’s seen better days? Replace it. New weather stripping means better insulation.
Got a metal or wooden door? Knowing your door material can affect how you approach insulation. Metal doors are straightforward, but wooden doors might need a bit more TLC due to their texture.
Finally, make sure the door can still close properly. Insulation adds a bit of bulk, and we don’t want any surprises later.
Ready? Let’s make that garage cozier.
Measuring and Cutting Insulation
First, grab your trusty tape measure. You’ll need to get the precise dimensions of each garage door panel. Measure both the height and width of each section separately. Remember, garages like to play the individualist game – no two panels are exactly alike!
Once you have your measurements, it’s time to cut your insulation. Aim for a snug fit without making the insulation too large or too small. You want it to sit comfortably within the confines of each panel. Precision is key here.
A utility knife is perfect for cutting the insulation material. Ensure you’re working on a steady surface to keep your cuts straight and accurate. If your cuts resemble a drunk snake, it’s time to take a breather.
It’s also worth noting: measure twice, cut once. You’ll save yourself the headache and any embarrassing re-dos. Happy snipping!
Installing the Insulation
Start by aligning the insulation with the panels of your garage door. Make sure everything fits snugly—like a glove, not like a mitten. Press the insulation firmly into place, ensuring it adheres solidly.
Start from the bottom and work your way up. Gravity is your friend here; take full advantage. Once you have all the pockets filled, smooth out any air bubbles. It’s not bubble wrap; resist the urge to pop anything!
Use double-sided tape or adhesive spray for a more secure fit. For a metallic garage door, add a layer of reflective foil insulation on top. Think of it like putting icing on a cake—pretty and functional. And who doesn’t love cake?
Watch out for any gaps and fill them with weatherstripping. Gaps lead to drafts, and drafts lead to cold mornings. Cold mornings lead to grumpy folks, and we want everyone happy!
Sealing the Edges
To ensure a snug fit and prevent any sneaky drafts, it’s crucial to seal the edges properly.
- Weatherstripping: Attach weatherstripping along the sides and top of the garage door. This ensures there are no gaps for cold air to creep in.
- Bottom Seal: Check the rubber or vinyl bottom seal. If it’s cracked or worn, replace it. New seals keep the cold out and your cozy, insulated air in.
- Caulk It: Use silicone caulk around the edges where the door meets the wall. It’s like giving your door a warm, airtight hug.
- Inspect and Adjust: After sealing, verify that the door opens and closes smoothly. Adjust as necessary for a balance between efficiency and functionality.
Testing and Final Touches
Now that you’ve installed the insulation, it’s time for the fun part—seeing how well it works. Close the garage door and bask in the newfound warmth. Then go to town with some quick tests to ensure everything’s snug as a bug.
First, run your hand around the edges of the door. Feel any drafts? If you detect a hint of a breeze, bust out the caulk gun or weatherstripping to seal up those sneaky gaps.
Next, open and close the garage door a few times. Is everything moving smoothly? If it feels like the door’s struggling, you might need to adjust the springs or hinges. A well-insulated door shouldn’t make opening it a workout.
Check out the noise levels too. Notice a difference? Besides keeping things warm, insulation should muffle some of the racket from outside. If it’s still a symphony of street noise in there, consider additional soundproofing measures.
Lastly, keep an eye on the insulation over time. It should stay in place and remain effective through the seasons. If anything starts to peel or sag, nip it in the bud with some adhesive or more clips.
Congratulations, you’re now the proud owner of a cozier, quieter garage!