Learn how to effortlessly replace the battery in your LiftMaster keypad to keep your garage door functioning smoothly.
Key takeaways:
- Tools Required: small Phillips-head screwdriver and new batteries
- Access the Battery Compartment: locate and open the compartment
- Identify the Correct Battery Type: check the manual and choose a reputable brand
- Install the New Battery: align the symbols and secure it in place
- Test the Keypad: close the compartment, press a key, and enter your PIN
Tools Required
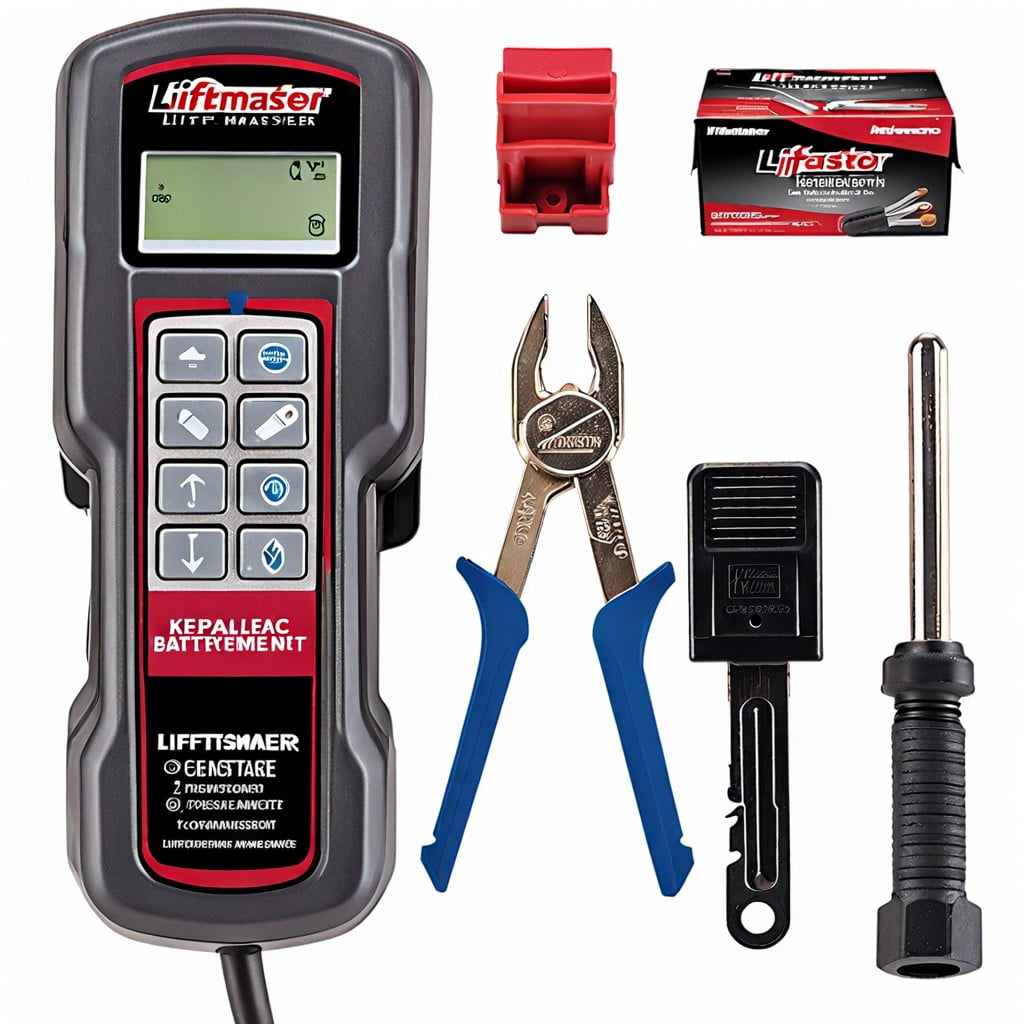
Before diving into the nitty-gritty, let’s gather some essential tools. Don’t worry, it’s a short list – like really short. You’ll need:
- A small Phillips-head screwdriver. Think tiny, like elf-sized!
- New batteries. Make sure they’re the right type (spoiler alert: we’ll cover that soon).
That’s it. Yup, only two things stand between you and a functional keypad. Time to get started!
Accessing the Battery Compartment
Begin by locating your LiftMaster keypad, often mounted near the garage door. Look for a small seam or compartment cover on the back or bottom of the keypad. The cover may be secured with tiny screws—nothing a small Phillips-head screwdriver can’t handle.
- Pop that cover open gently. No need to Hulk smash—finesse is key.
- If no screws are present, a firm, but gentle, push might be all it takes to slide the cover off.
- Keep a bowl or container handy for any tiny screws or parts. Lost screws are like socks—they vanish into thin air!
Identifying the Correct Battery Type
An essential step is getting the right battery type. No, you can’t just stick any battery in there and hope for the best. LiftMaster keypads typically use a 9-volt alkaline battery. But, you know what they say about assumptions—always check the user manual or inside the battery compartment cover for specifics.
While you’re at it, make sure to pick a high-quality battery brand. Bargain bin batteries might save you a nickel now, but they could fail sooner, leaving you back at square one. Nobody enjoys playing hide and seek with a malfunctioning keypad, right?
For the eco-warriors out there, consider a rechargeable 9-volt battery. It’s good for your wallet and the planet, though make sure it’s compatible with your keypad.
In summary: check the manual, go for a reputable brand, and pat yourself on the back for being an all-around smart cookie.
Installing the New Battery
Make sure the battery is slotted in properly—nobody wants to admit they’ve put it in upside down. Look for the positive (+) and negative (-) symbols both on the battery and the compartment. Match them up like a well-coordinated dance routine; they should align perfectly.
Sometimes these compartments act like they’re part of a secret vault. If there’s a tab or a spring, gently press it down so the battery snaps securely in place.
Close the compartment cover. If it’s not clicking shut, you might want to check if the battery’s sitting correctly. It’s like trying to zip up a bag full of groceries—something might be blocking the closure.
Voilà, battery installed. Your keypad should be good to go!
Testing the Keypad
Now that the new battery is snug in place, let’s ensure everything is in tip-top shape.
First, close the battery compartment securely. A loose cover can lead to all sorts of mischief, like dirt getting in or the battery popping out. Nobody wants that.
Next, press any key on the keypad to wake it up. Did it light up? Fantastic. If not, you might need to recheck the battery placement.
Enter your PIN and hit the enter button. The garage door should respond with a charming little dance (a.k.a. opening or closing). If it doesn’t, double-check the PIN and try again. Sometimes our fingers are just too enthusiastic for those tiny buttons.
Lastly, stand back and admire your handy work. You’ve just tackled a keypad battery replacement like a pro. High-five yourself, you’ve earned it.