Learn how to effortlessly program a remote for your LiftMaster MyQ garage door opener in just a few simple steps.
Key takeaways:
- Locate the “Learn” button on your garage door opener.
- Press and release the button you want to program.
- Clear all previous settings before programming a new remote.
- Ensure compatibility with LiftMaster MyQ® products.
- Follow the steps to link your remote to the myQ app.
Programming the LiftMaster Remote
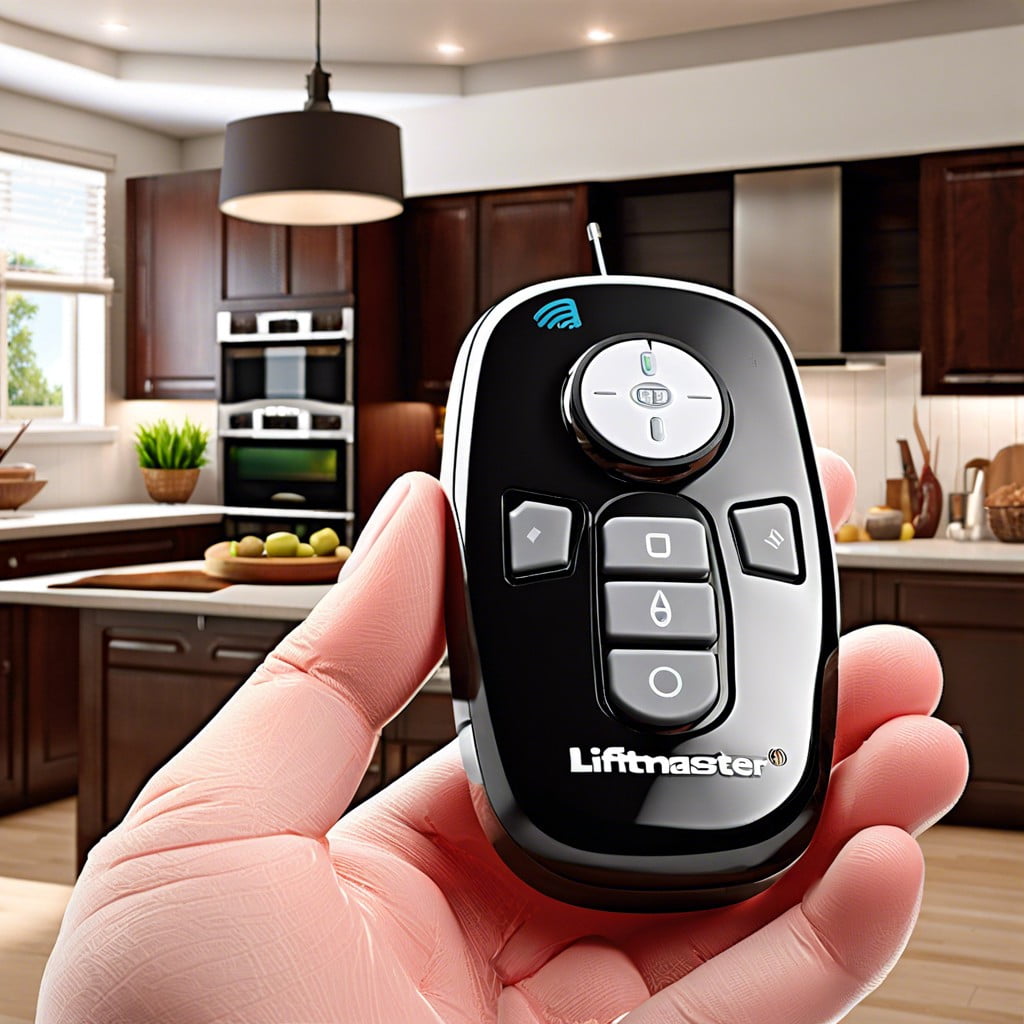
First, locate the “Learn” button on your garage door opener. This magic little button is usually found on the back or side of the unit and can be a variety of colors. Press and release this button. You’ve now entered programming mode, so the clock is ticking—you have about 30 seconds to perform the next step.
Next, grab your remote control. Time to make it earn its keep! Press and release the button you want to program. If your opener has a light bulb, it will blink to signal success. If you see no light, fear not—sometimes the opener will just make a clicking sound instead.
Remember, if at first you don’t succeed, reset and try again! You’ve got this. Once programmed, your remote is ready to open your garage without breaking a sweat. Just be sure not to press the “Learn” button too long, or you might erase all existing programming, which is typically only fun if you love repeating steps.
Clearing ALL Remotes From Your Opener’s Memory
Before you dive into programming your new remote, it’s wise to start from scratch by erasing all previous settings. This ensures no old or unused remotes can access your garage, boosting security. Follow these steps:
- Locate the “Learn” button on your garage door opener. This small, square button is typically on the back of the unit and might be colored red, yellow, green, or purple.
- Press and hold the “Learn” button for about six seconds until the indicator light turns off. This action deletes all remote control codes from the opener’s memory.
- Release the “Learn” button. You’ll know the clearing was successful if the light bulb on the opener blinks twice.
Congratulations, you’ve just created a clean slate to start adding only the remotes you currently use. Let’s proceed to the next step!
Step 1: Set Up LiftMaster With MyQ® Products
Before diving into programming your remote, ensuring your LiftMaster opener is compatible with myQ® technology is crucial. Here’s what you need to get started:
- Check Compatibility: Not all LiftMaster openers work with myQ® products. Verify your model’s compatibility by visiting the LiftMaster website or checking the user manual.
- Connect to Wi-Fi: Your garage opener must be connected to your home Wi-Fi network. This step is essential for seamless integration with myQ®.
- Download the myQ® App: Installation begins with downloading the myQ® app onto your smartphone. Follow the in-app instructions to create an account and add your device.
By ensuring these elements are in place first, you set the stage for a smooth programming experience of your remote. No tech wizardry required here, just a few taps, and you’re good to go!
Step 2
Once you have the equipment ready and verified compatibility, the next task involves actual programming, which is simpler than it sounds. Press and hold the program button on your remote until the LED light starts blinking. On your garage door opener, there should also be a similar button; press it until the indicator light turns on. This sync between the blinking lights signifies that your opener is in learning mode and ready to receive signals from the remote.
Now, return to your remote and press whichever button you wish to use to operate the garage door. The lights on both your remote and opener should stabilize, indicating a successful connection. Test your remote a few times to ensure it functions properly with each press. This step ensures that your garage door operation is literally at your fingertips, ready to respond to your remote control’s magical press!
Step 3
Once your LiftMaster device is linked to the myQ app, it’s time to pair your remote. This process is surprisingly simple, so there’s no need to stress about tech headaches here.
Press and hold the “Learn” button on your garage door opener until the LED light turns on. This indicates that the opener is in programming mode and ready to receive signals from the remote. Now, grab your remote control, press and hold the button you want to program. If you see the garage door opener lights flash or hear two clicks, your remote is successfully programmed. That’s your cue to release the button. Voila, your remote should now command the opener!
Check the functionality by pressing the programmed button on the remote; if the garage door reacts, you’ve nailed it. If not, just repeat the process because even the best of us don’t always get it right on the first try. Remember, perseverance is key, and practice makes perfect (or at least successfully opens the garage door!).