Learn how to program your Ford garage door opener manually, without the need for a remote.
Key takeaways:
- Disconnect power and clear area for safety during programming.
- Locate the “Learn” button on your garage door opener.
- Follow programming steps for Homelink, rolling code, or dip switch.
- Test the programmed opener by opening and closing the door.
- Troubleshoot issues by re-entering programming mode, checking distance, clearing old codes, checking batteries, or addressing interference.
Safety Precautions
Before starting the programming process, ensure your safety and the smooth operation of your equipment by following these guidelines:
– Disconnect power to the garage door opener to prevent unintended movements or electrical shocks. This is essential, especially when reaching near electrical components.
– Clear the area around the garage door of objects and people. This precaution avoids accidents triggered by sudden door movements.
– Use sturdy ladders if you need to access higher components. Always maintain a balanced stance to prevent falls.
– Keep your garage well-lit during the process. Proper visibility is crucial to avoid mishaps and to ensure you can clearly see and access the opener’s controls.
By paying attention to these safety measures, you’re setting yourself up for a successful programming session without unexpected interruptions or injuries.
Locating the Learn Button On Your Garage Door Opener
Before you can sync your car’s system to your garage door, you’ll need to locate the “Learn” button on the opener. This button is crucial as it allows the opener to connect with new controllers. Here’s how you find it:
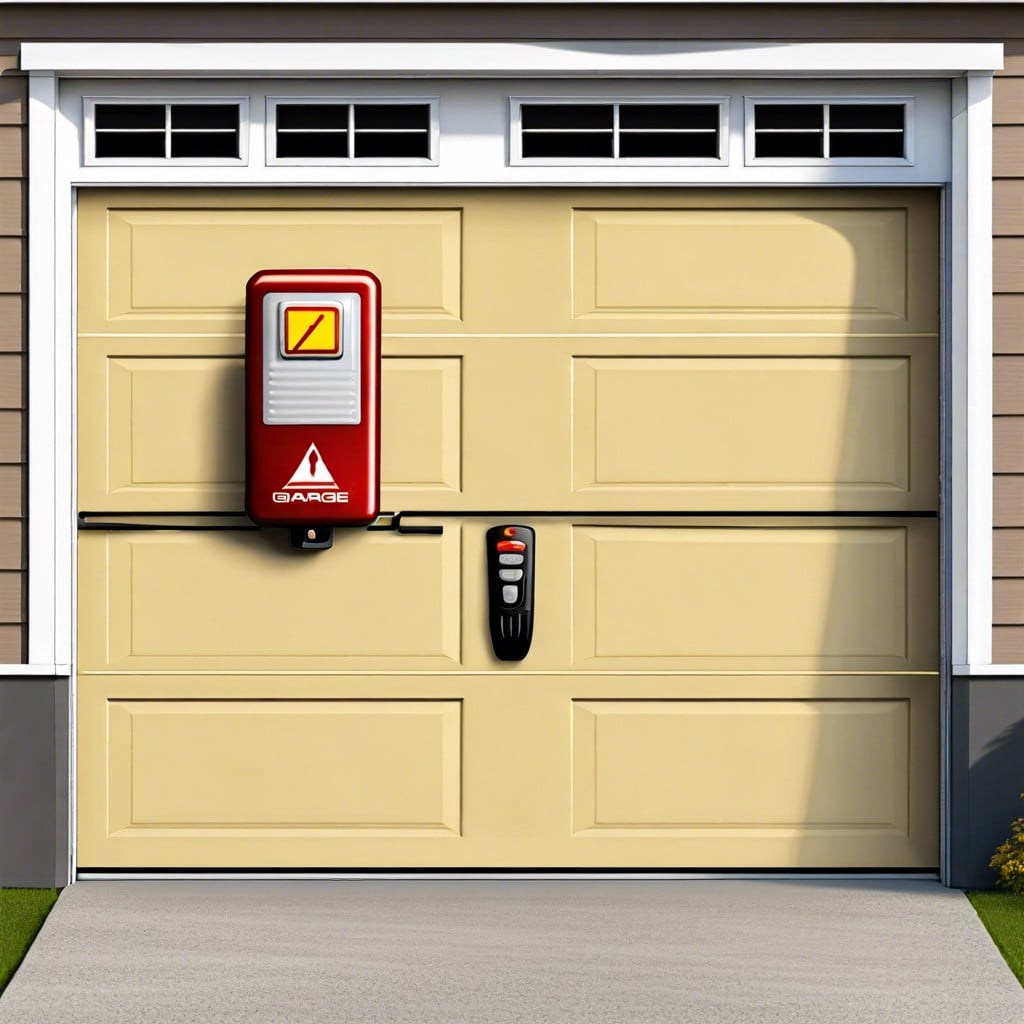
First, ensure your garage door opener is accessible. You may need a ladder to reach the unit mounted on your garage’s ceiling. Look for a small box attached near the motor — the “Learn” button is typically housed here. This button can vary in color, often being red, yellow, green, or purple.
Once you spot the button, you’re all set for the next step of programming. Remember, if your garage opener model is quite old and you struggle to find the button, referring to the user manual will clear up any confusion. This small effort saves time and staves off unnecessary frustrations later during the synchronization process.
Programming Steps (Including Homelink, Rolling Code, and Dip Switch)
Start by pressing and holding the Learn button found on the garage door motor until the light beside it turns on, indicating programming mode. This step is key for initializing the synchronization process between your vehicle and the garage door system.
For vehicles equipped with Homelink, locate the Homelink buttons typically found on the vehicle’s rearview mirror or sun visor. Select the button you intend to use for the door and hold it down until the indicator light changes from a slow to a rapid blink, signaling that the programming is complete.
If dealing with a rolling code system, after syncing the Homelink, an additional step is required. Return to the garage door opener, press the Learn button again to finalize the linkage. This ensures your vehicle communicates securely using a new code each time the door is operated.
For those with older systems using Dip Switch configuration, match the switches in your vehicle’s transmitter to the pattern on your garage door opener. This manual setting connects the two devices directly, bypassing the need for electronic learning.
Once setup, make sure to test the function a few times by opening and closing the door with the newly programmed button to confirm everything works as expected.
Testing the Programmed Door Opener
Once you have followed the programming steps, it’s crucial to verify if everything works as expected. Approach your garage door and press the programmed button on your car’s system. The door should respond by either opening or closing.
- If the door operates correctly, congratulations! Repeat the process with each button if your system allows control of multiple doors.
- If the door doesn’t move, double-check your programming steps and ensure your car is within range of the garage door receiver.
Test the functionality in various conditions—day and night, and with your car parked at different distances. This ensures the opener works reliably under all circumstances. If issues persist, consulting the garage door opener manual or a professional might be necessary for further troubleshooting.
Troubleshooting Common Issues
If your garage door opener doesn’t respond after programming, don’t fret. First, double-check your operator’s manual for model-specific issues. Sometimes the simplest fixes involve adjusting your approach:
- Re-enter the programming mode: ** Sometimes the system needs a reset. Press and release the Learn button again, then try programming another time.
- Check the distance: ** Too far from the opener? Stay within range—around a vehicle’s length away is optimal.
- Clear old codes: ** Overloaded memory can hinder new programming. Erase old codes by pressing and holding the Learn button until the indicator light goes out, then attempt reprogramming.
- Battery check: ** Weak batteries in your vehicle’s transmitter can cause poor signal strength. Replace them and try the steps once more.
- Interference check: ** Occasionally, LED bulbs and other electronic devices in your garage can disrupt signals. Try turning off these devices temporarily.
These checks should resolve most issues, but if problems persist, consider seeking professional help to avoid accidental damage or safety hazards.