Learn how to effectively seal your concrete to enhance its durability and resist stains, following a straightforward, step-by-step guide.
Key takeaways:
- Seal concrete when clean and dry for maximum durability.
- Clean surface thoroughly before sealing to ensure proper adhesion.
- Choose the right sealer based on specific needs and climate conditions.
- Apply sealer evenly and in multiple coats for maximum protection.
- Repair cracks before sealing to prevent further damage.
What’s Sealant and When Should You Apply It?
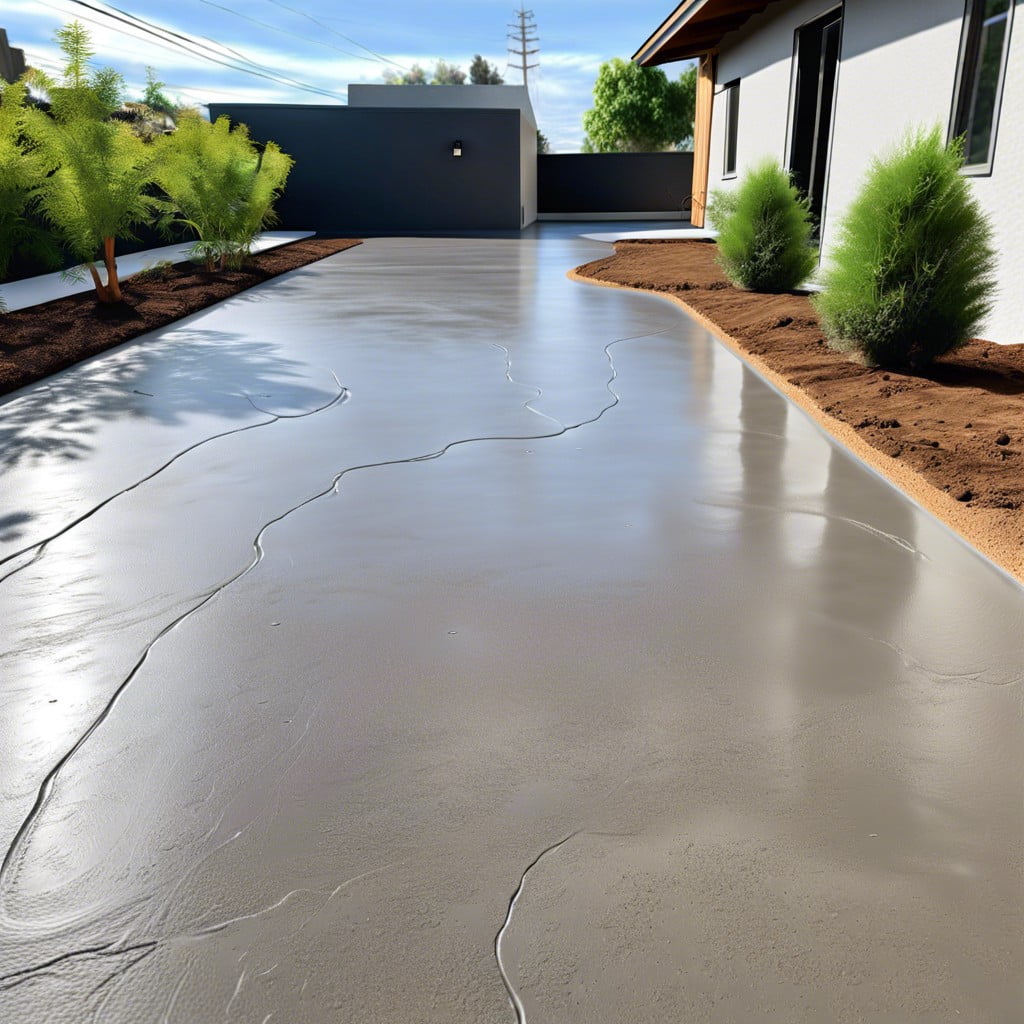
Sealant is the superhero cape for your concrete, offering protection against water, stains, and wear. Think of it as a barrier that keeps your concrete driveway, patio, or garage floor looking fresh and new against the elements. It’s essential to apply sealant when the concrete is clean and dry, usually about 28 days after new concrete has been poured. This allows enough time for the concrete to cure properly. Reapplication should typically occur every 2 to 5 years, depending on weather conditions and the type of sealer used. Always check the forecast to ensure there’s no rain expected shortly after application, as moisture can negatively impact the sealing process. This timing helps maintain the structural integrity and appearance of your concrete surfaces, ensuring they perform well for years.
Preparing Concrete for Sealing
Before diving into the sealing process, ensuring that your concrete surface is as welcoming as a clean house for a new guest is crucial. Start with a thorough cleaning. Sweep away any dirt, debris, or stains. These unwelcome squatters can prevent the sealant from adhering properly.
For stubborn stains, particularly those oily uninvited guests, use a degreaser or a concrete cleaner. Apply it according to the manufacturer’s instructions and give it a good scrub. Rinsing the area well afterward is like apologizing to your driveway for the harsh treatment.
Once the surface is clean, let it dry completely. Sealing damp concrete is about as effective as using a chocolate teapot; it doesn’t work and ends with a mess! Depending on the weather, drying might take anywhere from a few hours to a full day.
Lastly, any cracks or crevices in the concrete should be filled. Think of these like the embarrassing rips in your jeans at a fancy event—best to patch them up before the big seal! Using a concrete patch product, fill these areas and smooth them out. Allow any patches to cure based on the recommended times provided.
With these steps handled, your concrete will be in prime condition for sealing, offering a smooth canvas that’s ready for protection.
Choosing the Right Concrete Sealer for Your Job
Selecting the ideal sealer boils down to a few important factors, like your garage’s specific needs and the local climate conditions. If you’re battling moisture issues or are in an area prone to heavy rain, a penetrating sealer can be your best bet. These types go deep into the concrete to block moisture, helping prevent those annoying water issues.
Silicate-based sealers are perfect for busy garages. They harden the surface, making it tough enough to withstand frequent traffic and occasional oil spills from your car. No more panic attacks every time you drop something!
On the flip side, if making your garage floor the envy of the neighborhood is your goal, choose an acrylic-resin sealer. Available in both water-based and solvent varieties, these sealers add a slick, glossy finish that screams “look at me!” Plus, they’re easier to apply and reapply, which means less time in the garage, more time showing it off.
For the green thumbs and eco-friendly warriors, water-based polyurethane sealers are an attractive option. They’re low in volatile organic compounds (VOCs), making them kinder to your lungs and the environment.
Finally, budget is always a consideration. Estimate the square footage you need to cover and assess the cost-effectiveness of each sealer type. Remember, sometimes spending a bit more upfront can save you a lot in long-term repairs and touch-ups.
How to Apply Concrete Sealer
Start by ensuring the surface is completely dry and free of dust or debris. Choose a day with clear weather, as humidity and rain can hinder the sealing process.
Pour the sealer into a paint pan, dip your roller or brush in, and evenly apply it over the concrete. For larger areas, consider using a sprayer for efficiency; just make sure to cover evenly to avoid puddling.
Work in small sections to maintain a wet edge, a technique that helps prevent overlapping marks. This approach also aids in achieving a uniform coat.
Allow the first coat to dry according to the manufacturer’s instructions. If required, apply a second coat to ensure maximum protection and longevity of your concrete.
Remember, patience is your friend. Sealer might smell like you could conquer the world with it, but it takes time to dry. So, give it ample time, and your garage floor will thank you with years of sturdiness and durability.
Repairing Concrete Cracks
Before applying sealer, it’s crucial to address any cracks in the concrete, as sealing over them can lead to further damage. Luckily, patching them up can be straightforward if you follow these steps:
Start by cleaning the crack thoroughly. Remove any debris, dust, and loose particles with a wire brush or a vacuum to ensure the repair material adheres properly.
Choose an appropriate concrete filler or repair material. Smaller cracks typically require a flexible sealant or a liquid filler that can penetrate deep into the crack, while larger ones might need a concrete patching compound to rebuild the missing sections.
Apply the filler according to the manufacturer’s instructions. For precision, use a caulking gun for sealants or a trowel for patch compounds. Be sure to overfill the crack slightly to account for the material settling as it dries.
Smooth out the surface while the filler is still wet. A flat-edged trowel works well for this task. Blending the repairs with the surrounding area not only improves the appearance but also prevents water ingress, which can cause further deterioration.
Allow the repair to cure fully before proceeding with sealing. The curing time can vary depending on the product and weather conditions, so patience is key. Missing this step can prevent the sealant from adhering properly, turning what should have been a simple fix into a sticky situation—literally!
By tackling cracks before sealing, your concrete will not only look better but will also have a longer lifespan, resisting further damage and saving your pocket from future distress calls.