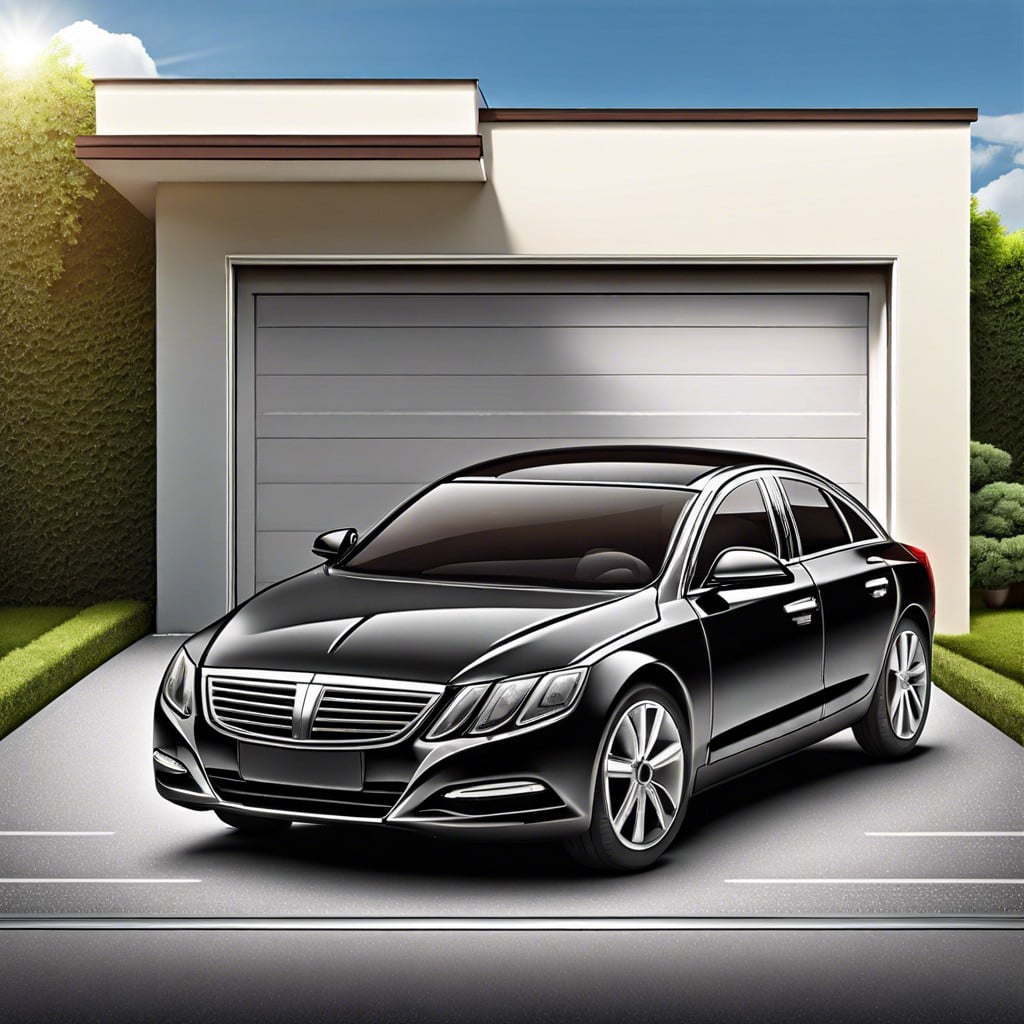
Learn how to efficiently set up your garage door opener in your car with these easy-to-follow steps.
Key takeaways:
- Choose the right garage door opener for compatibility and features.
- Locate your vehicle’s Homelink button for programming.
- Clear existing programming from Homelink for a clean start.
- Connect Homelink to your garage door opener using the program button.
- Test the connection to ensure successful programming.
Choose the Right Garage Door Opener

Compatibility is key when selecting a garage door opener for your car. Different systems operate on distinct frequencies and use varying technologies. Check your garage door manufacturer’s guidelines to identify compatible models. Opt for a unit with rolling code technology for enhanced security, which changes the access code each time you use the garage door to prevent unauthorized access.
Consider the type of drive system as well. While chain-drive models are budget-friendly and reliable, they tend to be noisier than belt-drive or direct-drive openers, which offer quieter operation. For those with attached garages, the less noisy options might be particularly appealing to avoid disturbances.
Lastly, think about feature sets such as Wi-Fi connectivity, which allows control and monitoring of your garage door from a smartphone app, or battery backup functionality that keeps your opener functional during power outages. These features, while not necessary, can significantly increase convenience and peace of mind.
Locate Your Vehicle’s Homelink Button
Homelink, typically found on your vehicle’s rearview mirror, overhead console, or visor, acts as a universal transmitter. If you’re unsure, your vehicle’s manual will pinpoint the exact location and appearance. Press the button to see if the indicator light starts flashing, which confirms its functionality.
Clear Existing Programming From Homelink
Before setting up a new connection, it’s critical to clear any previous settings stored in your car’s Homelink system. This reset ensures a clean start, preventing any interference from old programs.
To begin, turn on your vehicle’s ignition, ensuring it’s in park. Press and hold the first and third Homelink buttons simultaneously. Hold these down for about 20 seconds. Watch for the Homelink indicator light—it will change from solid to blinking rapidly, signaling that the memory wipe is complete.
This step is crucial; it avoids confusion and ensures that your system links directly to your current garage door opener without picking up defunct signals or commands from old programming.
Connect Homelink to Your Garage Door Opener
First up, find the “program” or “learn” button on your garage door opener unit. This is typically located on the back or side of the unit and might be under a light cover. Press this button briefly; you should see a light turn on or hear a click, indicating it’s ready to sync.
Next, head back to your car. Press and hold the Homelink button you intend to program. Keep pressing until the garage door activates, indicating a successful link. This might take a few seconds, so a bit of patience here can go a long way.
Some vehicles and garage door openers require a security pin. If prompted, enter this pin using your vehicle’s interface. This step is crucial for enhancing security and preventing unauthorized access.
Lastly, if your garage door opener uses a rolling code technology, you may need to perform a final synchronization. Return to the opener unit, press the “program” or “learn” button once more, and then try operating the door with Homelink again to confirm the connection.
Throughout the process, keep safety in mind. Ensure your garage area is clear of obstacles or individuals, especially when testing the door operation.
Test the Connection
Park your car within range of the garage door to ensure the opener can receive the signal. Press the programmed Homelink button you set up earlier. Watch for the garage door to respond. It should either open or close, confirming that the programming was successful. If the door doesn’t move, recheck the steps for any missed instructions or repeat the synchronization process. Sometimes, interference from nearby electronic devices can disrupt the signal, so consider turning off unnecessary devices during testing.