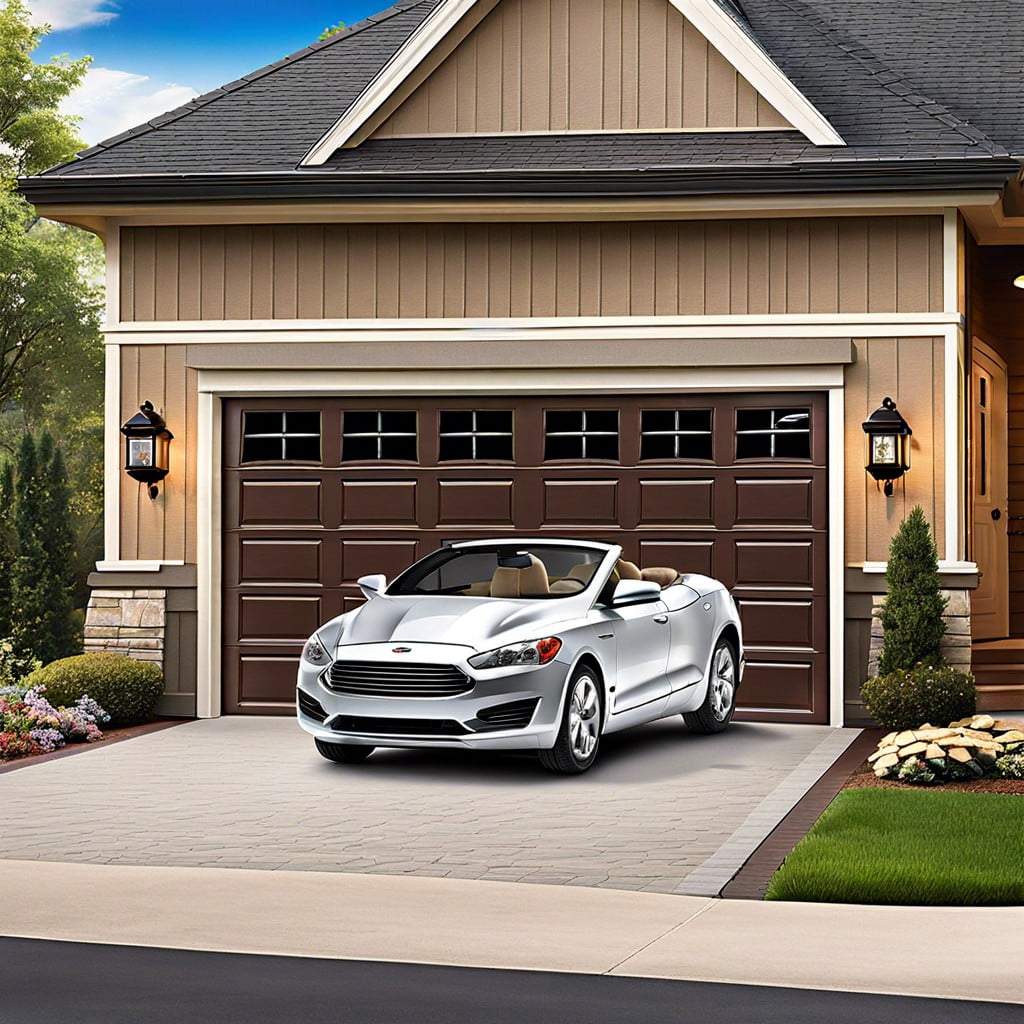
Learn how to program your Genie garage door opener to your car for streamlined access and convenience.
Key takeaways:
- Identify your Genie garage door opener model
- Gather necessary tools for programming
- Follow step-by-step guide to enter programming mode and link with HomeLink system
- Test the programmed connection to ensure it’s working properly
- Troubleshoot common issues during programming
Identification of Genie Garage Door Opener Model

Before programming your garage door opener to your car, you need to know exactly which Genie model you are working with. This detail is crucial as different models might have distinct programming instructions.
First, locate the main unit of your garage door opener — this is typically installed on the ceiling of your garage. On the side or the back of this unit, you should find a label or a sticker. Here, the model number, along with other manufacturer details, will be listed.
If your unit is older and the label is no longer legible, check your user manual, or visit the Genie website where you can find images and features of older models to help identify yours.
Knowing your model number enables you to access the most accurate programming instructions, ensuring a smoother setup process.
Tools Needed for Programming
Before starting the programming process, gather the necessary tools to ensure smooth execution. Primarily, you’ll need your car’s owner manual, which provides specific instructions on using your vehicle’s HomeLink system. Additionally, have your Genie garage door opener remote handy. This device will be essential in syncing your opener with the car. Having a ladder could also prove beneficial as you might need to access the garage door motor unit, which is typically mounted on the ceiling. Collecting these items prior to beginning will streamline the process and help avoid any delays.
Step-by-step Guide to Entering Programming Mode On Genie Garage Door Opener and Linking With HomeLink System
First, locate the “learn” button on your Genie garage door opener. This button is typically found on the back of the unit, and may be under a light cover which must be removed. Press and release this button. When pressed, the LED light adjacent to the button will turn on, indicating the opener is in programming mode.
Next, hop into your car and locate the HomeLink buttons, which are often positioned on the car’s rearview mirror or overhead console. Press and hold the HomeLink button you wish to program. While holding, observe the blinking of the LED light on the HomeLink; it will change from a slow to a rapid blink, signaling successful synchronization.
After this, return to your Genie opener and press the “learn” button once more to lock in the programming. This step finalizes the connection between your garage door and the vehicle’s HomeLink system.
Finally, go back to your vehicle to confirm the programming. Press the programmed HomeLink button once to activate the garage door. The door should respond to the command, verifying a successful link.
This sequence will integrate your car’s HomeLink system with your Genie garage door opener, making daily operations more efficient. If the door does not respond, retry the steps or consult the troubleshooting section.
Steps to Test the Programmed Connection
Once you’ve programmed your Genie garage door opener to your car’s HomeLink system, it’s essential to ensure everything is working as it should. Here’s how you can test the connection:
Start by sitting inside your car with the garage door closed. Press the programmed HomeLink button you’ve just set up. Watch to see if the garage door activates, opening smoothly without any hitches.
If the door doesn’t move, press the button a second time. Some systems require two pushes to operate, especially on the first use after programming.
Should the door still remain inactive, double-check the programming steps to ensure no steps were missed or repeated inaccurately. Sometimes, simply re-entering the programming mode and redoing the process corrects any issues.
Remember, patience is a virtue here! Sometimes, devices take a moment to communicate effectively, especially on their initial try.
Troubleshooting Common Issues During Programming
If you encounter hiccups while programming your Genie garage door opener to your car, here are some common snags and how to fix them:
- Signal interference: Sometimes electronic gadgets in your garage, like wireless routers or LED lights, can interfere. Try turning off these devices temporarily to see if it resolves the issue.
- Clearing old codes: Your opener’s memory might be full. Press and hold the ‘Learn’ button for about 10 seconds until the indicator light goes out, erasing all previous settings, and then attempt reprogramming.
- Battery check: Weak or dead batteries in your car’s remote transmitter could be the culprit. Replace the batteries and try programming again.
- Manual reference: Different models have slight variations in programming steps. Revisiting your opener’s manual can offer model-specific guidance that ensures success.
Following these steps often resolves typical programming challenges and gets your system running smoothly again.