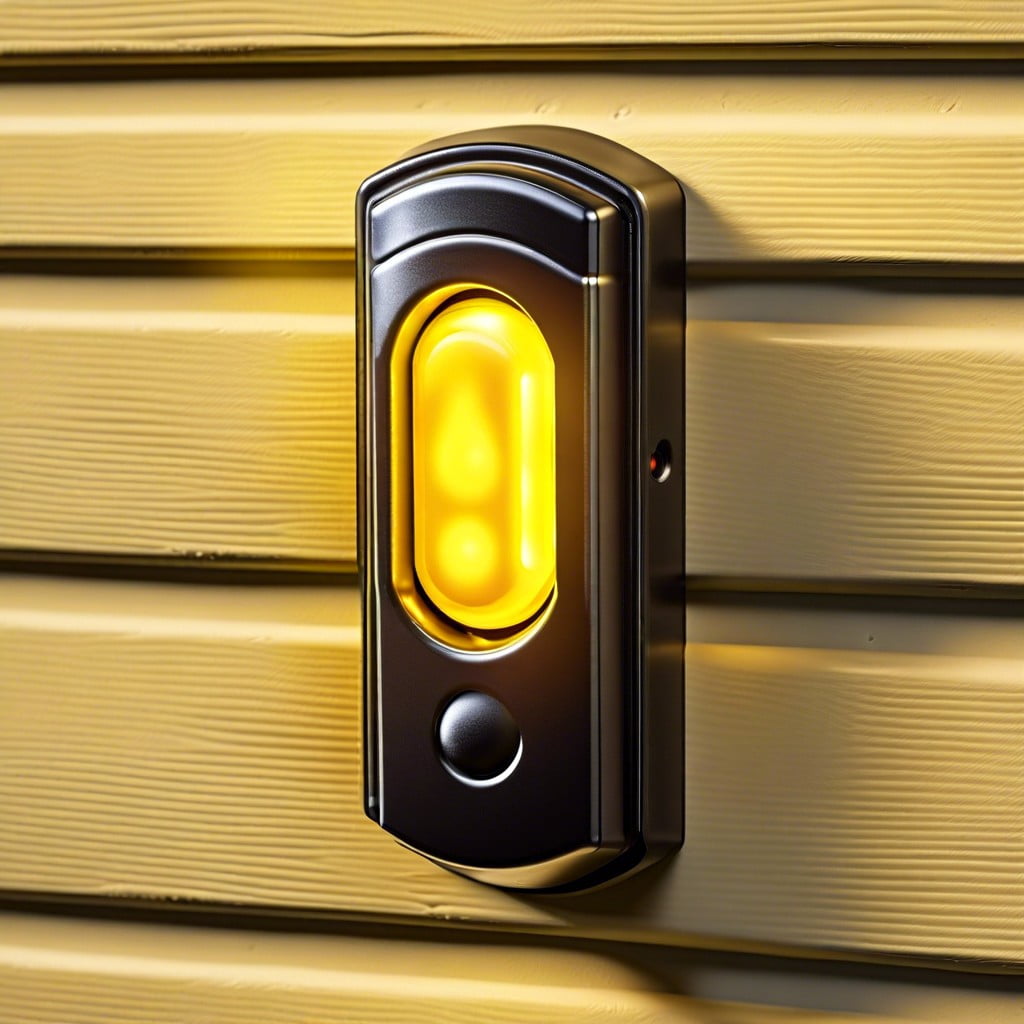
If your garage door sensor is showing a yellow light, this article will guide you through understanding what that means and how to address it.
Key takeaways:
- Yellow light indicates misalignment or obstruction in sensors.
- Troubleshoot by checking for blockage, aligning sensors, and cleaning lenses.
- If yellow light persists, inspect wiring and reset garage door opener.
- Test functionality by ensuring clear path, measuring height, and checking for flickering lights.
- Consider replacing sensors if troubleshooting doesn’t work or for frequent false alarms.
Meaning of Yellow Light On Garage Door Sensor

A yellow light on a garage door sensor generally signals that something isn’t quite right. Typically, this is an indication of misalignment between the two sensors positioned at the bottom of each side of the door frame. These devices must have a clear line of sight between them to operate correctly. If they are misaligned, the light turns yellow as a cautionary signal, alerting you to address the issue. Additionally, a yellow light might suggest a partial obstruction or dirt accumulation on the sensor lenses, impacting their ability to communicate effectively. Regular cleaning and adjustment can resolve this, ensuring smooth operation and enhanced safety.
Steps to Troubleshoot Yellow Light Issues
First, check if anything is blocking the sensor’s path. Remove objects like leaves or dirt that might be causing interference. Next, ensure the sensors are aligned. Misaligned sensors often send a yellow signal as a warning. If they’re off-kilter, gently adjust them until the lights on both sensors match.
If alignment and blockage are not the issues, clean the sensor lenses with a soft cloth. Sometimes, a thin layer of grime can prevent the sensors from functioning correctly. After cleaning, if the yellow light persists, inspect the wiring for any signs of damage or wear. Loose or frayed wires can disrupt the sensor’s operation.
Lastly, reset the garage door opener. Unplugging the unit for a minute and then plugging it back in can sometimes refresh the system and clear persistent error signals.
Testing Sensor Functionality
Begin by ensuring that there’s a clear path between the two sensors; obstacles can cause malfunctions. Wipe the lenses gently with a soft cloth to clear away any dirt or debris that might obstruct the infrared beam. Next, measure from the ground to each sensor to confirm they’re at the same height, usually about 6 inches. If they’re misaligned, adjust them until they are parallel.
Check for flickering lights when testing the sensors. A steady glow indicates proper function, while flickering may suggest loose wiring. You can tighten the connections yourself with a screwdriver. Finally, block the beam with an object, like a broom, to see if the garage door stops closing. This confirms the sensor is actively detecting obstructions. If the door continues to close, the sensors may require replacement.
When to Consider Sensor Replacement
If the troubleshooting steps don’t resolve the yellow light issue, think about replacing your sensor. Frequent false alarms or failure to close your garage door properly are usual red flags. Sensors often last several years, but environmental factors like extreme temperatures or physical damage can shorten their lifespan. Additionally, if you’ve recently updated your garage door opener but kept the old sensors, compatibility issues might necessitate a sensor upgrade to match the new system. Always check for manufacturer’s recommendations regarding suitable replacements.
Safety Precautions While Handling Sensors
Before you dive into fixing or replacing your garage door sensors, remember safety first! Wear proper eye protection to guard against small particles or dust. Also, disconnect the power to the garage door opener to avoid accidental activation while you’re working. It’s smart to use insulated tools for added protection against electrical shocks. Lastly, if the task seems overwhelming, don’t hesitate to call a professional to handle the job safely and efficiently.