Explore the straightforward process of constructing a lean-to off your garage to maximize outdoor storage and workspace.
Building a lean-to off a garage is an excellent way to expand your storage space or create a sheltered outdoor area. This process involves planning the layout, securing permits, choosing materials, and constructing the structure. This article will guide you through each step in detail, from initial planning to the final touches, ensuring you have a sturdy, functional lean-to that complements your garage.
Whether you’re a seasoned DIY enthusiast or a beginner, this comprehensive guide will equip you with all the knowledge you need to successfully complete this project.
Key takeaways:
- Location: Consider positioning, lighting, regulations, and accessibility.
- Materials: Choose pressure-treated wood, roofing panels, screws, and nails.
- Blueprint: Create a detailed plan with measurements and consider building codes.
- Base and Structure: Excavate, affix ledger board, place posts, and install support beam and rafters.
- Roof Installation: Fix rafters, choose roofing material, lay sheathing, and apply roofing felt and material.
- Finishing Touches: Paint, caulk, install shelves and lighting for a polished space.
- Sealing: Apply weather-resistant sealer, consider weather-based paint, install weather stripping, and gutters.
Choosing the Ideal Location for Lean-to Off Garage
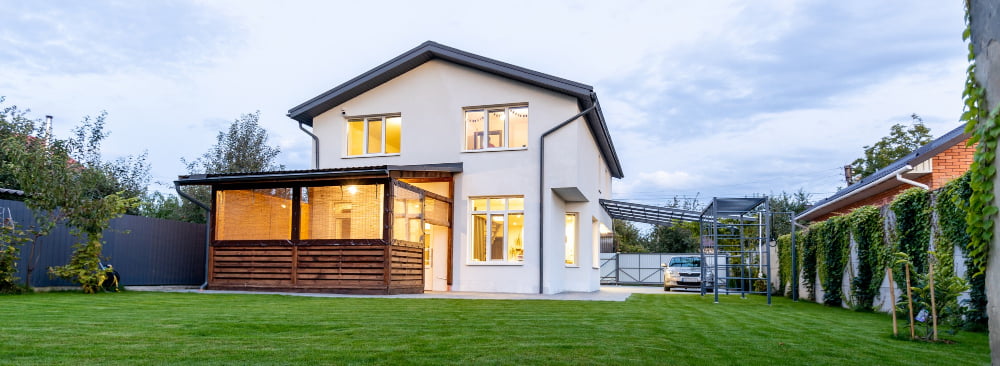
One crucial consideration in this project is the positioning of the structure. Start by examining your garage’s architecture. Choose a location adjacent to a strong, well-structured wall that can support the load. You don’t want to risk a wall collapse. Adequate space is essential, so consider the usage of the lean-to and ensure that its size and proportion fit within the surroundings without hindering movement.
Lighting is another critical factor. If your lean-to is to be a haven for potted plants or a cozy reading nook, a location that maximizes natural light will be beneficial. Conversely, if it’s for storage, lighting may not be a priority.
Consider local regulations and zoning laws, which may have guidelines on structure placement. Always respect property boundaries and avoid high-traffic areas.
Ease of access shouldn’t be underestimated, as carrying bulky objects around corners or across long distances can be cumbersome and time-consuming. A location with a clear, straight path from the main access point is ideal for efficiency and convenience.
Don’t forget about future maintenance needs. Allow for room to move around the entire structure, so that you’ll be able to easily perform tasks like cleaning, painting, or performing repairs.
Securing the Necessary Materials for the Lean-to Construction
To get started, preparing a comprehensive list of necessary materials is crucial. This includes pressure-treated wood, roofing panels, screws, and nails, among other things. Each component plays a vital role in the construction process.
Pressure-treated wood, specifically, is essential due to its durability and resistance to conditions such as pests and weather extremes. This wood will form the structure’s mainframe, ensuring it stands the test of time.
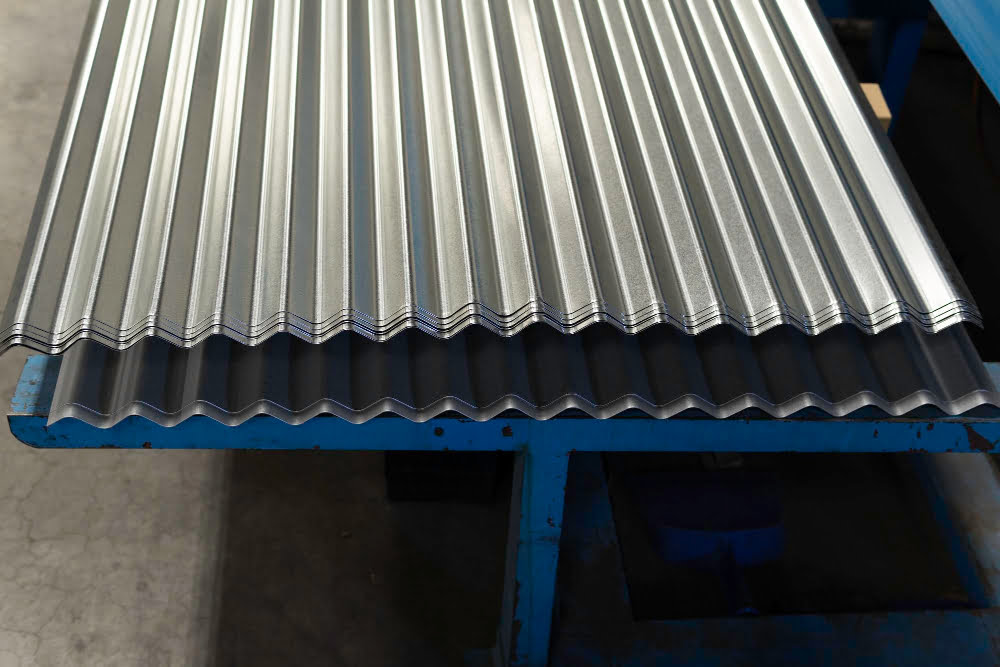
Roofing panels, either of metal or shingled variety, are crucial in ensuring your lean-to shed is adequately protected from weather elements. The choice between metal and shingle may depend on climate conditions, aesthetic appeals, or budget constraints.
A considerable amount of screws and nails will be needed to join the various sections of the lean-to structure. Choosing rust-resistant varieties ensures prolonged life for your build.
Remember, each material needs to be carefully chosen, considering its purpose, durability, and cost-effectiveness. Going for the cheapest option isn’t always the wisest decision. Instead, striking a balance between cost and quality is the best approach to enjoy a sturdy, long-lasting lean-to off your garage.
Creating a Detailed Blueprint for the Lean-to Off Garage
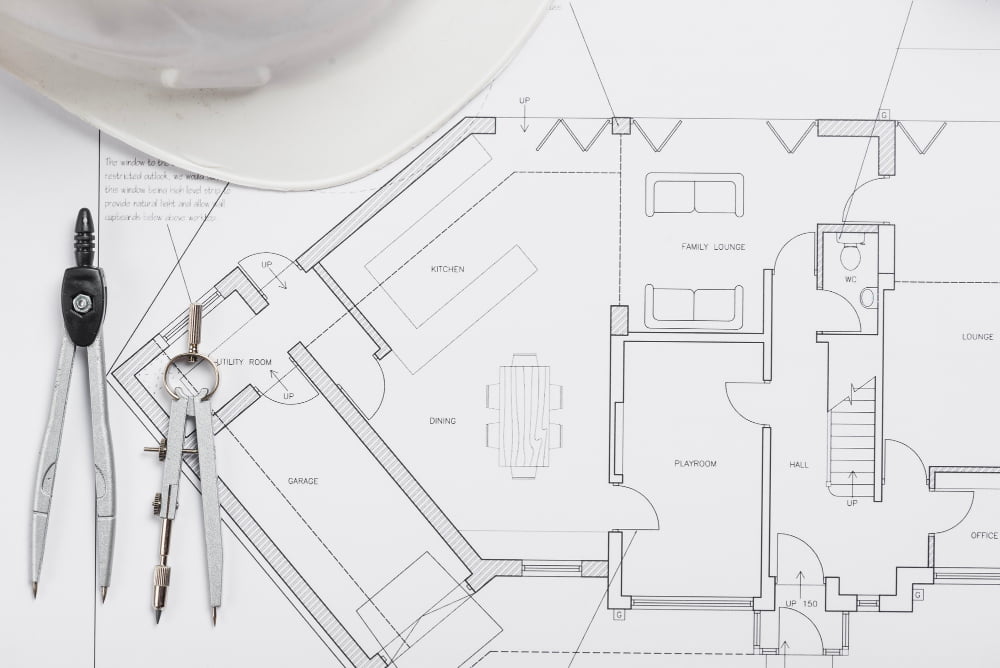
To kick start the project, a comprehensive plan should be drawn up. With measurements of the garage and the desired addition in hand, sketch a layout. It’s important to note the placement of doorways and windows for the sake of convenience and functionality.
The draft should also show the angle of the new roof, ensuring it’s lower than the existing garage roof. This way, it helps prevent water from entering where the two roofs meet. Strategically decide the direction of the lean-to’s slope, favoring natural drainage paths.
Elevation details and side views could be extras on your blueprint for a clearer idea of the end structure. Accurate planning here will result in fewer hiccups during actual construction.
Lastly, double-check local building codes to ensure the planned lean-to abides by all necessary regulations. This initial pen-to-paper process may seem tedious but it sets a solid foundation for your lean-to build.
In all, remember the golden rule of construction – measure twice, cut once. Always verify your plan and measurements before rushing to execution. Both time and materials are saved with careful planning. Happy building!
Laying the Base and Erecting the Structure of the Lean-to
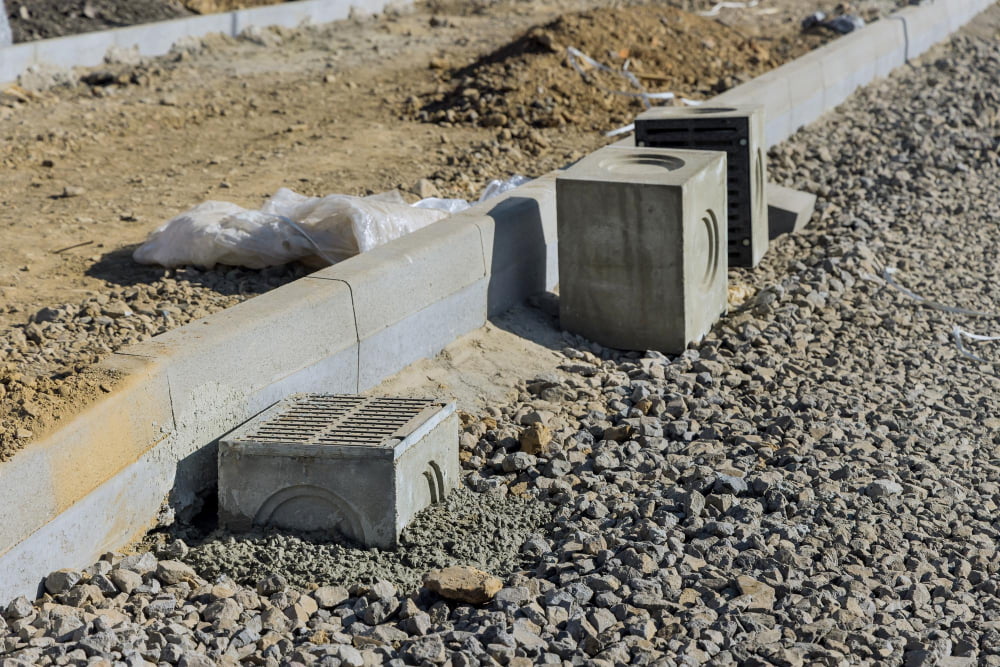
To establish a solid base, it is crucial to excavate the ground first at the chosen location to a depth of about three inches. Fill this with gravel and compact it to provide a firm, level foundation.
The process of erecting the lean-to’s structure begins with affixing a ledger board to the garage wall. At a chosen height, this acts as the support for one side of the roof. Ensure that it’s perfectly level before securing it with lag screws.
Treat the job of setting the lean-to’s posts as an art form. These posts must be placed on the corners and sides of the base and held in position. Plumb each post using a spirit level before securely cementing them into the ground.
Once the cement has dried thoroughly around the posts, span a support beam along the length. This beam connects all the posts at a chosen height and supports the other edge of the roof.
In the final step, mount horizontal rafters from the ledger board to the support beam. These rafters lay the groundwork for roof installation and contribute to the structure’s overall stability.
In short, attention to detail and precision during these steps plays a significant role in ensuring a sturdy, durable lean-to off garage.
Installation of Lean-to’s Roof
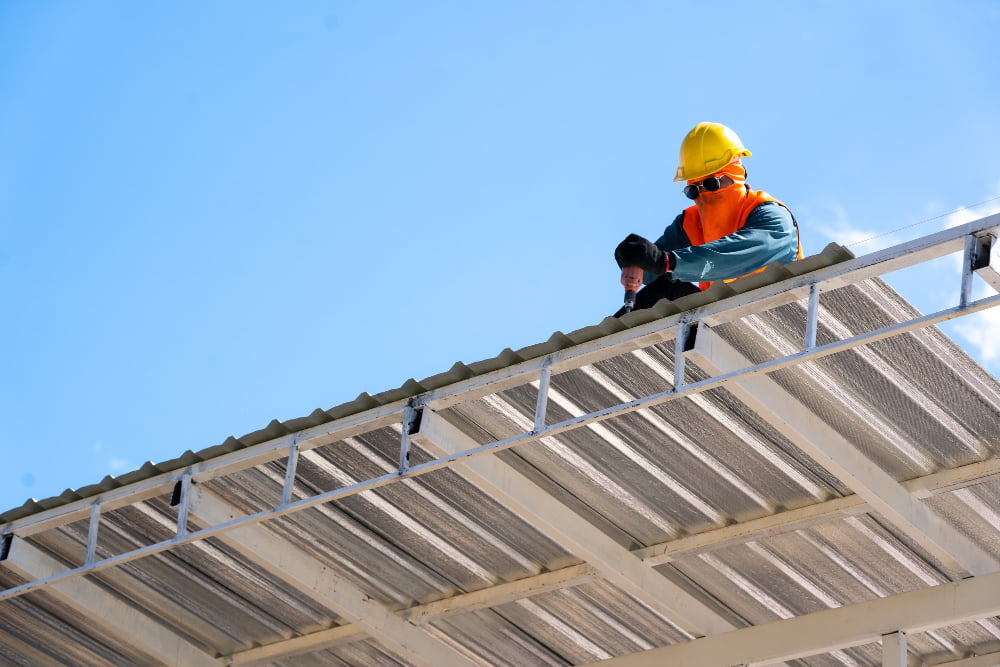
To begin the roof installation, start by fixing the rafters. Ensure each rafter runs from the top of the wall of your garage to the outer wall of your lean-to. Place them at regular intervals for optimum support.
Next, select the type of roofing material based on your local weather conditions and personal preference. Asphalt shingles are a versatile and affordable option, while metal roofing panels offer excellent durability.
Next is the sheathing stage, where you lay plywood or any other flat wooden boards on the rafters. The sheathing is what your selected roofing material will be attached to.
Then, apply roofing felt on the sheathing for an additional layer of protection against weather elements. This will help prevent any water leakage into the structure of your lean-to.
Finally, fix your selected roofing material on top of the roofing felt, following the pattern from the lowest point towards the top of the roof. Ensure all edges are properly sealed to prevent any water leakage.
Application of Finishing Touches to the Lean-to Off Garage

Once your lean-to structure and roofing have been installed, the final touches come into play. These encompass aesthetic and functional aspects like painting and caulking. Paint not only improves the project’s visual appeal but also maximizes its longevity by shielding the wood against damaging weather elements. Choosing a color that complements the main garage can create a cohesive look.
For enhanced protection, seal any gaps and joints with caulk — this prevents airflow and moisture seepage. Opt for silicone-based or acrylic latex caulk, renowned for their high durability.
Now, turn your attention to the interior. Depending on your needs, you might consider installing shelves for additional storage or hooks for hanging tools. Lighting is crucial for any workspace. Understand your building’s electrical requirements and hire a qualified electrician for the necessary wiring.
Remember that the finish of your lean-to garage speaks volumes about the thought and skill that went into its construction. Therefore, dedicate time, effort, and attention to these seemingly minor details to ensure a polished and useful space you are proud of.
Sealing the Lean-to Off Garage to Protect Against Weather Conditions
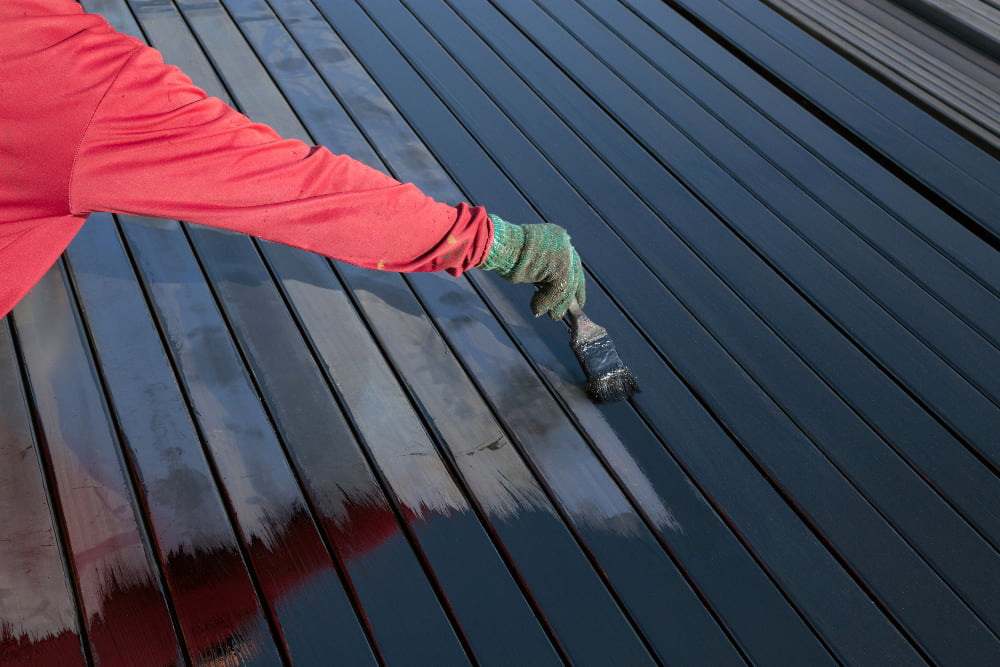
Ensuring your lean-to’s resilience against various weather conditions is paramount. Start by applying a suitable weather-resistant sealer to all wooden surfaces to protect against moisture damage. Opt for sealers that include UV protection to hinder sun damage.
Next, ideally consider applying a layer of weather-based paint. It provides an additional barrier against moisture, on top of visible appeal.
Installing weather stripping along the edges of the lean-to is also an excellent measure to conserve heat within the space and deter drafts.
Lastly, you may want to attach rain gutters and downspouts to the roof. This aids in directing water away from the structure, preventing any water buildup that can lead to foundational issues. It’s advisable to conduct regular check-ups to ensure the sealing mechanisms are effectively maintaining the lean-to’s durability in every season.
FAQ
Can you add lean-to a garage?
Yes, you can add a lean-to to a garage for extra covered space at a reasonable cost.
What can I use as a roof for a lean-to?
For a lean-to roof, materials like plastic, bitumen, or metal roofing sheets can be used, with PVC corrugated roof sheets being a lightweight, economical option that’s UV resistant and comes with a 10-year guarantee.
How much does it cost to build a lean-to?
On average, the cost to build a lean-to ranges between $1,000 and $2,000.
What are the essential materials required for constructing a lean-to off a garage?
The essential materials required for constructing a lean-to off a garage include timber for the framework, concrete for footings, roofing materials, screws or nail gun, drill, and measuring tools.
How can I ensure my lean-to garage addition is structurally stable?
To ensure structural stability for your lean-to garage addition, engage a structural engineer during the planning stage and utilize strong, weather-resistant materials during its construction.
What are the key steps to consider during the planning stage of a lean-to garage project?
Key steps in the planning stage of a lean-to garage project include deciding on the location, determining the size and layout, securing permits if needed, creating a budget, choosing materials, and planning for utilities if necessary.