Discover the step-by-step process to effectively apply a fresh coat of paint on your garage walls, transforming this often overlooked space into an attractive and functional area.
Painting garage walls can dramatically transform the look and feel of your space, making it cleaner, brighter, and more inviting. Whether you’re aiming for a simple refresh or a complete garage makeover, this guide will walk you through the process step-by-step.
From selecting the right type of paint and priming your walls, to the actual painting and clean-up, every detail is covered. With the right tools and techniques, you’ll have your garage walls looking brand new in no time.
So, let’s dive into the world of garage wall painting and help you achieve a professional finish.
Key takeaways:
- Choose the right paint type and color for your garage walls.
- Prepare your walls by removing items, repairing damages, and cleaning.
- Remove drywall dust before painting for a smooth finish.
- Allow sufficient drying time before and after washing the walls.
- Follow a step-by-step guide for painting your garage walls.
Choosing the Right Paint for Your Garage Walls
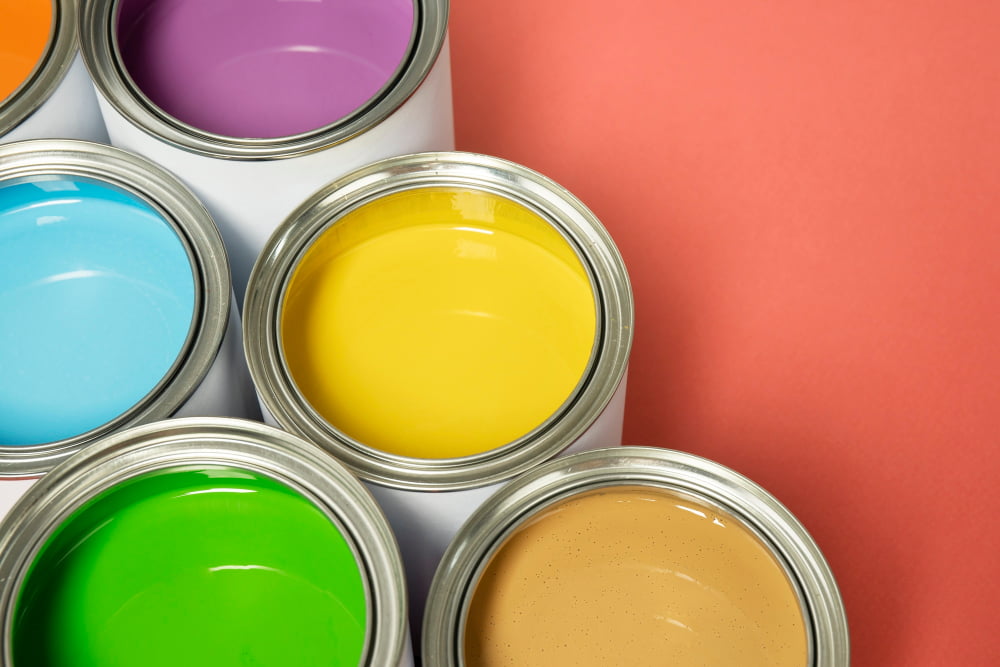
For the garage, utility and durability should be your primary focus when selecting paint. A high-quality latex paint is generally a good choice for walls due to its ease of application, affordable pricing, and resistance to mildew and moisture. However, oil-based paints or enamel may be more appropriate for high-traffic or work areas, due to their hard-wearing finish and resistance to scuffs.
Consider the exposure and climate of the garage when choosing a color. Darker shades can help to conceal dirt and blemishes, while lighter hues can brighten up the space and improve visibility. Always opt for a semi-gloss or gloss finish as these are easier to clean and offer better resistance against scratches and spills.
Furthermore, primer use is key, especially if you’re painting over a dark color or bare drywall. This step will ensure a smooth application and a more vibrant end result. Understanding these points will set the foundation for a successful garage wall painting project.
Preparation Steps for Painting Garage Walls
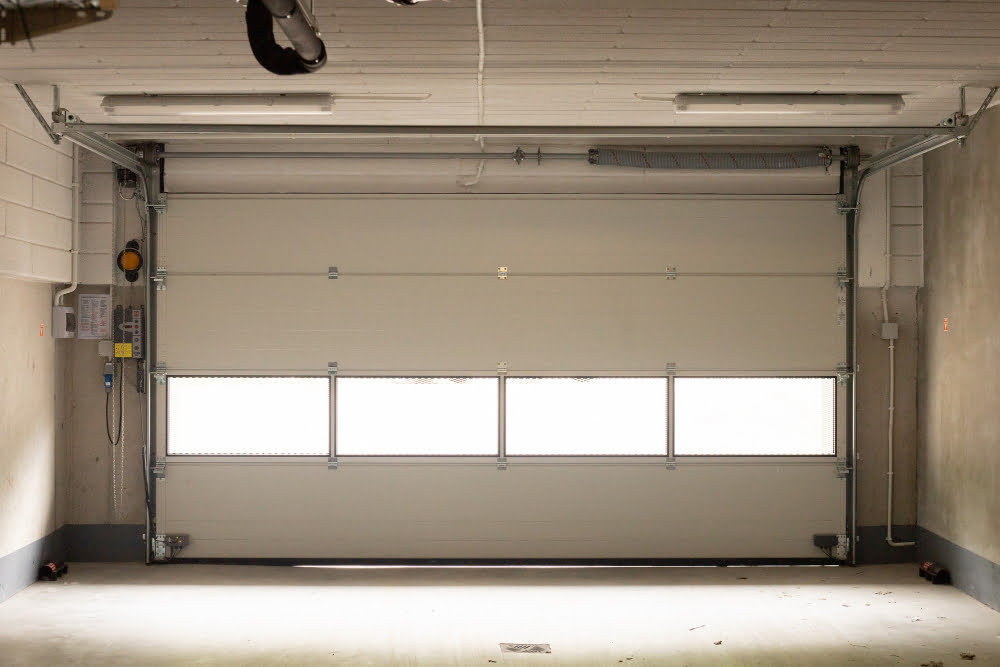
Before you open that fresh can of paint, some essential tasks ensure a smooth paint job. First, remove everything from the walls, including hooks, shelving units, and decorations. Every surface intending for paint should be vacant. You might also empty the garage altogether to avoid possible paint splatter on your belongings.
The next critical task is repairing any holes, cracks, or damages. You can take care of minor issues using a joint compound or similar product, while major damages might necessitate drywall replacement. Give adequate time for the applied repair material to dry.
Prepping the walls is not complete without cleaning them thoroughly. Years of dust, grease, and grime can interfere with the paint adhering properly to the surfaces. A mixture of warm water and mild detergent works excellently, particularly on greasy spots. After cleaning, allow the walls to dry completely before painting.
Lastly, tape up all areas you do not want the paint to reach. This includes molding, door frames, windowsills, etc. Using painter’s tape can make this task easier and guarantee clean lines after painting. Remember, skipping any of these steps could compromise the finished look of your garage.
Removing Drywall Dust Before Painting Garage Walls
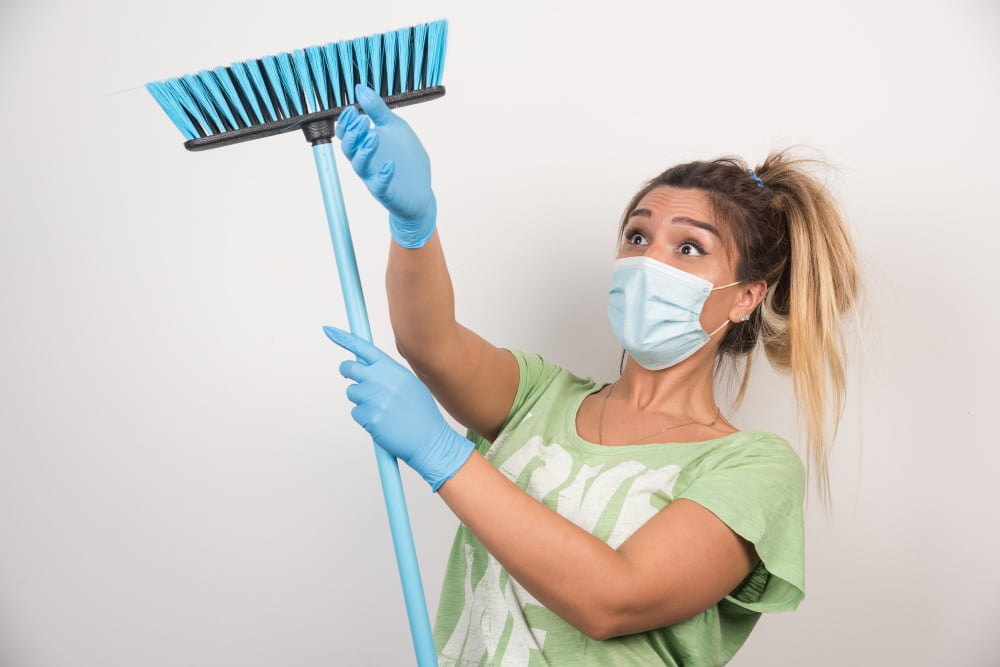
Once the preparation phase is complete, the next critical step entails dust removal. Drywall dust can negatively impact the overall finish, compromising the paint job’s look and longevity.
For this task, you’ll need a soft broom or a vacuum with a soft brush attachment. Gently sweep or vacuum the walls, focusing on corners and crevices where dust might accumulate.
Next, use a damp cloth or sponge to wipe down the surfaces. Work from top to bottom, wiping in a linear motion.
In instances of stubborn dust, a solution of mild dish soap and warm water can be used. Just remember not to oversaturate the walls.
Giving the walls adequate time to dry is of utmost importance before moving on to the painting phase. Overnight or a minimum of 12 hours should suffice for thorough drying. This process ensures an even surface for the paint to adhere to, optimizing the overall finish and paint longevity.
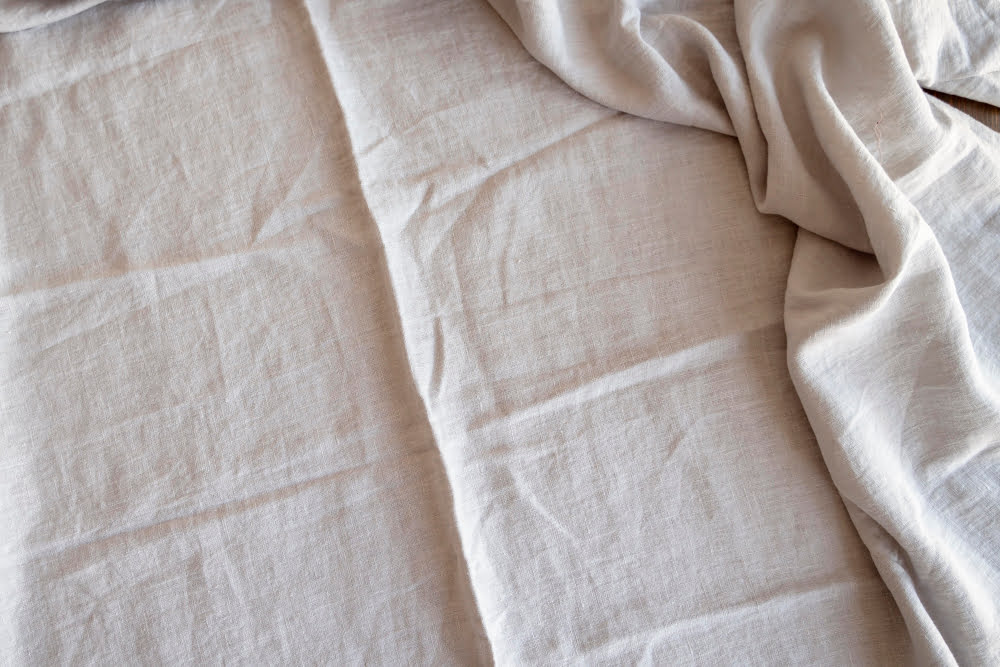
Time Needed After Washing Walls Before Painting

When it comes to the drying period after washing, it’s critical to allow ample time for your garage walls to fully dry before you start the painting process. This step is often overlooked but plays a pivotal role in determining the end results. The period could vary based on ambient temperature and humidity levels.
In typical conditions, consider leaving at least 24 hours for the walls to dry thoroughly. However, in areas with high humidity or cooler temperatures, you might need to wait up to 48 hours. Remember, paint adheres best to a dry surface.
A quick way to check if your walls are dry is to touch them. If they feel damp or cold, give them more time. Also, inspect for water spots; any spots mean more drying time required.
Skipping this waiting period can lead to problems like paint bubbling or peeling — later requiring more of your time in repairs. So, patience while letting the walls dry could save your time and maintain the wall’s aesthetics in the long run.
Step-by-step Guide to Painting Garage Interior
1. Protect the Floor: Start by covering the floor and any nearby objects with a dustsheet to prevent paint splatter.
2. Cut in the Edges: Using a 2-inch angled brush, paint around doors, windows, and where the walls meet the ceiling and floor.
3. Roll the Walls: Dip your roller into the paint tray and roll it against the tray’s slope to remove excess paint. Paint the garage wall using an “N” or “W” shaped strokes for an even application.
4. Overlap Your Strokes: Ensure to paint over part of the areas you’ve just painted to help blend the paint together and avoid visible seams.
5. Let the First Coat Dry: Allow the first coat to dry thoroughly, typically a few hours, but do check the paint can for specific instructions.
6. Apply a Second Coat: A second coat of paint provides extra durability. Apply it the same way you did with the first coat after the recommended drying time.
Remember, it’s necessary to work safely, wearing appropriate protective clothing covering your eyes, and if necessary, skin. Take regular breaks, especially if you’re painting a large garage.
Maintaining Your Garage Wall’s Paint
Ensuring the longevity of your freshly coated garage walls is crucial. The first line of defense is to give the paint adequate time to dry and cure. If possible, try to avoid placing heavy items against the walls during the initial couple of weeks.
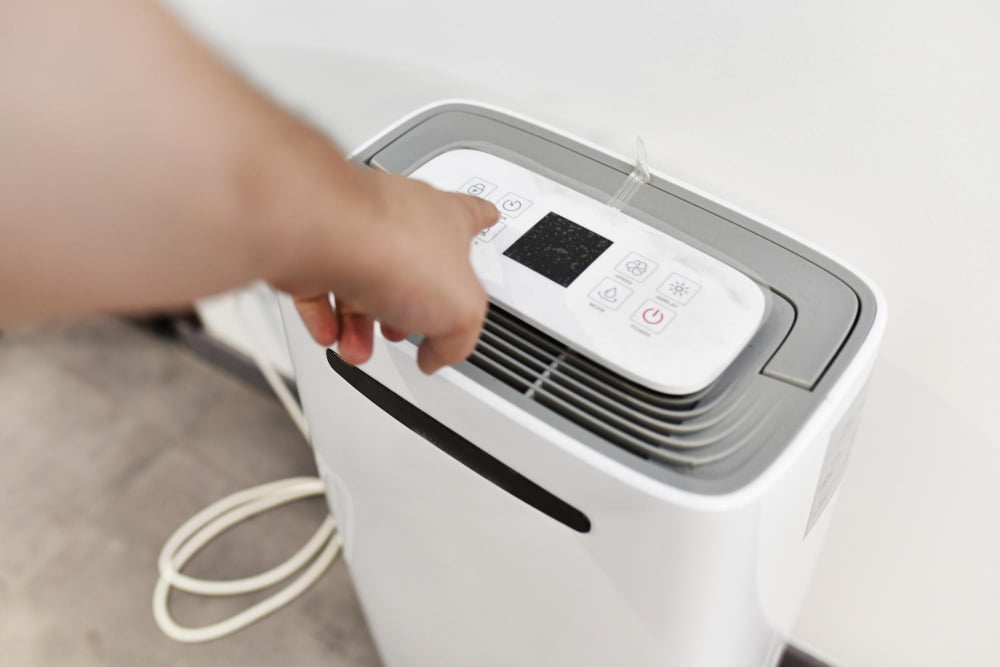
Regularly dusting off the walls helps to keep them looking crisp, and preventing moisture buildup is a key aspect of good maintenance. A dehumidifier can be beneficial in particularly damp settings. Direct sunlight can cause premature fading, so installing blinds or shades as necessary might be an investment worth considering.
Regular touch-ups are recommended when signs of wear such as peeling or chipping start to appear. Garages are often high-traffic areas, so periodic salient checks for damage and prompt repairs should be included in your upkeep routine. If a major impact happens to the wall, repainting that section may be required. Mostly, maintenance is about vigilance, swift action, and a few preemptive measures.
Final Touches and Clean-up After Painting Garage Walls
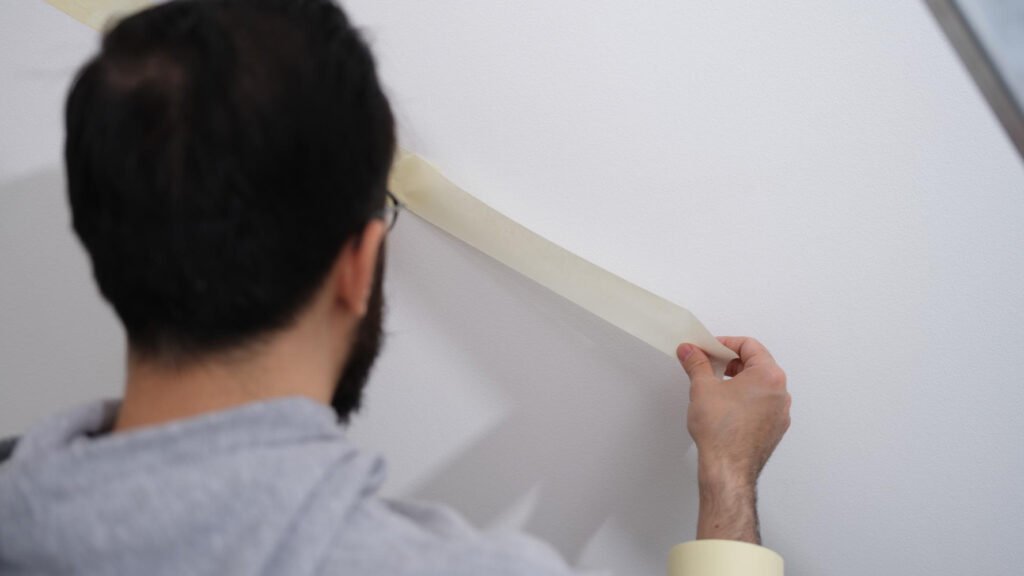
Once the paint job is finished, you want to keep your garage looking fresh and clean. Remove painter’s tape before the paint dries completely to avoid peeling off any paint along with it. Dispose of used paint cans properly or store leftover paint in a cool, dry place for future touch-ups. Clean your all equipment, brushes should be soaked in soapy water immediately to extend their lifespan.
Remember to regularly dust off the newly-painted garage walls to keep them looking vibrant. Depending on the paint type and color, you might need to wash the walls gently with soapy water from time to time. Always ensure to dry the walls promptly to prevent moisture damage.
Regular maintenance also includes promptly addressing any chips or cracks. Use matching paint for touch-ups to preserve the fresh, uniform look of your garage.
FAQ
What kind of paint do you use on garage walls?
The best kind of paint to use on garage walls is interior latex paint, specifically the varieties that are formulated for high-traffic areas, due to its fast-drying speed, minimal odor, and easy clean-up.
Should I prime garage walls before painting?
Indeed, priming your garage walls before painting is necessary, especially if you have stubborn stains, in order to provide a clean, prepared surface for the paint.
Do I need to sand garage walls before painting?
Yes, garage walls should be sanded before painting to ensure an even finish and proper paint absorption, especially if the walls were previously painted with oil-based paint, necessitating a primer application.
How many coats of paint are typically required for garage walls?
Typically, two coats of paint are required for garage walls to ensure even coverage and durability.
What are some effective techniques for applying paint on concrete garage walls?
For effective painting on concrete garage walls, utilize techniques such as cleaning and priming the surface, using paint rollers for large areas and brushes for corners and edges, and applying at least two coats of masonry paint.
How do you handle mold or mildew on garage walls before painting?
Before painting garage walls affected by mold or mildew, it’s essential to thoroughly clean and dry the walls, treating them with a mold-killing solution, and priming with a mold-resistant primer.