Learn how to change the battery in your garage door opener with these simple steps.
Key takeaways:
- Disconnect power and ensure a safe work environment
- Find and open the battery compartment correctly
- Remove old battery, dispose of properly
- Install the new battery, align terminals correctly
- Test the garage door opener for proper functionality
Safety Precautions
Before diving into the task, disconnect the power to your garage door system to prevent any electrical mishaps. Always ensure your work environment is dry; moisture can lead to electrical shorts. If you’re using a step ladder to reach the opener, make sure it’s stable and securely placed to avoid falls. Lastly, have a flashlight handy if the lighting in your garage is less than ideal. Taking these steps will create a safer experience as you proceed with replacing the battery.
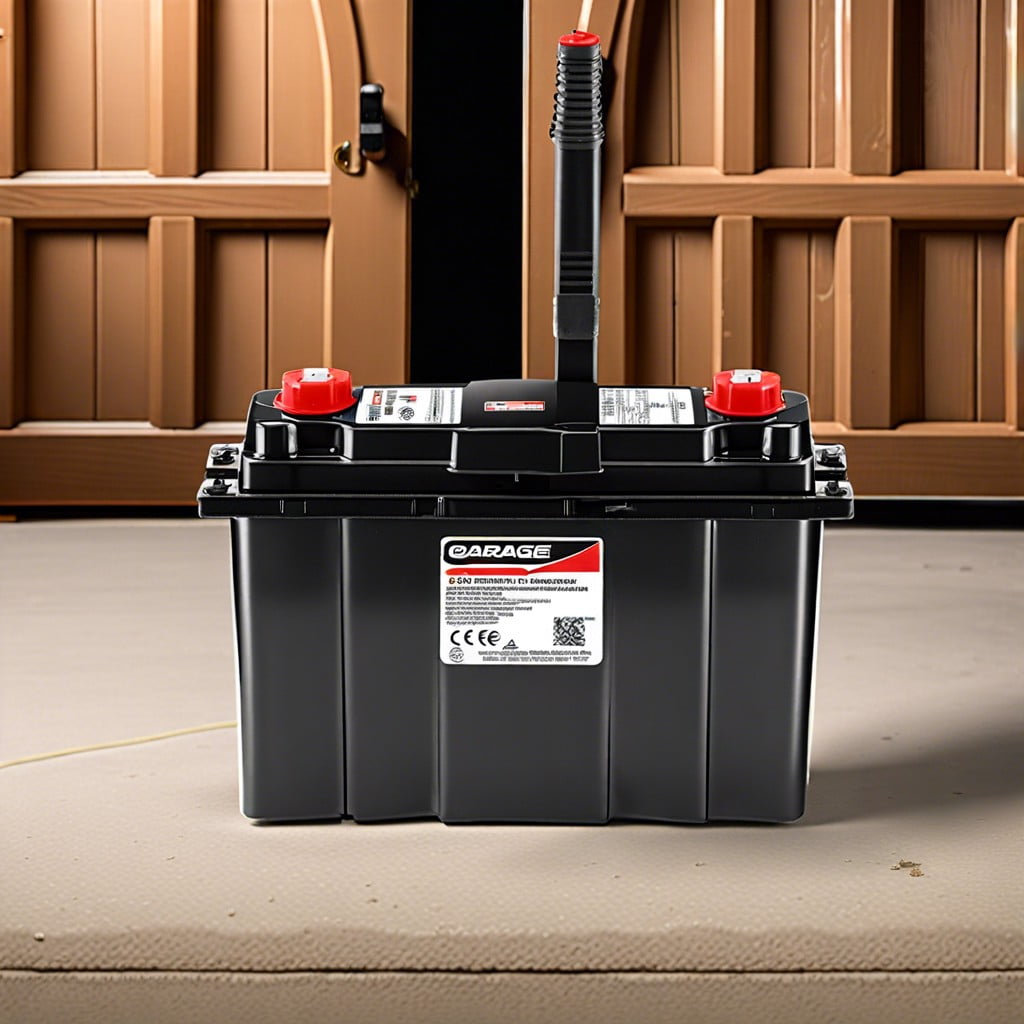
Locate the Battery Compartment
In most models, you’ll find the battery compartment at the back or bottom of the garage door opener unit. It’s typically secured with a screw or a simple clip. Depending on your opener, you might need a screwdriver to open the compartment. Be sure to have the right tools on hand to avoid unnecessary frustration. Some newer models feature easily accessible compartments that you can open with a simple slide or push. Familiarize yourself with the specifics by checking the user manual for your particular model. This step ensures a smooth and hassle-free process.
Remove the Old Battery
First, ensure the garage door opener is turned off to avoid any accidental operation. Next, if your opener has a cover, gently slide or snap it off to expose the battery. Some models may require a screwdriver to remove screws holding the compartment in place. Carefully grab the old battery and take note of which way it is facing. This will help you correctly orient the new battery during installation. Dispose of the old battery according to local regulations, typically at a recycling center or hazardous materials disposal facility.
Install the New Battery
Ensure the new battery matches the specifications required by your garage door opener—a mismatch can lead to malfunctions. Typically, these batteries are 12V or 3V lithium, but always check the manual or the old battery’s label for confirmation.
Align the battery’s positive (+) and negative (-) terminals with the corresponding connections inside the compartment. Incorrect installation can prevent the door opener from working and might damage the device.
Once the battery is correctly positioned, gently press it into place. Some models might click to indicate the battery is securely connected, while others might require you to screw the compartment lid back on.
After installation, keep the used battery aside. Disposing of it with regular trash is not environmentally friendly. Look for local recycling programs that accept batteries to help maintain an eco-friendly practice.
Test the Garage Door Opener Functionality
After installing the new battery, ensure everything is working correctly by testing the garage door opener. Here’s how:
- Use the remote control to open and close the door several times. Watch for smooth operation and listen for any unusual noises.
- Check the wall switch as well. It should function seamlessly just like the remote.
- If your opener has a keypad, try entering your code to verify it responds as expected.
If the door does not respond correctly or seems sluggish, double-check the battery connections and ensure they are secure and properly aligned. This can often resolve minor issues. If problems persist, consulting the manual or contacting a professional may be necessary to address deeper mechanical issues.