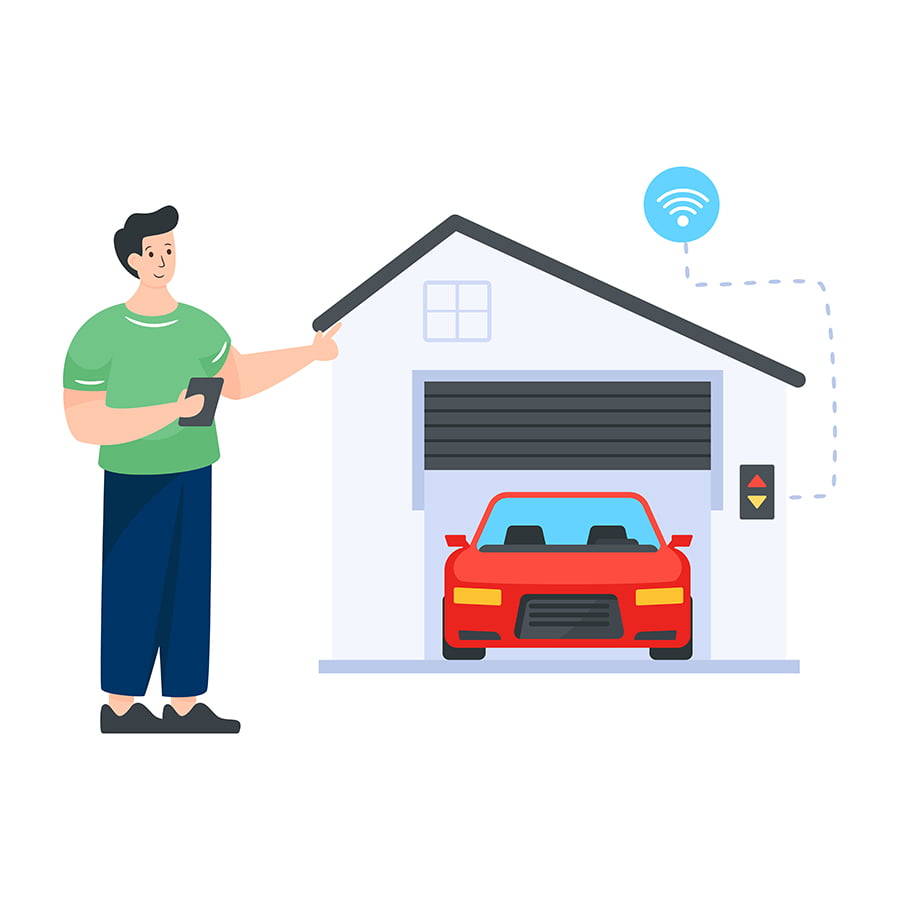
Discover practical solutions to extend your home WiFi coverage to reach your detached garage effectively.
Extending Wi-Fi to a detached garage can be a game-changer, enabling you to transform it into a fully functional workspace, gym, or entertainment area.
This article will guide you through several effective methods to extend your Wi-Fi coverage, including the use of Wi-Fi extenders, powerline adapters, mesh Wi-Fi systems, and even wired solutions.
Whether your garage is close to your house or at a considerable distance, you’ll find a solution that fits your needs.
Stay tuned for a detailed exploration of each method, along with their pros and cons, to make an informed decision for your garage’s internet connectivity.
Key takeaways:
- Use Wi-Fi extenders, powerline adapters, mesh Wi-Fi systems, or wired solutions.
- Consider Ethernet over Powerline for a secure connection to your network.
- Set up an old router as an access point for better Wi-Fi coverage.
- Use a wireless bridge to translate your wired signal into a wireless one.
- Establish a mesh network or use Nanobeam/Powerbeam technology for a dedicated connection.
Understanding Ethernet Over Powerline

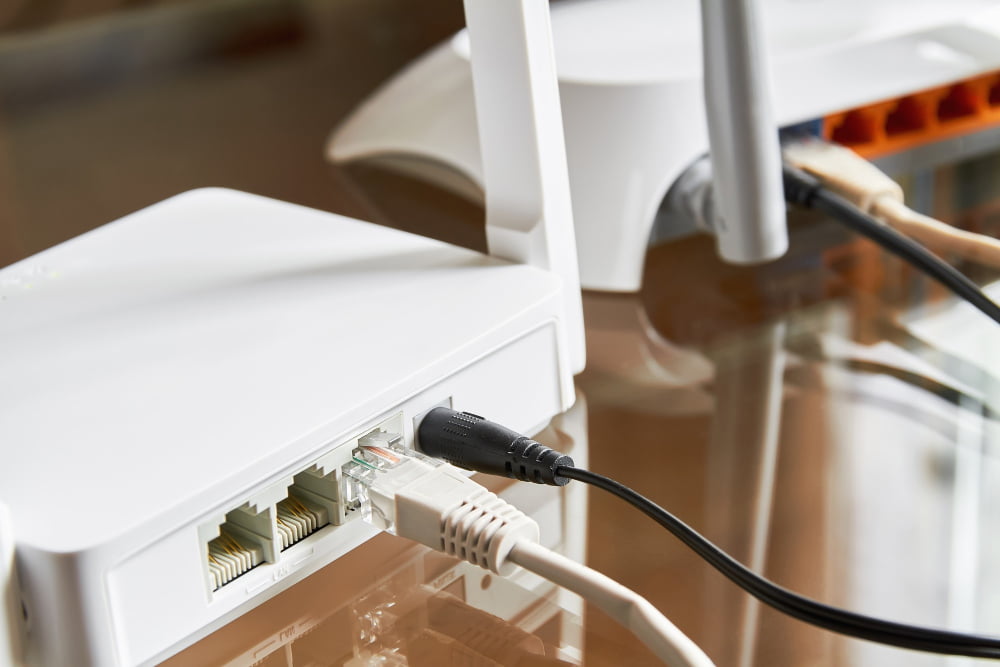
Ethernet over Powerline technology leverages your home’s electrical wiring system to transmit data. At its core are two adapters. One plugs into an electrical outlet and connects via an Ethernet cable to your primary router while the second plugs into an outlet in the garage, providing a secure connection to your network.
This simple strategy eliminates the need for extensive wiring or signal boosters, making it effortless to bring reliable internet to even the furthest corners of your property.
However, its efficiency may be hampered by circuit breakers, interrupting connectivity.
Using an Old Router As an Access Point
Starting the process requires an old router in good working condition. This serves as the ‘access point’, a secondary hub for connecting devices to the internet. The key step is to connect this router to the main one already operating in your house.
Getting the old router ready includes a reset to factory settings. This step eliminates any existing configurations that may deter the new setup. Depending on the old router model, the reset button may be found at the back. A pinpoint may be needed to press the recessed button, with 10 to 30 seconds holding time.
Next, modifying the settings involves connecting the old router to your computer. This allows direct communication with the router via your computer’s browser. Enter the router’s IP address, log in with the admin credentials, and you’re ready to tweak the settings. Set up a new SSID (Network Name), preferably something easily identifiable like ‘Garage-WiFi’.
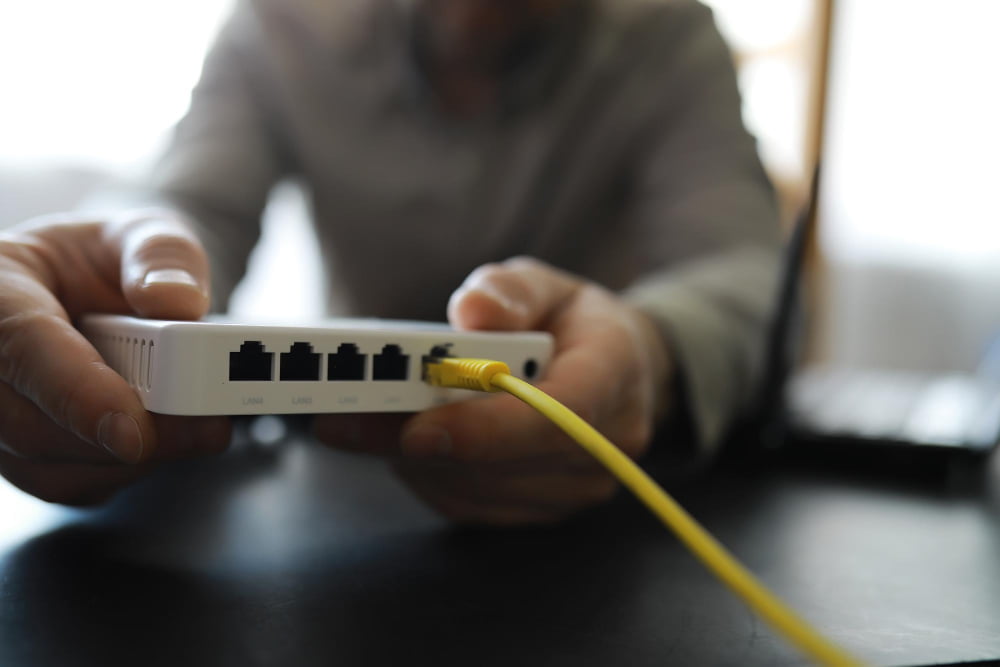
Connecting both routers with an Ethernet cable is crucial for boosting the wireless signal. Remember to plug the cable into the old router’s ‘LAN’ port, not the ‘WAN’ port. It’s all about creating a pathway for the WiFi signal into your garage.
Finally, select a strategic location for the old router, ideally close to the detached garage, to maximize its reach. Don’t forget to secure it with a password. These steps should bring you closer to a well-covered, internet-capable garage.
Setting Up a Wireless Bridge
A wireless bridge works by connecting a router to an adapter via an Ethernet cable, subsequently pairing the adapter to another one positioned in the garage. These bridges execute a simple, yet essential task: translating your home network’s wired signal into a traversable wireless one.
Here are some crucial points about wireless bridges:
- 1. Router Connection: Make the wired connection by inserting an Ethernet cable into a LAN port on your router and the other end into the adapter.
- 2. Placement: Position the second adapter in a power outlet within the garage. A solid green link rate LED assures a good connection.
- 3. Pairing: Press the pairing buttons on both adapters. The pair LEDs should glow solid when a secure connection is established.
- 4. Additional Devices: If you have multiple devices in your garage that need wifi, use a secondary router or a network switch.
- 5. Speed and Range: Wireless bridges can transfer data at a range of up to 300 feet, but walls, floors, and other objects may impact this range. Opt for a high-speed bridge for tasks demanding larger bandwidth.
Remember, always consult your wireless bridge manual for specific setup instructions as the process can vary slightly between different manufacturers.
Enhancing WiFi Connectivity With Access Points

Access points (APs), essentially a kind of network switch, serve a key role in strengthening the WiFi signal. To capitalize on this technology, you need to connect the AP to your primary router through an Ethernet cable. Once set up, the AP transmits the internet signal as a WiFi network, effectively giving coverage to the previously unconnected space.
When choosing an AP, go for models prioritizing range over speed – a basic yet crucial aspect. High-speed models often bank on short-range, high-frequency signals that are easily hindered by barriers, while long-range models use lower frequencies that penetrate walls and distance better. To find the ideal location for the AP, consider the mid-point between your garage and the router or a place with minimal obstacles.
Now, remember to cautiously avoid oversaturation. Deploying more APs than necessary can cause signal overlapping and create a congestion of devices on the same channel, potentially disrupting the network. Finally, to ensure seamless transition between networks when moving around, enable roaming, a feature allowing your device to automatically connect to the strongest available signal. In setting up your WiFi extender, these elements should come to mind.
Establishing a Mesh Network in Your Garage
A mesh network represents a group of devices that act as a single WiFi network. This means, instead of having one primary router, connected devices serve as additional routers themselves.
For setting up a mesh network in a garage, these steps can be followed:
- 1. Purchase and setup your primary mesh router. This typically connects directly to your modem and serves as the hub of your network.
- 2. Customize your network through the mesh system’s mobile app, setting information such as the network’s name and password.
- 3. Plug the other mesh nodes into power outlets within the area of your garage. The exact location depends on the size of the garage and the range of the node.
- 4. The final step is to sync these nodes to your main network. They typically have an easy setup process to connect them via your mesh system’s app.
For a larger space like a garage, additional nodes may be required to ensure complete coverage. Each node you add will expand the network’s reach, making a mesh network an excellent choice to provide optimal WiFi coverage.
Setting Up Nanobeam or Powerbeam Technology
Nanobeam and Powerbeam technologies are an innovative solution for reaching spots where the WiFi signal typically falls short, like a detached garage. These devices function like high-tech laser pointers for your WiFi signal. Once set up, they create a dedicated, focused WiFi link between your router and the garage.
Here are the essential factors to consider:
- Placement: Locate an area inside your house that has a clear line of sight to your garage. This location will host one half of the Nanobeam or Powerbeam pair.
- Configuration: Connect the device to the router and configure both pieces of the pair to establish their link. The process may vary based on the manufacturer, so it’s best to refer to the instructions manual.
- Installation: The other pair must be installed in the garage, ideally in a place with a clear line of sight to its counterpart. Remember to connect it to a power source.
In using these technologies, it’s crucial to note that obstacles like trees, walls, or thick glass can hamper the signal. Planning the placement well can save you from trial and error later.
In essence, Nanobeam and Powerbeam technologies help you build a “WiFi highway” from the main house to your garage, providing a robust and reliable connection even when other methods fail.
Addressing Common Issues in Extending WiFi to Detached Garage
Next up, let’s delve into some of the most prevalent issues that might arise when extending WiFi to a detached garage.
1. Obstacles: WiFi signals can struggle to penetrate walls, particularly those made of metal, concrete or brick. Strategic placement of WiFi extenders or use of mesh networks can help overcome this issue.
2. Distance: The farther the WiFi signal has to travel, the weaker it becomes. If your garage is a significant distance from your home, you may need high-power outdoor WiFi extenders.
3. Interference: Certain devices and appliances, such as microwave ovens or cordless phones, can disrupt WiFi signals. Avoid placing WiFi extenders near these items.
4. Outdated Equipment: If your router or extenders are outdated, they may not provide a strong or stable connection. Keep your equipment updated for optimal performance.
5. Weather: For outdoor WiFi solutions, weather can play a factor. Ensure your equipment is weatherproofed or housed in protective cases.
By being aware of these potential issues and proactive in addressing them, achieving a strong WiFi connection in your garage can be a breeze.
FAQ
Is there a way to get house wireless WiFi out to a unattached garage?
To ensure wireless WiFi connection in a detached garage, one can either install an outdoor WiFi range extender, which doesn’t get hindered by the home’s exterior walls while transmitting the signal, or utilize a powerline networking kit.
How do I extend my WiFi from house to outbuilding?
To extend your WiFi from your house to an outbuilding, you can run an outdoor Ethernet wire from your home router to the outbuilding and connect a dedicated home Wi-Fi access point to it at the outbuilding, provided the outbuilding is within 300 feet.
How do I extend my WiFi signal to another building 200 feet away?
To extend your WiFi signal to another building 200 feet away, invest in a Wi-Fi extender which works by capturing and boosting your router’s signal to reach farther distances.
Is WiFi mesh better than extender?
A mesh network is preferable to a WiFi extender owing to its ability to support higher speeds and provide adequate coverage in large homes.
What is the role of powerline adapters in extending WiFi to a detached garage?
Powerline adapters extend WiFi to a detached garage by sending the internet signal over the electrical circuit from the router in your main house to the garage.
How could directional antennas aid in expanding WiFi coverage to an outbuilding?
Directional antennas can aid in expanding WiFi coverage to an outbuilding by focusing the WiFi signal in a specific direction, thereby extending the range to reach farther distances, potentially as far as the outbuilding.
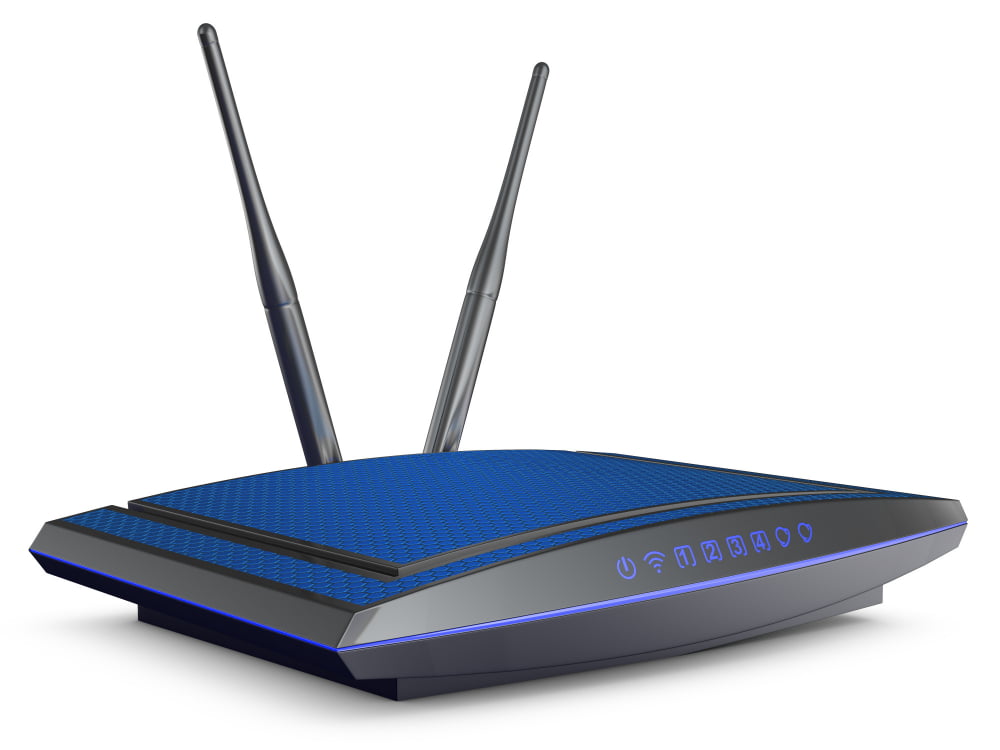
Are there specific WiFi routers that are particularly effective for signal transmission over greater distances, like 250-300 feet?
Yes, long-range WiFi routers like the NETGEAR Nighthawk X10 and the TP-Link AC4000 are specifically designed for effective signal transmission over greater distances, up to 250-300 feet.