Discover the straightforward process of adjusting garage door travel to ensure smooth operation and increased longevity.
Adjusting garage door travel is a crucial part of maintaining optimal functionality. If your garage door doesn’t open or close fully, or if it reverses direction before it should, it’s likely that you need to adjust the travel settings.
This process, while slightly technical, can be accomplished with a few simple steps, a ladder, and a flat-head screwdriver. In this article, you’ll find a comprehensive guide detailing how to make these adjustments accurately and safely.
So, whether your door is stopping short or overextending, you’re in the right place to get it working perfectly again.
Key takeaways:
- Travel adjustment controls door movement distance.
- Incorrect adjustments may cause excessive door closure force.
- Proper sealing of the door greatly depends on accurate travel adjustment.
- Poor travel adjustment can result in security concerns or weather exposure.
- Regular inspection and adjustment can prevent potential door malfunctions.
Understand the Necessity of Garage Door Travel Adjustment

The correct function of a garage door heavily relies on the appropriate travel adjustment. This setting helps control the distance a door moves up and down when it is operated. If poorly configured, several issues may arise.
The door could either close too hard, posing a risk to safety, or fail to seal properly, leading to potential security breaches or weather-related issues.
Remember these points:
- 1. Travel adjustment controls door movement distance.
- 2. Incorrect adjustments may cause excessive door closure force.
- 3. Proper sealing of the door greatly depends on accurate travel adjustment.
- 4. Poor travel adjustment can result in security concerns or weather exposure.
- 5. Regular inspection and adjustment can prevent potential door malfunctions.
Identify Different Types of Garage Door Travel Limit Switches
Two primary types of travel limit switches prevalent in modern-day garage doors are mechanical and electronic. Mechanical switches typically utilize a system of gears and switches that directly control the range of motion. Predominantly found in older installations, they can be more physically demanding to adjust but are praised for their durability.
On the opposite end of the spectrum, electronic switches incorporate advanced technology for both efficiency and convenience. Much like a car’s trip computer, these units use digital sensors to gauge the door’s position relative to the ground, thus determining when to stop the door. While this option is user-friendly and often includes a dedicated control panel, electronic switches may require professional intervention for complex technical issues.
Both types of switches serve the same essential function: regulating the motion cycle of the garage door to ensure it stops at the correct positions when opening and closing. Understanding what type of switch your garage door utilizes is the first step in successful adjustment endeavors.
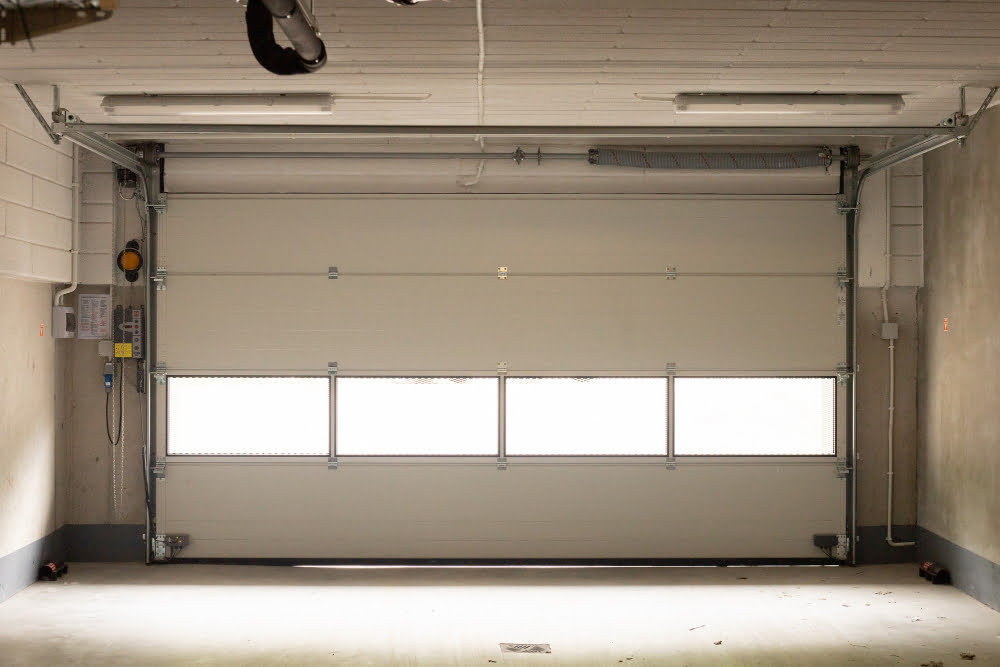
Locate Your Garage Door’s Travel Limit Switches

Identifying the position of your garage door’s travel limit switches is simple. Frequently located at the rear of the garage door opener, these switches are typically screw-based or are identified as ‘up’ and ‘down’ knobs or dials.
When seeking out these switches, remember that they differ significantly between models and makes, ensuring to consult your opener’s user manual if needed.
Delving into their function, these controls determine the range of the garage door’s movement. Hence, adjusting the travel limit switches will alter how far your garage door opens or closes, ensuring an efficient and secure system for your garage.
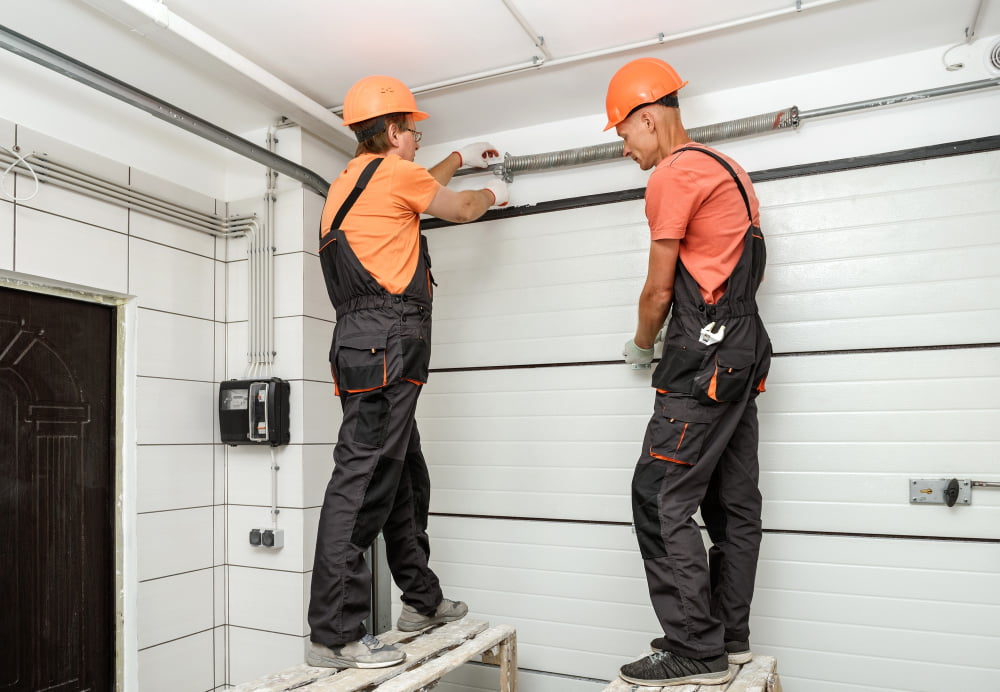
Guidelines for Adjusting Your Garage Door Travel Limit Switch
Having located the limit switches, it’s crucial to approach their adjustment with caution and precision.
1. Opt for small Adjustments: Rather than large-scale changes, keep your adjustments minor to avoid drastically affecting the door’s functioning. As a rule of thumb, a quarter of a turn typically translates to about 3 inches of travel.
2. Safety First: Always unplug the garage door opener during this process to minimize the risk of accidental activation.
3. Check Your Work: After each increment, test your door to gauge the effect.
4. Adjust according to Door Type: For doors that aren’t opening fully, you’ll want to increase the limit. If it’s reversing before hitting the ground, decrease the limit.
5. Down versus Up: There are separate adjustments for ‘up’ (open) travel and ‘down’ (close) travel. Pay attention to which one you’re adjusting.
Remember that patience and precision are paramount. It may require multiple adjustments to get the door functioning perfectly, but the sense of security from a perfectly set garage door is worth the exercise.
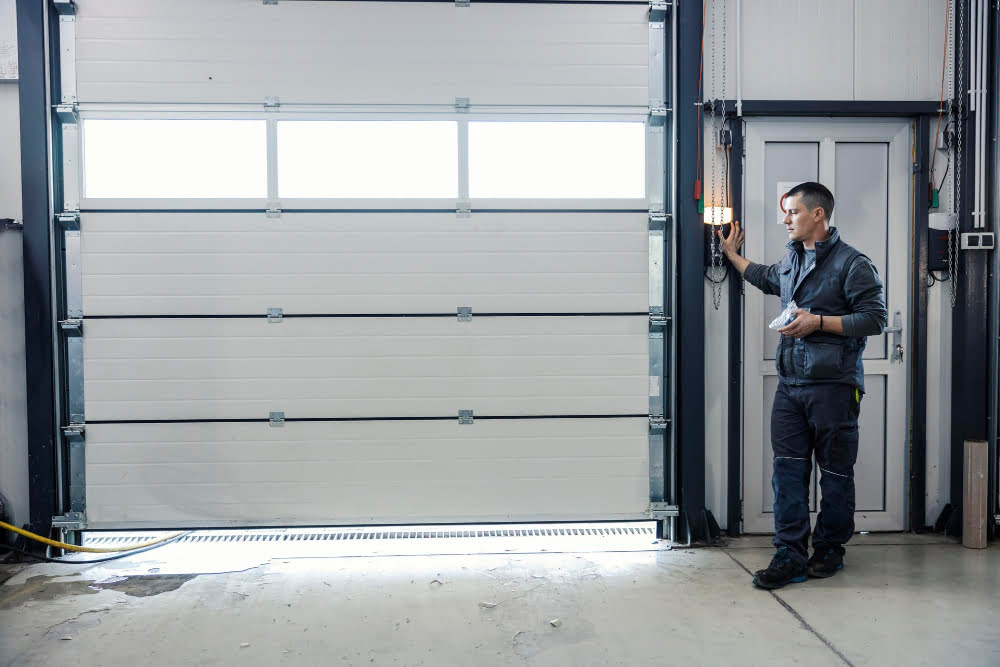
Procedure to Test Garage Door Travel Limit Switches Successfully

Begin the testing procedure for your limit switches by fully closing your garage door. Then, activate the door’s mechanism to open. If the door doesn’t open completely, or goes beyond the necessary point compromising safety, it indicates a need for adjustment.
Next, close the door using your garage door remote. The door should rest fully against the floor. If there are gaps or if the door reverses direction before closing completely, your down travel limit needs adjustment.
Observe the operation closely. Does the door stop smoothly or does it appear strained and halting? Frequent stopping or halting during the operation is often a signal for adjustment.
Listening to the sounds the door makes during operation is as critical. Grinding or squeaking can indicate issues with travel limits or the overall mechanism.
Utilize the manual function of the door. It should feel weightless when lifted manually, and lower without strain. If it requires excess force in either direction, travel limit adjustments are likely necessary.
Remember, safety sensors should reverse the door’s direction if any object or person is detected under the door when it’s closing. Test this feature with an inanimate object larger than 6 inches. If the door doesn’t reverse, adjustments to your safety sensors may be needed along with the travel limits.
Maintaining a watchful eye and ear on these indicators will help you zero in on any necessary adjustments, ensuring a smoothly operating, safe garage door system.
Troubleshooting Tips for Garage Door Adjustment Issues
In some instances, you may encounter issues while adjusting the travel limit of your garage door. Here are useful tips to address these common problems:
1. Over-Adjustment: If your door is not closing or opening fully, it might be due to over-adjustment. Correct this by turning the limit switch incrementally until you find the right balance.
2. Motor Continues to Run: The motor running even after the door is closed indicates that the down limit might be set too high. A slight adjustment can resolve this.
3. Door Does Not Open Completely: Increase the up travel limit if the door doesn’t open all the way.
4. Misaligned Sensors: Ensure sensors are aligned properly for the door to function correctly. Misalignment can prevent the door from closing fully.
5. Operation of The Manual Release: These are usually hanging down from the center rail of your garage door opener. During troubleshooting, operate this manual release to determine if the problem is with the door or opener.
6. Regular Maintenance: While not exactly a troubleshooting tip, regular maintenance is key to prevent problems from arising. Lubricate all moving parts and tighten any loose hardware to ensure smooth operations.
These tips should help rectify common issues affiliated with adjusting your garage door travel. However, if issues persist, don’t hesitate to consult a professional to prevent exacerbating the issue.
Maintenance After Adjusting Garage Door Travel
Once the travel adjustment process is complete, it’s crucial to perform regular maintenance to ensure smooth operation and prolong the lifespan of your garage door. Here are some useful points to remember:
1. Lubrication: Moving parts of the door should be oiled every six months. High-quality silicone or lithium spray is used to lubricate the garage door track, hinges, rollers, and springs.
2. Inspection: Regularly check the garage door’s moving parts for wear and tear. Replace worn components promptly to avoid potentially significant damage.
3. Balance Test: Disconnect the automatic opener and attempt to lift the door manually. A properly adjusted door will lift smoothly with little resistance and remain fully open on its own.
4. Reversal Test: The garage door should automatically reverse when it encounters an obstacle while closing. Check this safety feature by placing a block of wood on the ground where the door would close.
5. Noise Check: Listen for unusual noises during operation. Grinding or scraping sounds are signs that some components might need replacing or lubricating.
By making these steps a part of your routine, you can significantly extend your garage door’s functionality and longevity.
FAQ
What does increase travel mean on a garage door?
Increase travel on a garage door refers to adjusting the travel limits to allow the door to go further up when opening or further down when closing.
What are the steps to troubleshoot a garage door that won’t close all the way?
To troubleshoot a garage door that won’t close all the way, inspect and clean the sensors, check the limit switch, examine the tracks and rollers for obstructions, and consider adjusting the close force setting on the garage door opener.
What impact does incorrect garage door travel have on overall operation and longevity?
Incorrect garage door travel can lead to ineffective operation, premature wear and tear, and ultimately reduce the lifespan of the garage door system.
How often should a routine garage door travel adjustment be performed?
A routine garage door travel adjustment should be performed at least once a year for optimal function and longevity.