Explore the common reasons why your garage door might refuse to close and discover practical solutions to rectify this problem.
Experiencing issues with your garage door not closing can be frustrating, but it’s usually due to a handful of common problems that can be diagnosed and resolved.
Whether it’s due to misaligned sensors, a problem with the door’s travel limit, or an issue with the door’s balance, this article will guide you through the process of identifying and fixing the problem.
Stick around for a comprehensive breakdown of each potential issue, how to diagnose it, and the steps to resolve it to get your garage door closing smoothly again.
Key takeaways:
- Check the Sensors: Clear obstruction, clean, and realign.
- Faulty, Obstructed or Dirty Sensors: Clear obstructions and clean.
- The Sensors Are Misaligned: Adjust sensors until both lights are steady.
- Dead Remote Batteries: Replace batteries following correct placement.
- Check the Tracks and Rollers: Inspect, align, clean, and replace if necessary.
Check the Sensors
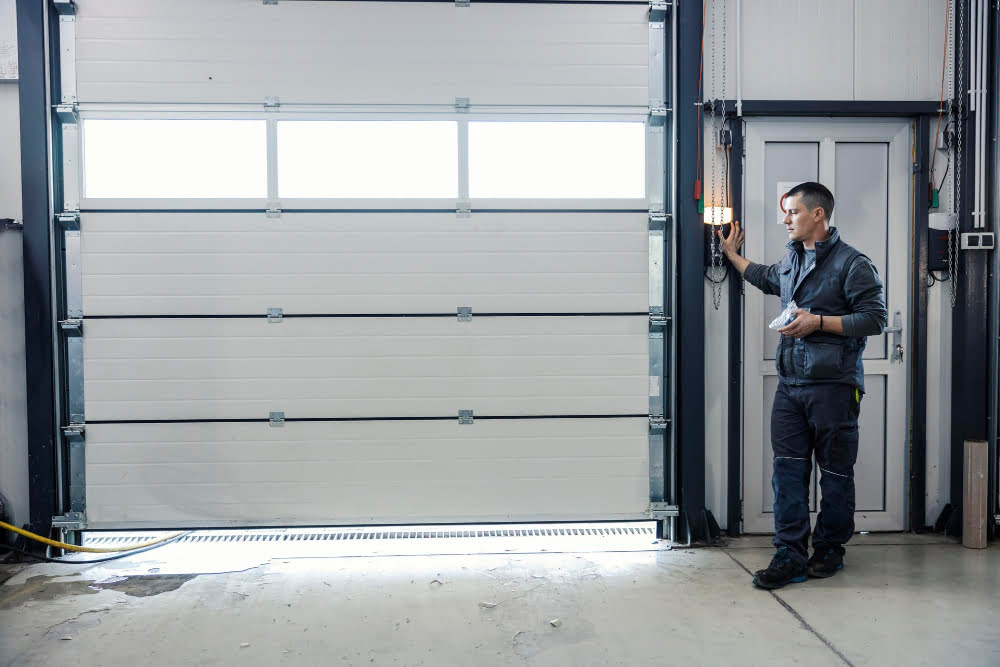
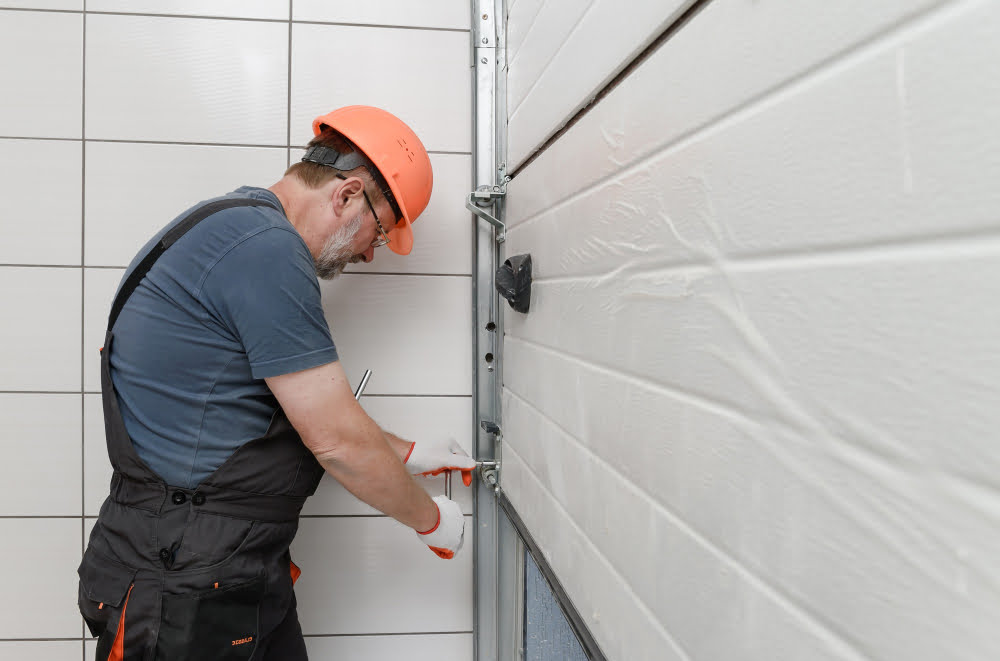
First and foremost, ensure nothing is blocking or obstructing the infrared sensors, located at the bottom of the door. They need a clear line of sight between them for your door to function correctly. Remember, they are quite sensitive, so even a small item or debris in the way could prevent the door from closing.
Next, ensure the sensors are clean. Dust or cobwebs can interfere with the signals they send and receive. Use a soft cloth to gently wipe away any noticeable dirt.
If the door still refuses to close, there’s a chance the sensors have become misaligned. Look for blinking lights on either sensor. A steady light indicates that they are aligned, while a blinking light implies a misalignment. To correct this, slowly adjust the sensors until both lights are steady.
Now, everything should be in working order. If not, take note of any blinking patterns; these are your garage door’s way of communicating specific issues. Refer to your owner’s manual for particular error code descriptions.
Faulty, Obstructed or Dirty Sensors

In the majority of garage door systems, the functioning of sensors is pivotal. These safety devices detect obstructions in the path of the door. So, when the sensors are obstructed, dirty, or faulty, the garage door may refuse to close as a safety measure.
The first step is to ensure no objects are blocking the sensors’ line of sight. The sensors are usually located near the bottom, on either side of the door. Keep this area clear of children’s toys, tools or debris.
If the area is clear and the door still won’t close, check the sensors for dirt build-up. Dust, cobwebs, or even a stray leave can disrupt the sensor’s operation. A gentle but careful clean with a soft cloth can resolve this.
If the door still refuses to comply, the sensors may be faulty. This is typically indicated by a blinking light on the opener or on the sensors themselves. In this case, replacement may be necessary and it’s recommended to get professional help for this.
The Sensors Are Misaligned
If you’ve verified that there’s nothing blocking the sensors and they’re not covered in dust or dirt, it’s likely they’ve become misaligned. Typically, sensors are installed on either side of your garage door about six inches off the ground, pointing directly at each other. If these delicate devices get knocked, whether from a rogue basketball or heavy gust of wind, they may be pointing in different directions. As their job is to communicate in order to confirm the path is clear, misalignment disrupts this data exchange.
A simple way to diagnose misalignment is the flashing of the LED light on one or both sensors. For some models, the non-flashing light identifies the misaligned sensor. Minor bumps may require only tiny adjustments till the lights are solid again, an indicator of successful realignment. However, be gentle while making these adjustments to avoid causing further misalignment or damage. If challenges persist, it may be time to engage a professional to rectify the issue.
Dead Remote Batteries
When the garage door remote stops functioning efficiently, a simple battery replacement can often solve the problem. Just like any other electronic device, these remotes are powered by batteries that eventually drain over time.
Here’s a quick drill to ensure a seamless battery replacement process:
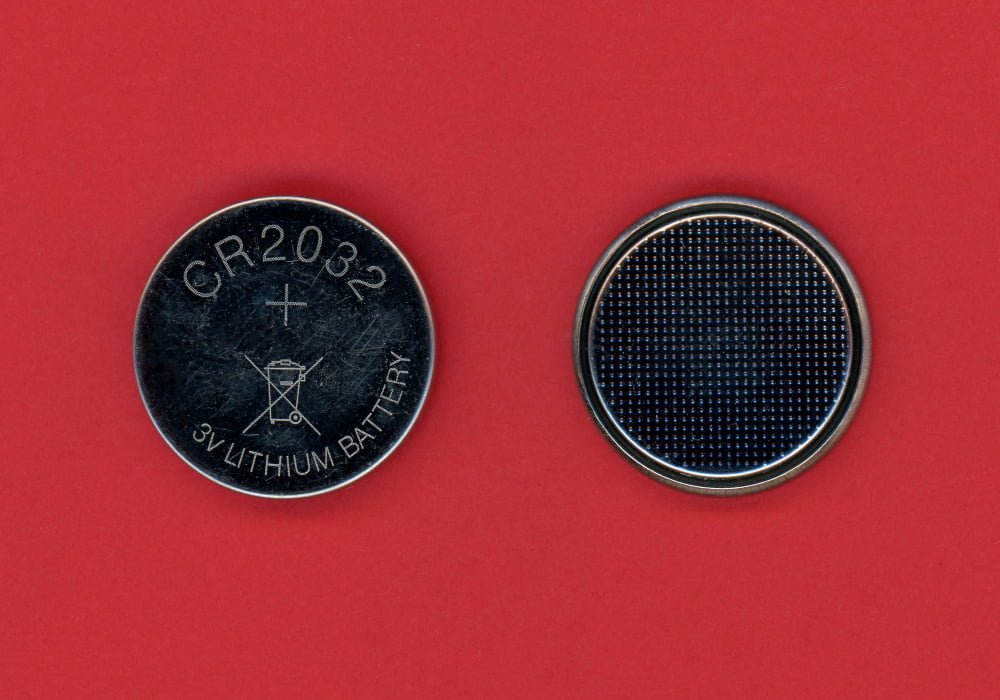
- Open the remote: Use a thin object like a coin or a screwdriver to slide in your remote’s battery compartment.
- Identify the battery type: Note the battery type, commonly CR2032 or CR2016, and purchase the corresponding replacement.
- Replace the battery: Remove the old battery, ensuring not to harm the circuit board, and then insert the new one.
Always remember, it’s the correct placement of the battery that makes the operation successful. The positive (+) end of the battery should be facing the (+) marking inside the battery compartment. Overall, keeping a spare set of batteries can save you from any last-minute inconvenience.
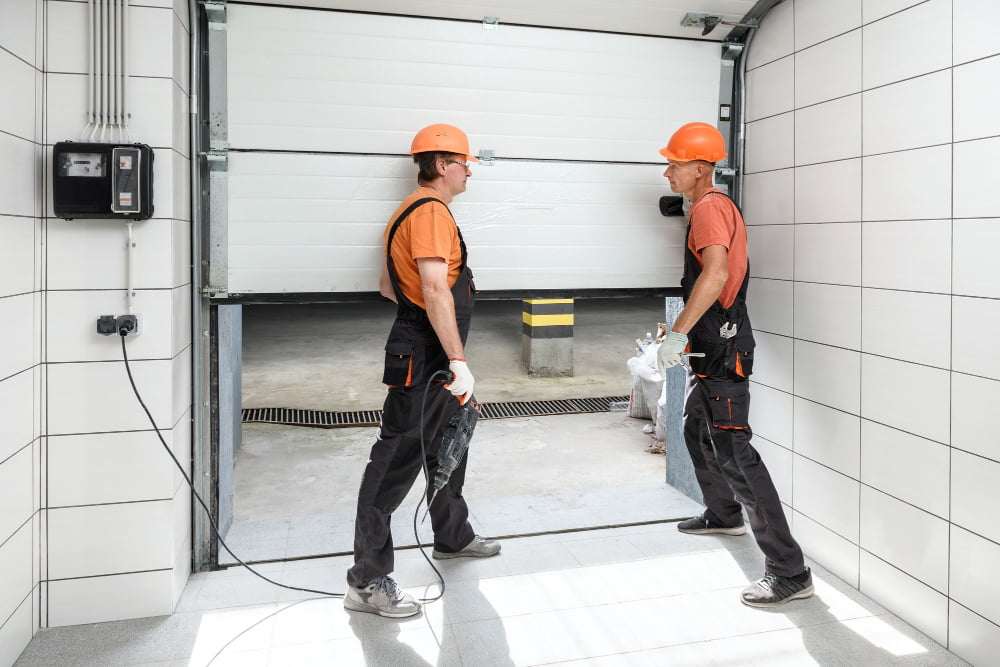
Check the Tracks and Rollers
Start by visually inspecting the tracks and rollers for signs of damage. If any damage is present, it interferes with the smooth operation of the garage door. Look for dents, bends, or obstructions in the tracks or worn-out or broken rollers, which can prevent the door from closing properly.
It’s also crucial to assess the condition of the tracks’ alignment. If they are out of alignment, the door won’t be able to move smoothly and may not close correctly. A level can be used to ascertain their proper alignment.
A roller bearing that’s not rotating freely could also be the problem. In such a case, it might need replacement, so the rollers continue to glide smoothly in the tracks.
Lastly, ensure that the tracks and rollers are clean. Dust, dirt, and grime can accumulate over time, causing friction and hindering the smooth operation. Cleaning these elements with a specialised garage door cleaner can potentially rectify the closing issue.
Bent or Blocked Tracks
A prominent cause of garage door issues could be bent or blocked tracks. Debris, tiny rocks, or even tools could inadvertently fall or be left in the track, causing obstructions and preventing smooth door operation. Regular inspection and cleaning can solve such problems.
In some cases, the tracks could be bent or dented from a direct hit or usual wear and tear. This would require professional help as it involves removing and replacing the entire track.
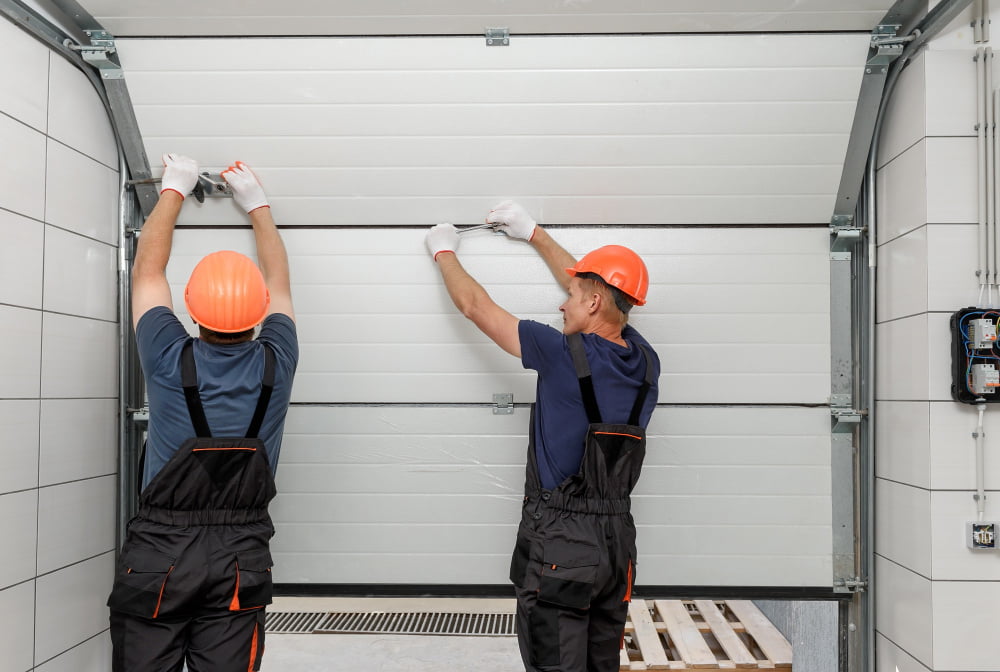
Misaligned Tracks
Tracks guide the movement of your garage door and it is crucial that they maintain their vertical alignment. If they get knocked out of position or wear out over time, the door can’t slide smoothly.
Look at the brackets holding the tracks to the wall; if they’re loose, tighten them. For bigger alignment issues, you’ll need a level to check whether the tracks are at the right angles. If they’re not, you can loosen (don’t remove) the brackets and tap the tracks gradually to the right position.
After adjustment, recheck the alignment and tighten the screws and bolts. It’s advisable to seek professional help for major alignment issues to avoid causing further damage or compromising safety.
Travel Limits

Travel limits control how far the garage door moves when opening or closing. Incorrect adjustments in these settings result in the door not closing fully or reversing halfway through. You can find limit switch dials on the motor unit of your door opener.
Turn the dial marked ‘close‘ or ‘down‘ to extend the closing distance. Before each adjustment, perform a full drop test for safety. Be cautious to avoid over-adjusting, which might make the door hit the ground too hard. Always consult the manual or seek professional help if unsure.
On the other hand, the door might not close if it thinks something is underneath it. Aside from obvious obstructions, this can be a sensitivity problem; that is, the door might be too sensitive to resistance. The force adjustment control comes into play for this issue. Dialing it down can prevent the door from falsely detecting obstructions.
Again, be mindful about safety. Try not to decrease the sensitivity level too much, or the door might close on actual obstructions, causing damages or injuries. Always test the door after each round of adjustment.
Adjust the Limit Screws
The limit screws on your garage door opener inform the system how far the door should move to be fully closed. If these settings are off, the door may not shut completely.
To adjust them, locate the limit adjustment screw on the door opener motor housing. Turning the screw clockwise will decrease the door’s closing distance, while turning it counterclockwise will increase it. Ideally, adjustments should be made in small increments, around a quarter turn at a time.
After each adjustment, test your door’s operation. If the door still won’t close all the way, repeat the process until it operates as desired. However, if continual adjustments don’t solve the problem, you may need to seek professional assistance.
Broken Springs
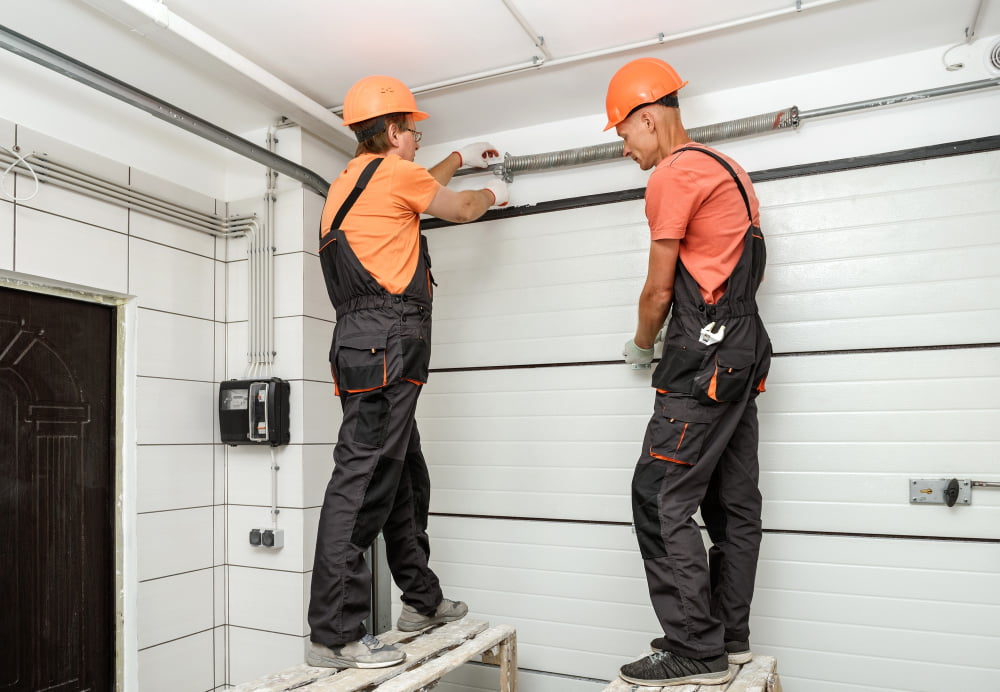
The inability of your garage door to close may be attributed to a broken spring. This component is vital for the proper functioning of the door, as it handles a majority of the weight during the opening and closing process. When a spring breaks, its snapping noise can often go unnoticed, especially if your garage is detached from your home.
To check for this, look for a break in the garage door spring above the door. When a spring is in good condition, it appears as a tightly-wound coil. A broken spring may look separated in the middle, or it may lose its taut appearance altogether. If you observe any of these signs, refrain from trying to fix it yourself. The repair of a broken spring can be dangerous due to the immense tension they are under, and it’s best left to professionals.
It’s also crucial to replace both springs if you have a two-spring system, even if only one is broken. Doing so will ensure that your door continues to operate smoothly and can prevent potential damage that may occur if the unbroken spring were to fail during operation. Remember, springs are designed to operate together. If one has worn out to the point of breaking, the other will probably not be far behind.
Lastly, conduct regular checks for rust, as it can greatly shorten a spring’s lifespan. Regular maintenance including lubrication can prolong their effectiveness and save you from unexpected trouble.
Worn Cables
Excessive fraying is a clear indication of worn cables. These cables are put under tremendous tension every time the door opens and closes, thus, they’re prone to wear and tear. Inspect for signs of aging like loosening, snapping, or twisting out of shape.
If your garage door plummets when it is being lowered, this is again a clear indicator. The cables could be struggling to bear the weight of the door, causing it to fall faster than it should.
Sound may play a significant role as well. Noticeable squeaking or grinding can be an indication of either overall lack of lubrication or the cables nearing their breaking point.
Remember, worn cables are a safety hazard. They can snap at any moment, causing the garage door to potentially fall and cause harm. These aren’t components you should be replacing by yourself due to the high-level risk. Appoint a professional to handle this task to ensure safety and efficiency.
FAQ
Why won’t my garage door close when there’s nothing in the way?
Your garage door may refuse to close due to either faulty or dirty sensors which disrupt the signal transmission that regulates the door’s movements.
What potential issues could cause my garage door opener not to respond?
Possible issues causing a non-responsive garage door opener could include dead batteries, misaligned photo-eyes, disrupted power supply, or a faulty remote.
How could sensor alignment problems prevent my garage door from closing?
Sensor alignment problems can prevent a garage door from closing as the sensors need to ‘see’ each other to transmit the signal that it’s safe to close; if they’re misaligned, the door believes there’s an obstacle and refuses to shut.
Could a worn-out spring or loose cables be the reason my garage door is stuck open?
A stuck-open garage door can indeed result from a worn-out spring or loose cables diminishing the tension required for smooth operation.