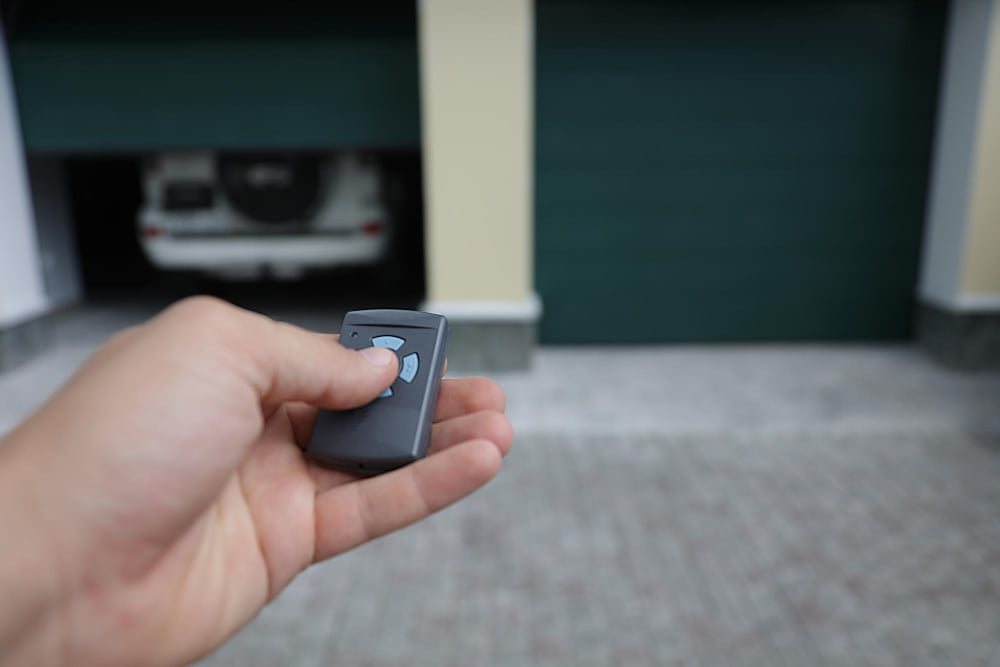
Discover the simple steps to effectively replace the battery in your garage door opener.
Replacing the battery in your garage door opener is a straightforward task that can be completed in just a few minutes. This article will guide you through the process step by step, from identifying the battery type to safely installing the new one.
Whether your opener is a Chamberlain, Liftmaster, or Genie, this guide covers it all.
So, if you’re ready to tackle this simple DIY project, keep reading for all the details you need to get your garage door opener running smoothly again.
Key takeaways:
- Disconnect power from the garage door opener.
- Remove the back cover of the garage door remote.
- Identify the battery size for replacement.
- Procure the exact match for the battery.
- Insert the replacement battery.
Disconnect Power From Garage Door Opener

Before diving into the battery replacement, ensure the garage door opener is unplugged from any power source. This crucial safety step protects both you and the garage door opener system.
If your garage door opener connects directly to the home electrical system, consider flipping the corresponding circuit breaker. Tending to the power connection minimizes the risk of electrical shocks and potential damage to the garage door opener.
After disconnecting power, check that it’s safe to proceed by attempting to operate the garage door opener via wall switch to verify it’s off. This measure also helps to forestall any inadvertent operation during the battery change.
Remove the Back Cover of Your Garage Door Remote
Begin by turning the remote control upside down, ensuring the buttons are facing the surface you are working on. This will prevent the accidental pressing of buttons throughout this process.
Locate the small screws on the back cover, which typically hold it intact. Utilizing an appropriate screwdriver, proceed to unfasten these screws gently.
Alignment of the screws is crucial, as some remotes have designated spots for specific screws. Keeping track of which screw fits where will enhance seamless reassembly.
Once the screws are out, gently lift the back cover of the remote control. Some models may require a little coaxing with a flathead screwdriver. Remember, gentle is key. Applying too much force might damage the delicate components inside.
Here lays the battery or batteries, usually secured in a small slot or holder. Before going any further, take a moment to observe the battery’s orientation. Note the position of the positive and negative terminals for future reference.
Identify the Battery Size for Replacement

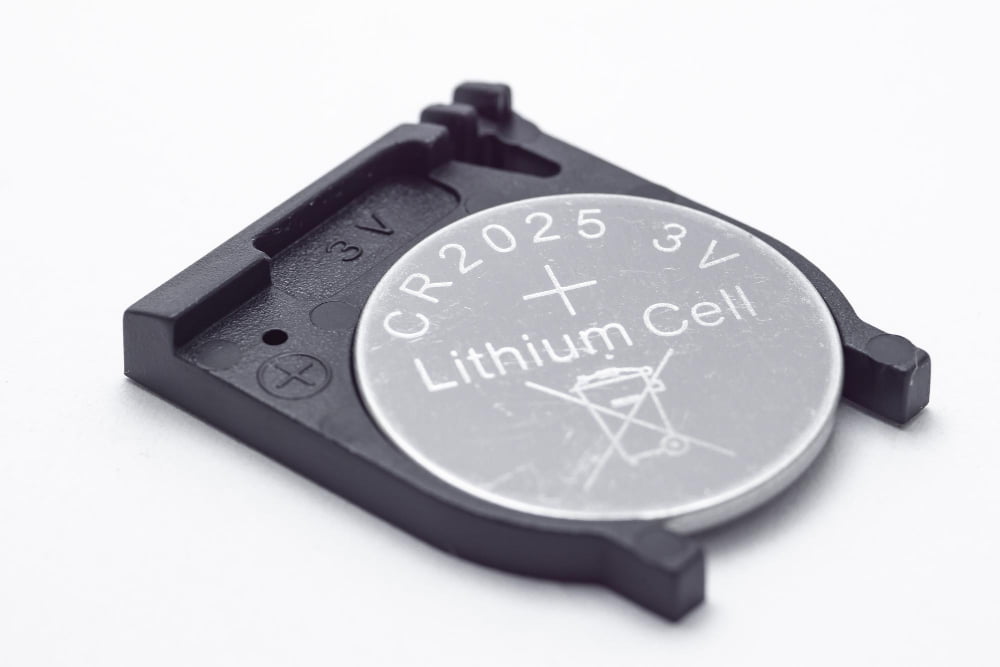
Sizing your battery is important, as an ill-fitted one can hamper the effectiveness and longevity of your garage door opener. Size and voltage information can often be found labeled on the battery itself. Common garage door remote batteries are coin-sized, typically lithium-based, and range from 3 to 3.7 volts.
To guarantee a perfect match, consider bringing your old battery to the store. Physical comparison can minimize margin for errors. Alternatively, online purchasing is an option, however, always cross-reference the model number from your old battery.
Remember, each garage door opener brand may recommend slightly different battery specifications. Always adhere to manufacturer’s guidelines, this is paramount to maintaining the optimal functionality of your remote control.
Procure the Exact Match for the Battery
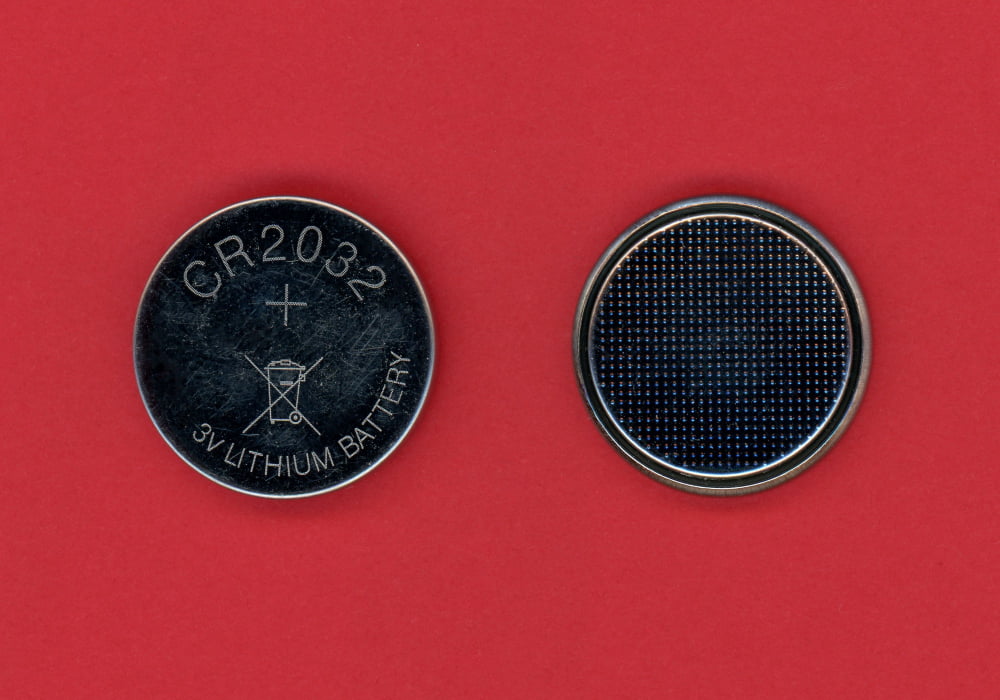
After determining your particular battery type, it’s essential to purchase an exact match. A common type is the CR2032 lithium 3V. They’re easily available in almost every home supply store, supermarket, and online shopping platforms.
However, do take note that some remotes may require a different or unique battery type. Always cross-reference the battery reference code found on the old battery label before making a purchase. This guarantees an identical fit and operational compatibility.
Remember, using the wrong battery may result in underperformance or even damage to your garage door remote.
Insert the Replacement Battery
Ensure you are in a well-lit area for clear visibility. Before introducing the fresh battery into the remote, double-check its orientation. Align it properly, with respect to the positive and negative terminals as per the battery compartment design. Incorrect placement could affect functionality.
After aligning, move ahead to gently slide the battery into the slot. It should fit snugly without any push or pressure. In the case of multiple batteries, repeat this process as necessary. Remember, forcing a battery into the unit won’t help and may cause damage.
Monitor the buttons on the remote while inserting the battery. It’s crucial they do not become distressed or displaced, which might affect the performance of the unit.
In essence, this step requires you to carefully place the new battery into the remote in the correct orientation, ensuring no buttons are displaced in the process.
Reprogram Your Remote
Firstly, ensure you’re meters away from the garage door opener to avoid any accidental activation. Locate the ‘learn’ button on the opener; most commonly found on the rear side or under the light bulb cover. Press this button – this effectively clears past programming.
Subsequently, press and hold the button on your handheld remote that you use to open and close the garage. Hold this button until the opener light flashes or you hear two clicks. This syncs the remote to the garage opener.
If you have keypads or other remotes, repeat the same steps for each. Remember, reprogramming won’t affect other devices unless you press the ‘learn’ button. Make sure to avoid pressing it more than once, as this could potentially erase all previous programming.
For newer models of openers, you may need to enter your system’s password into the keypad before pressing the button you want to program.
Note: the exact method can vary slightly depending on the brand and model of your garage door opener. Always refer to the user manual for precise instructions.
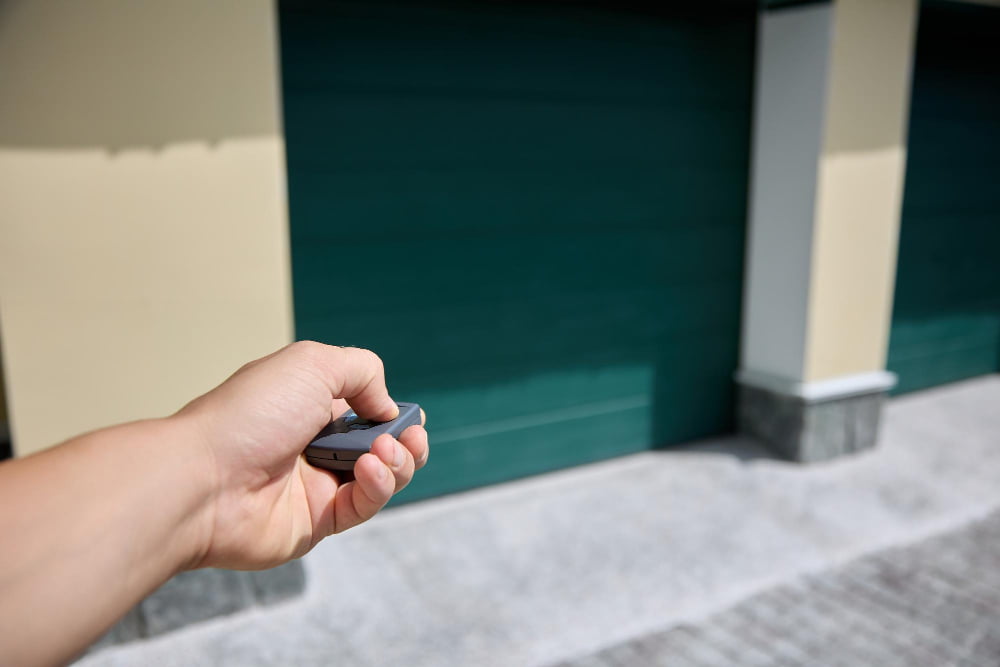
Testing the Functionality of the New Battery

Once the replacement battery is correctly slotted and the cover replaced, it’s critical to ascertain if the opener is indeed operational. For this, use the remote to open and close the door. Make sure to stand a reasonable distance from the door for comprehensive functionality examination.
Additionally, perform the testing at different angles relative to the garage door. This will provide an accurate assessment of the remote range after the battery change. If the garage door responds precisely to your instructions, rest assured that the replacement was successful.
Ensure to observe the remote indicator light. A steadily glowing light is a good sign, signifying steady contact between the remote and the garage opener. On the other hand, a flickering or no light implies a problem, warranting a battery recheck or consulting professional help.
Lastly, it’s ideal to test the remote over several days to establish its consistent performance. Battery-related issues often take a few days to become evident, so it is advisable to diminish the probability of overlooked glitches.
FAQ
When you change the battery in a garage door opener do you have to reprogram it?
Changing the battery in a garage door opener may necessitate reprogramming the remote, depending on the model, and instructions for this process can generally be found online from the manufacturer.
What kind of battery do garage door openers use?
Garage door openers typically use batteries ranging in size from 1.5 volts up to 12v lithium ion batteries, the size depending on the power rating of the opener and the desired battery longevity.
How often should the battery in a garage door opener be replaced?
The battery in a garage door opener should be replaced approximately once a year, or when range and functionality begin to decrease.
What are the steps involved in replacing the battery in a garage door opener?
To replace the battery in a garage door opener, one must access the battery compartment often found at the back, remove the old battery, replace it with a new one ensuring the polarity is correct, then close the compartment.
Are there any safety precautions to be aware of while changing the battery of a garage door opener?
When changing the battery of a garage door opener, it’s crucial to ensure the device is unplugged from the power source to prevent potential electrical shocks.