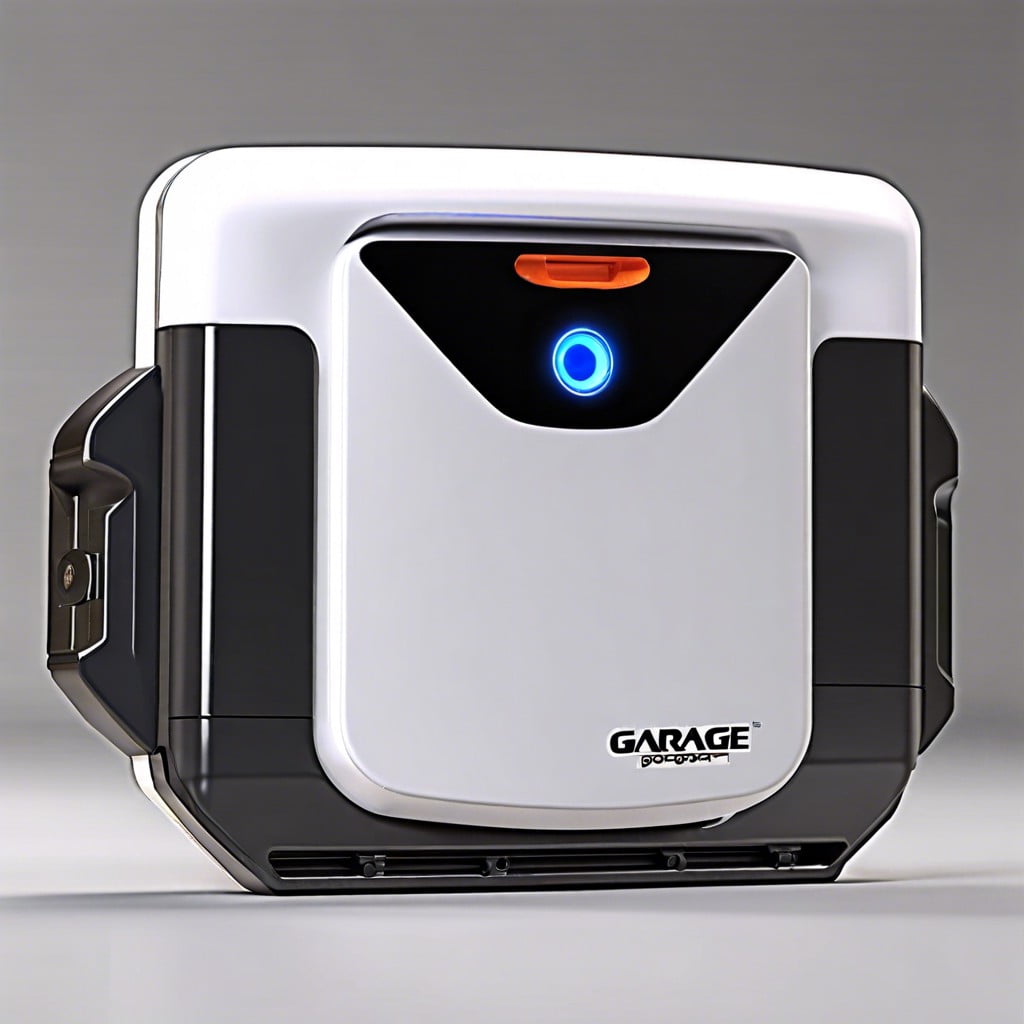
Replacing a garage door opener battery is a straightforward process that ensures continued functionality and convenience—this article provides a step-by-step guide on how to do it efficiently.
Key takeaways:
- Identify the correct battery type for your garage door opener
- Unplug the opener and remove batteries from remote control
- Follow safety precautions, consult the manual, and keep children and pets away
- Carefully remove the old battery and install the new one
- Test the opener and troubleshoot any issues after battery replacement
Identifying the Battery Type

Before proceeding with the battery replacement, it’s crucial to determine the correct battery type for your specific garage door opener model. Manufacturers typically use one of three types of batteries: lead-acid, nickel-cadmium (NiCd), or lithium-ion. To identify the battery type:
- Refer to the owner’s manual: The manual often lists the battery specifications required for your opener. It may also offer guidance on replacement procedures.
- Inspect the existing battery: Look for labels or engravings on the battery itself that might indicate the type. Common identifiers may include ‘Pb’ for lead-acid, ‘NiCd’ for nickel-cadmium, or ‘Li-ion’ for lithium-ion batteries.
- Check the opener unit: Some models have a battery compartment that is designed to fit a specific battery type and size.
- Manufacturer’s website or customer support: If the information isn’t readily available, visit the manufacturer’s website or contact their support line for specifications.
Once you have identified the correct battery type, purchase a suitable replacement, ensuring it matches the voltage and capacity recommended for your system to avoid any malfunction or reduced longevity.
Safety Precautions
Before proceeding with the replacement, ensure that your garage door opener is unplugged from the electrical outlet. This step is crucial to prevent any accidental electrical shocks. Additionally, if your opener is operated by a remote control, remove the batteries to avoid activating the door while working on it.
Wear safety glasses to protect your eyes from any potential debris or dust particles. It’s also advisable to have a sturdy step ladder that is the appropriate height to access your garage door opener safely. Avoid standing on chairs or other unstable surfaces.
It’s important to check the manufacturer’s manual for any specific safety instructions related to your particular model. Keep the manual on hand throughout the process to refer to any diagrams or troubleshooting tips.
Finally, keep young children and pets away from the workspace to prevent distractions or accidents. Safety is paramount, so take your time and focus solely on the task at hand to ensure a smooth and risk-free battery replacement process.
Removing the Old Battery and Installing the New Battery
Before starting, ensure the garage door opener is disconnected from the power source to avoid any electrical hazards. Locate the battery compartment, which is typically at the back of the opener unit, often marked and accessible via a panel or cover that can be removed with a screwdriver.
Carefully open the compartment and take note of the battery model and how it’s connected. Snap a photo with your phone if you think it may help you remember the configuration. Lift the old battery out, being mindful of any connecting wires and avoiding force that could damage the contacts.
With the space cleared, inspect the compartment for any corrosion or debris. Clean it gently with a dry cloth if necessary. Retrieve the new battery—which should be an identical replacement to ensure compatibility—and connect it with the same orientation as the old one. Ensure the connectors are tight and secure.
Once the new battery is in place, replace the cover and restore power to the unit. The LED lights on the opener should activate, indicating that the battery is supplying power. If the lights do not come on, recheck the connections to make sure they are secure and properly aligned.
Testing the Garage Door Opener
Once the new battery is securely in place, ensuring proper function of the garage door opener is essential. Begin by using the wall switch or remote to operate the door. Pay attention to any unusual noises or jerky movements that could indicate a problem.
If the door doesn’t open on the first try, don’t panic. It’s not uncommon for the opener to require one or two attempts to reengage after a power interruption caused by battery replacement.
Check the door’s balance by manually lifting it halfway and letting go. It should stay in place, suspended by the springs. If it falls or shoots up, the tension may need adjustment by a professional.
End the test by confirming that the safety reverse mechanism functions correctly. Place a piece of wood or another obstacle in the door’s path and attempt to close it. The door should reverse upon sensing the object, a critical safety feature that helps prevent injuries or property damage. Any failure here necessitates immediate professional attention.
Troubleshooting Common Issues After Battery Replacement
If the garage door opener is unresponsive or erratic after installing a new battery, consider the following steps:
- Check the battery installation to ensure correct orientation and secure connections.
- Verify that the battery is the correct voltage and type specified by the garage door opener manufacturer.
- Reset the system by unplugging the unit for a minute before plugging it back in, which can resolve minor electronic glitches.
- Inspect terminals for corrosion or dirt, as buildup can inhibit power flow; clean the terminals if necessary.
- Ensure the keypad or remote has been properly reprogrammed if the opener requires re-syncing after battery replacement.
- Examine the integrity of the door and opener mechanisms, as unrelated mechanical issues can sometimes coincide with battery changes.
By systematically evaluating these aspects, you can often quickly identify and rectify issues following a battery replacement.