Discover the simple steps to program your garage remote even without a learn button, providing convenience and security for your home.
Programming a garage remote without a learn button may seem challenging, but it’s not impossible. This article will guide you through the process step by step.
The method involves locating your garage door opener’s DIP switches and aligning them with the same pattern on your remote control. The process may vary slightly depending on the brand and model of your garage door opener, but the general steps remain the same.
Stick around to get all the details and successfully program your garage remote without a learn button.
Key takeaways:
- Identify the DIP On/Off Switch On the Garage Opener
- Create Your Preferred Pattern
- Identify the DIP Switch On the Remote
- Match the Pattern On the Remote Controller to That On the Receiver
- Remove Any Obstructions On the Doorway
Identify the DIP On/Off Switch On the Garage Opener
The DIP (Dual In-line Package) switch is an essential component in the garage opener system. Its location varies by model, so consulting your specific opener’s manual is recommended.
Often found tucked inside the opener, you may need to remove a light or faceplate to access it. The DIP switch features a sequence of small switches in a row, typically 8-12, that can be set in either an ‘on‘ or ‘off‘ position to establish your code.
Pay keen attention to the DIP switch’s alignment to avoid any confusion later while you program the remote.
Create Your Preferred Pattern
A unique code is essential for successful programming, aiming at minimizing garage door interference from neighboring systems. This escalating security measure involves the setting of a preferred pattern on the DIP switches within your garage door opener.
Creation of this pattern simply involves choosing a combination of on/off positions for the tiny switches. It’s worth noting that these switches are quite responsive and a small pointed object like a pen or shirt pin could be handy in flipping them.
Remember, the pattern you set isn’t a random combination. It’s a unique identifier code that will signal your garage door to open or close. Essentially, your code must be exclusive and not easily guessable. However, keep it simple enough to remember, in case you need to reprogram or troubleshoot your remote in the future.
Finally, ensure to securely close the compartment of the DIP switches once your preferred pattern is set. This step is critical to protect the switches from dust, debris or moisture which could interfere with their functionality over time.
Identify the DIP Switch On the Remote
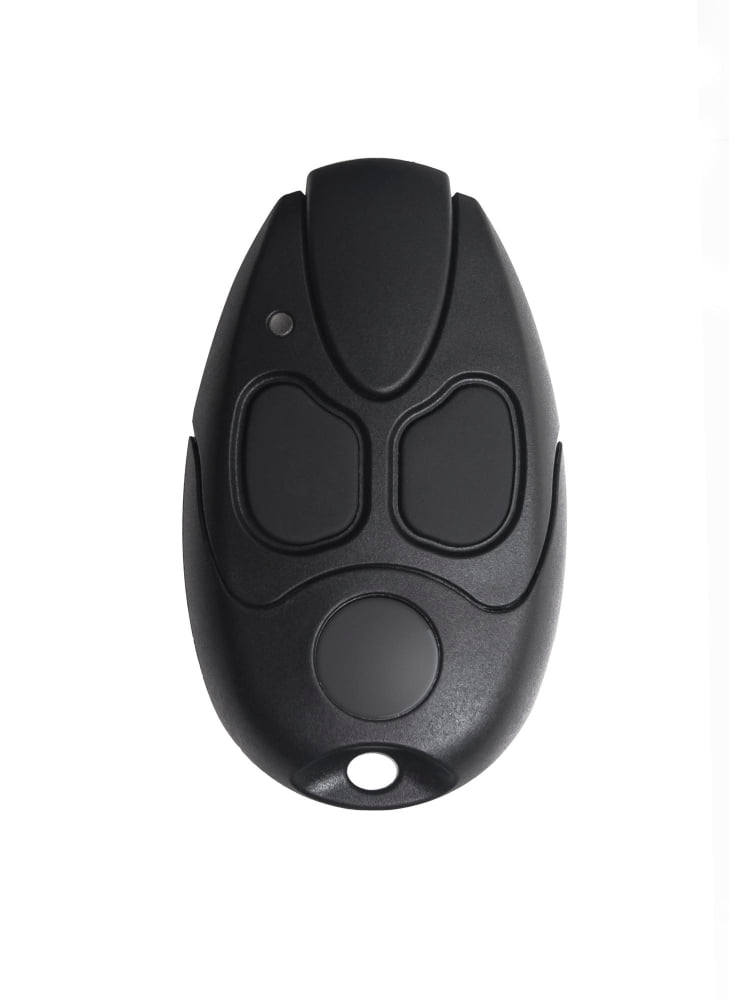
Firstly, your remote control is equipped with a DIP switch, a series of small switches in a dual in-line package. This piece is usually located on the inner-portion of the remote and may require unscrewing the back cover to access it.
On this DIP switch, you’ll find several tiny switches that can be arranged in an on/off sequence to create a unique pattern. This particular pattern serves as an exclusive “code” that your remote communicates to your garage door opener.
Take note of this pattern; it is crucial for synchronizing your remote to your garage. It helps to sketch a representation of the switch layout for easy reference.
Remember, diligence during this process results in a smooth connection between your remote and the garage door opener.
Match the Pattern On the Remote Controller to That On the Receiver
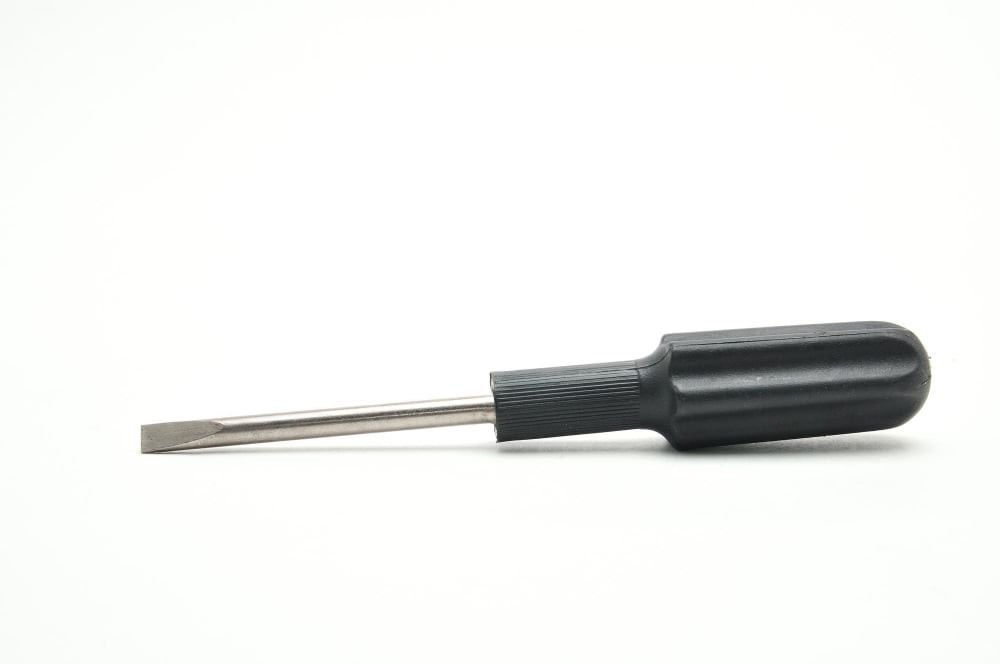
Distilling the science behind this principle, the codes on the receiver and the remote must correlate for successful pairing. To do this, make sure both patterns have the exact sequence. Employ a small tool, such as a pen or a screwdriver, to adjust the tiny switches inside the remote and align them to the configuration of those in the receiver.
An important note is to be gentle with these switches as aggressive handling can lead to breakage. Establishing this alignment essentially entails ‘teaching’ your remote the language of the receiver, paving the way for flawless communication between the two devices. Remember, it’s all about the precision in matching the binary (up/down) pattern.
Remove Any Obstructions On the Doorway
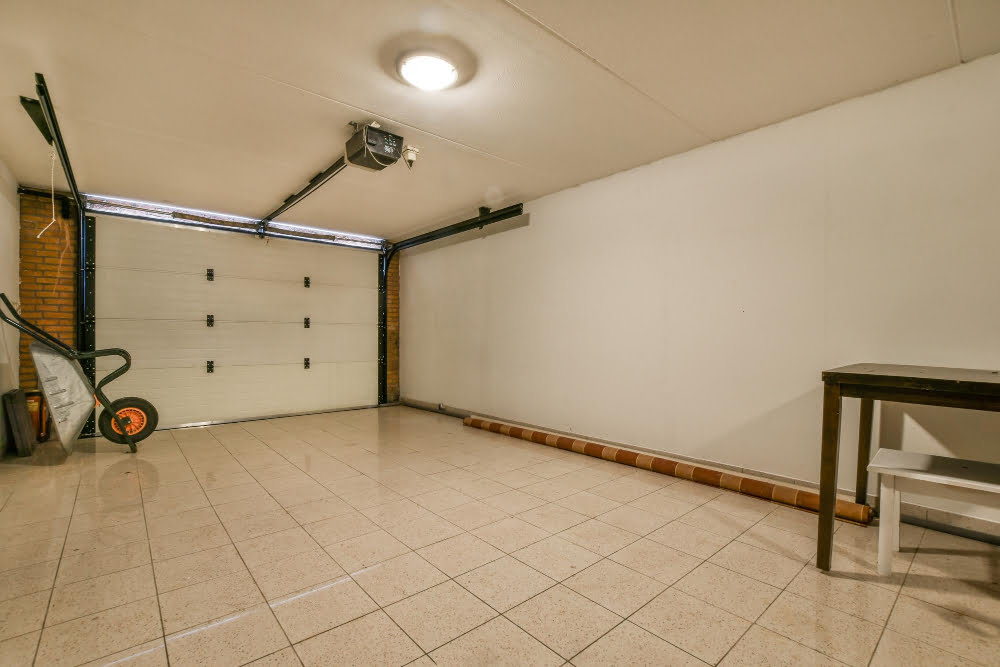
In carrying out the programming process, it’s essential to have a clean pathway. Here’s why:
1. Sensor Interference: Any items in the doorway might interfere with the sensors that help the door function correctly. This could prevent the door from responding as expected to the remote, even if you’ve set the DIP switches correctly.
2. Safety: For your protection, ensure there are no items that could fall or get damaged during testing, or that might prevent the door from closing fully.
3. Accuracy: A clear pathway allows you to sufficiently determine whether the remote is functioning correctly. This way, you can avoid any misinterpretation caused by obstructed sensors.
Therefore, before proceeding to the testing stage, check the area for any objects– tools, bicycles, or boxes–that could hinder the door’s movement or interfere with sensor signals. Once the area is clear, proceed with confidence to the testing phase.
Test the Remote Functionality
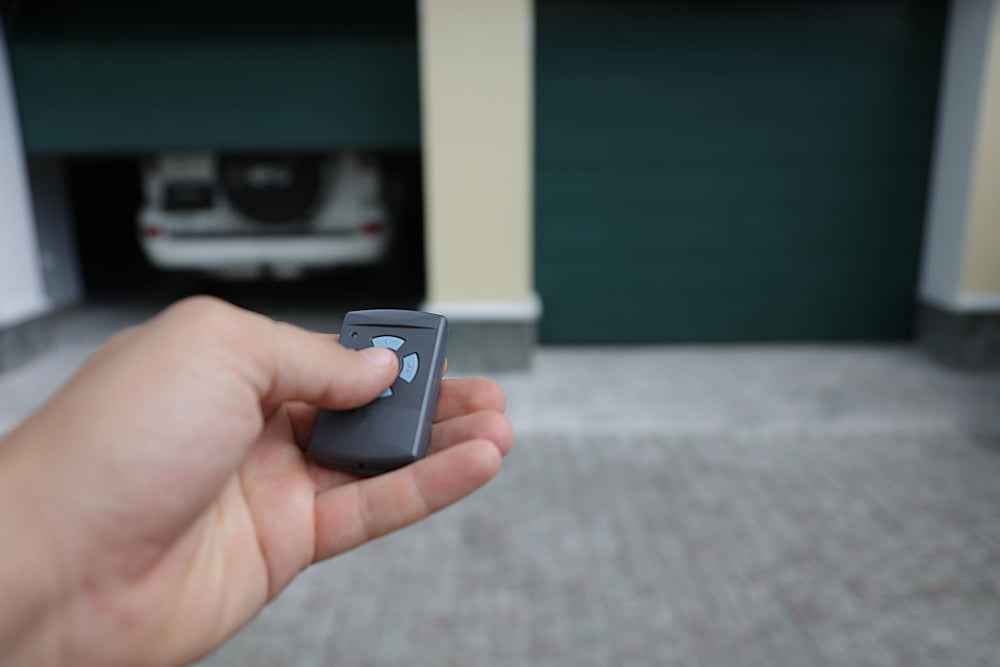
Once the DIP switches arrangement on the remote aligns with that on the receiver, it’s time to check if the synchronization was successful. Begin by positioning yourself within a reasonable distance from the garage door but avoid standing directly under it for safety reasons. Press the button on your remote and observe whether the door starts moving.
If the door operates smoothly, it means the programming worked. Remember, the functionality of a garage door can vary. Some doors will fully open or close; others might only slightly move. This is normal for the testing phase.
In cases where the door doesn’t respond, ensure the remote’s battery isn’t dead or rundown. If the issue persists, recheck your DIP switch settings—misalignment may prevent the remote from connecting with the receiver.
Troubleshoot Common Issues With Garage Remote Programming
Numerous problems can arise during the process of garage remote programming. However, there’s no need to fret. Most issues are straightforward to troubleshoot and resolve, ensuring the smooth operation of your garage door.
1. Incorrect DIP Switch Settings: The problem could stem from having a mismatch between the DIP switches on your garage opener and remote. Make sure these patterns align perfectly to ensure appropriate signal reception.
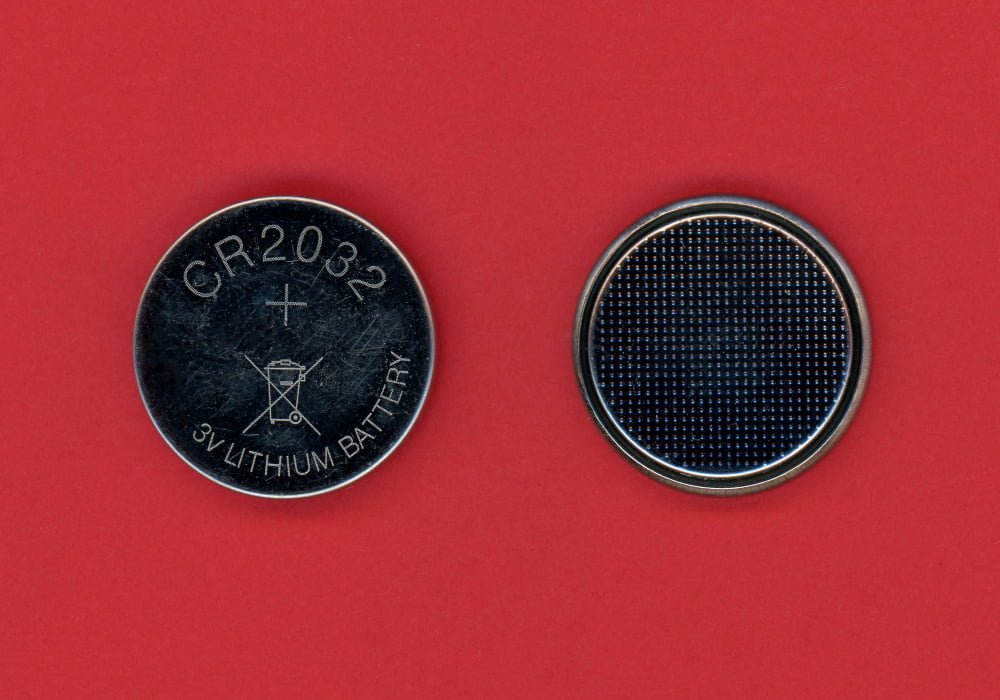
2. Empty Batteries: A basic, yet sometimes overlooked issue is drained batteries in your garage remote. Always have fresh batteries on hand to swap out when necessary, and ensure that the batteries are correctly inserted in the remote.
3. Distance Problems: The operational range of the remote could affect functionality. Try operating the remote closer to the garage door opener as range issues occasionally affect signal reception.
4. Interference: Other electronic devices can interfere with the signal. Ensure to eliminate any possible sources of interference within proximity of either the remote or garage door opener.
5. Outdated Components: Older garage door components might experience compatibility issues with more modern remotes. Updating these parts could be a viable solution if other troubleshooting methods fail.
By routinely checking these elements, you can promptly detect and resolve most garage remote programming issues, ensuring durable and convenient use of your garage door.
FAQ
What if my garage door does not have a Learn button?
If your garage door lacks a “Learn” button, it likely operates via DIP switches, requiring a compatible remote with DIP switches; it’s advisable to verify compatibility, especially with older models using rolling code technology.
Do all garage door openers have a Learn button?
Yes, a learn button is a common feature in most garage door openers, as it allows users to reset and reprogram the device’s code for compatibility with remotes and in-car buttons.
How can universal garage remote controls be programmed without a Learn button?
Universal garage remote controls can be programmed without a Learn button by referring to the manufacturer’s instructions and frequently involving a sequence of button presses on the remote to sync it with your garage door opener.
Which methods exist for resetting a garage door opener without using the Learn button?
You can reset a garage door opener without the Learn button by disconnecting the garage door opener from the power source, waiting a few moments, then reconnecting it, or by using your garage door opener’s specific reset code which is often found in the owner’s manual.
What are the alternatives when encountering difficulties in programming a garage door opener that lacks a Learn button?
When encountering difficulties in programming a garage door opener that lacks a Learn button, alternatives include referring to the opener’s manual for specific instructions, contacting the manufacturer for support or considering a universal garage door opener that is compatible with various models.