Discover the essential steps to effectively finish the bottom of drywall in your garage, ensuring durability and a polished aesthetic.
Finishing the bottom of your garage drywall is a crucial step in any garage improvement project. This process, which involves installing and sealing the drywall, can significantly enhance the aesthetics and functionality of your garage.
This article will guide you through the process, providing step-by-step instructions and expert tips to ensure a smooth and successful project. From prepping the drywall to applying the final coat of paint, every detail needed to achieve a professional-looking finish will be covered.
So, whether you’re a seasoned DIY enthusiast or a novice homeowner, this guide will have you finishing your garage drywall like a pro.
Key takeaways:
- Select appropriate moisture-resistant drywall for your garage.
- Prepare necessary tools and supplies for the project.
- Clear and level the garage area before installing the drywall.
- Follow proper installation techniques for attaching the drywall.
- Cover and protect the bottom of the drywall with moisture barriers and molding.
Selecting Appropriate Drywall
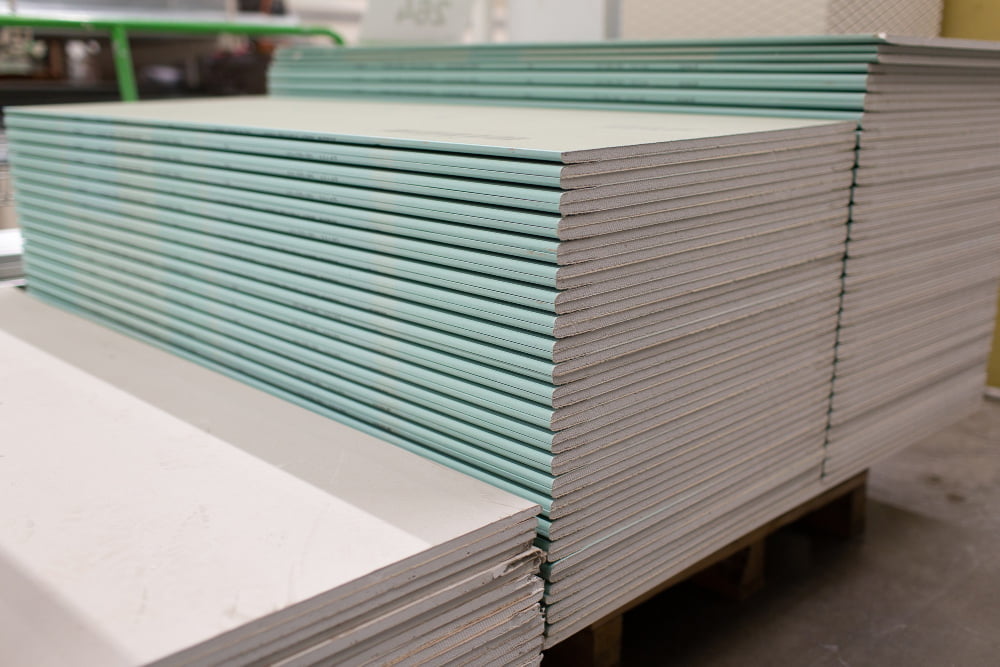
When it comes to the type of drywall for your garage’s bottom, the choice is crucial. You’ll need a drywall that can withstand potential moisture issues common in garages. As such, a mold and moisture resistant drywall is ideal.
These come in different thickness levels, typically between 1/4 inch to 5/8 inch. The thicker drywall, while slightly more difficult to install, provides better insulation and strength – a worthwhile consideration for more rigorous garage uses.
Remember to keep in mind local building codes, as they can affect the thickness requirement in your area. Sheetrock UltraLight Mold Tough is a popular choice among homeowners due to its lightweight nature and inherent resistance to mold growth.
Identifying Necessary Tools and Supplies
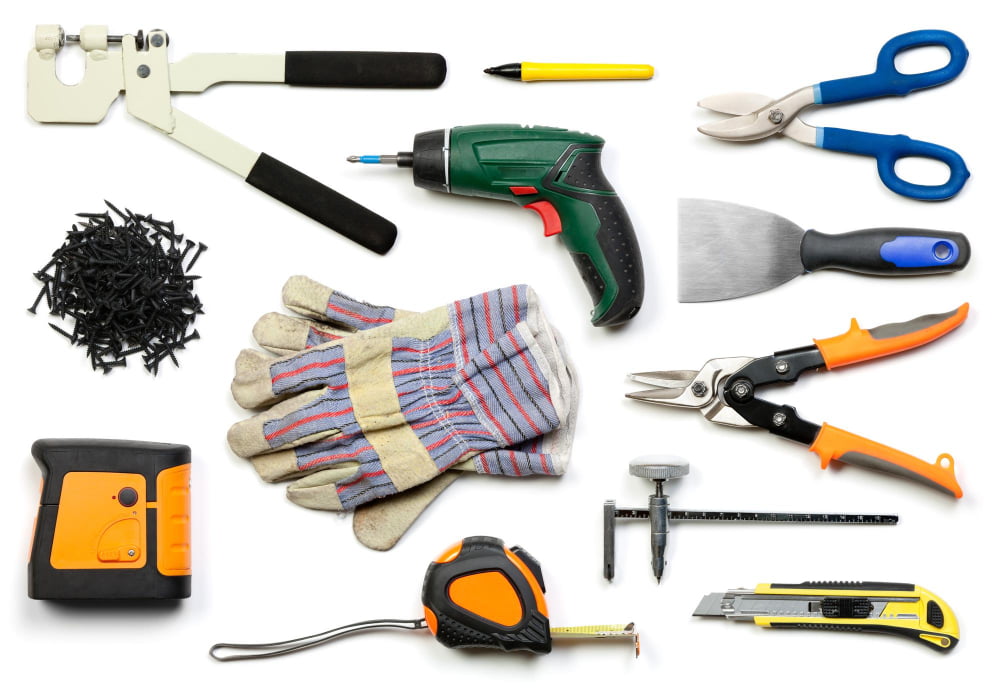
To successfully undertake this project, a checklist of essential tools and supplies is necessary. To begin with, you’ll want to secure high-quality drywall sheets, typically 1/2″ thick for garage walls. Drywall screws will secure the sheets to the studs, while a cordless drill will significantly expedite the process.
A drywall T-square and utility knife are necessary for precise measurements and clean cuts. Don’t forget a drywall saw for small cutouts and drywall lift or a helping hand if you’re working on the ceiling.
When it comes to the execution phase, a drywall knife set is indispensable for applying joint compounds and taping. Here, a mud pan to hold the compound, and drywall tape, generally paper or fiberglass, will be of use.
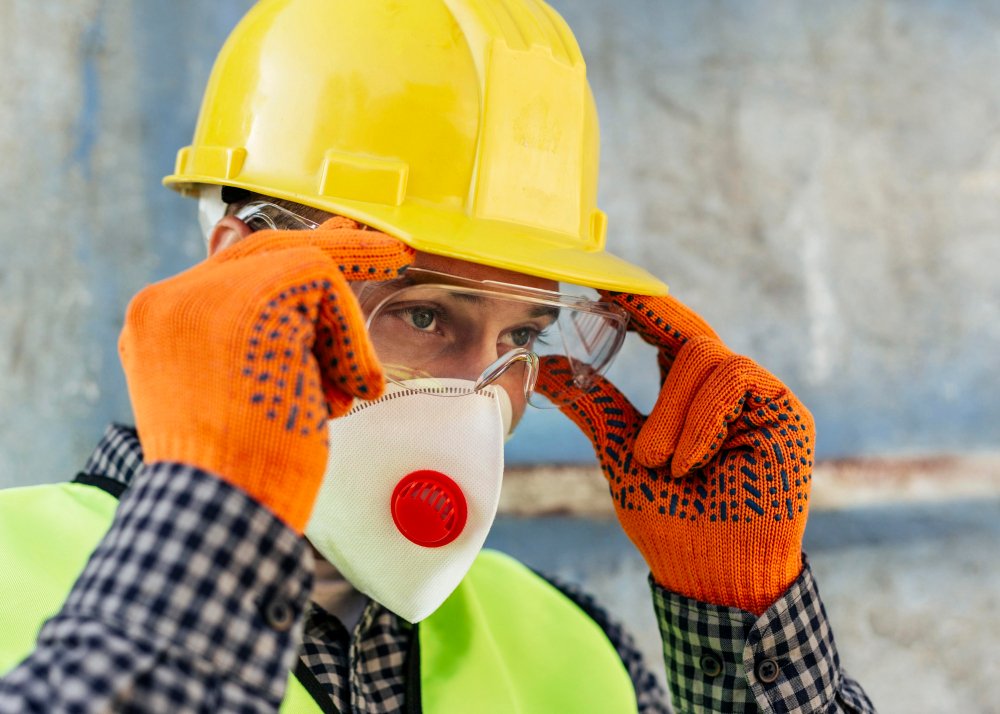
Finally, safety is paramount. Always have safety goggles to protect your eyes from dust, gloves to guard your hands, and a dust mask or respirator. This suite of tools and supplies neatly encapsulates everything necessary to navigate this drywall project effectively.
Preparation of the Garage Area
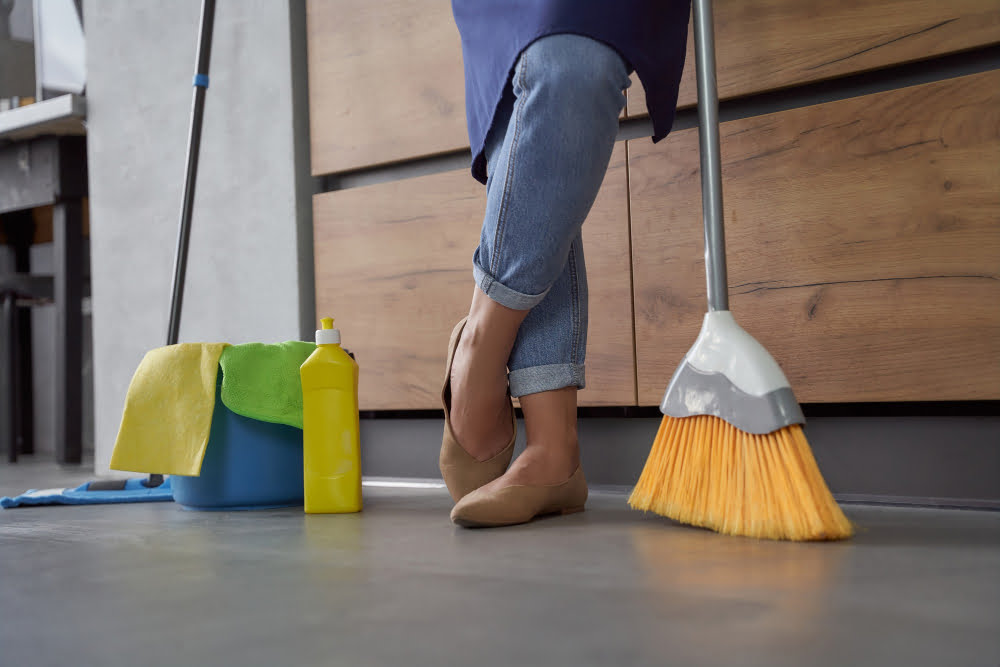
Before beginning the process, clear the area of any equipment, debris or other obstructions. A clean and tidied garage area will not only make the installation smoother, but it’ll also ensure safety. The walls to be worked on should be bare with no ceasing electrical wires, pipes or nails.
For garages with uneven or problematic concrete floor, consider having them leveled before the drywall installation process. This means that the drywall will sit evenly and reduce risk of damage over time.
Ensure careful planning of the layout of your drywall. Ideally, the sheets should be oriented perpendicular to the frame studs for maximum solidity and stability.
Finally, don’t forget your safety gear. Gloves, safety glasses and a dust mask are must-haves to protect oneself during the process.
Installing the Drywall
Installation begins by measuring the height of the wall in the area you’ll be hanging the drywall. Cut a panel to the correct height, minus ½ inch to prevent moisture absorption from the garage floor.
Ensure to wear safety glasses, gloves and a dust mask for protection. Position the panel at the top corner of the wall, ensuring ends meet on a stud center. Maintain a 1/2 inch gap between the drywall bottom and the floor as you attach it.
Use a drill to insert drywall screws about every 16 inches apart into the studs. The screws should be slightly recessed into the drywall but not deep enough to tear through the paper layer. Continue this process with additional panels, aligning the edges at the center of the studs. Remember to stagger the seams for added strength.
Cut out spaces for electrical outlets and switches after the drywall is hung by tracing the box outline on the panel already installed and cut them out with a utility knife or jigsaw.
Next, pay attention to the joints. Apply a thin layer of joint compound over each seam then place drywall tape over the top. Press the tape into the compound using a drywall knife, then apply another layer of compound over the tape. Allow it to dry completely. Voila! The drywall is now installed and ready to be finished.
Covering and Protecting the Drywall Bottom
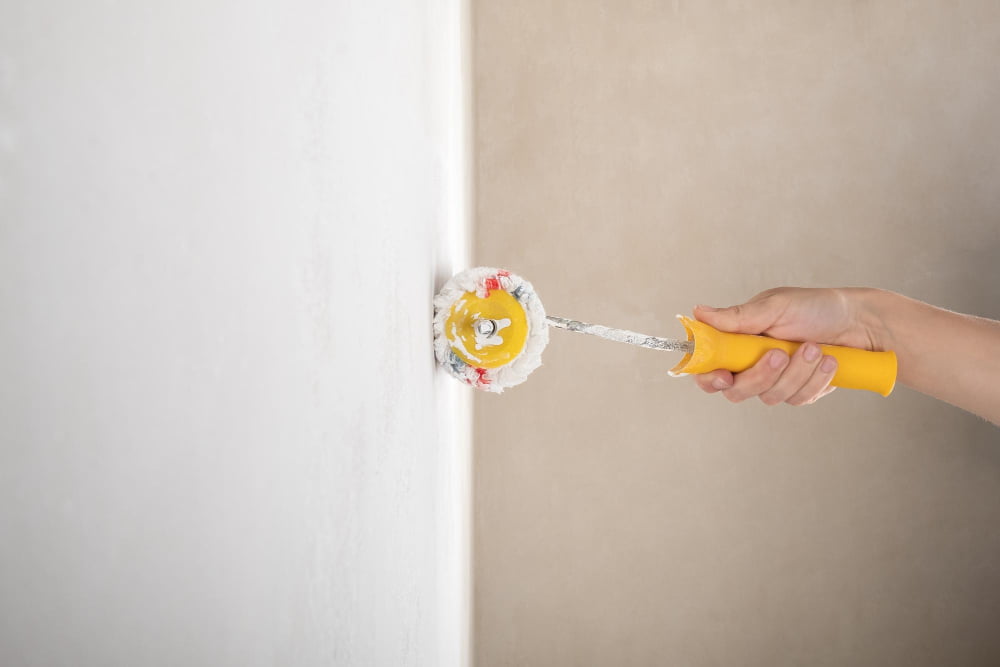
Start by applying a moisture barrier. This could be a waterproof primer or paint, which helps prevent dampness from seeping into the drywall. Always ensure the wall is clean before application.
Next, consider adding molding to the bottom of the drywall. This not only offers protection but also gives a neat finish. Choose a molding material resistant to moisture and easy to clean, such as PVC or vinyl.
Installing a physical barrier, such as a rubberized baseboard, is another smart option. This protects the drywall from accidental damage caused by moving items within the garage, and from moistures that may result whenever you wash the garage floor.
Remember to exercise precaution when moving items near this area to prevent chipping or breaking off parts of the drywall. Regular inspection for signs of moisture damage is also good practice. Alternatives exist for regions with high humidity levels, such as green board or cement board, which are more resistant to moisture damage compared to regular drywall.
Drywall Finishing Techniques
Skilled technique is essential in creating a clean, professional finish to your garage’s drywall. Here’s an outline to achieve that:
- Joint Compounded Layers: Always apply at least 3 layers of joint compound, allowing each layer to dry before applying the next.
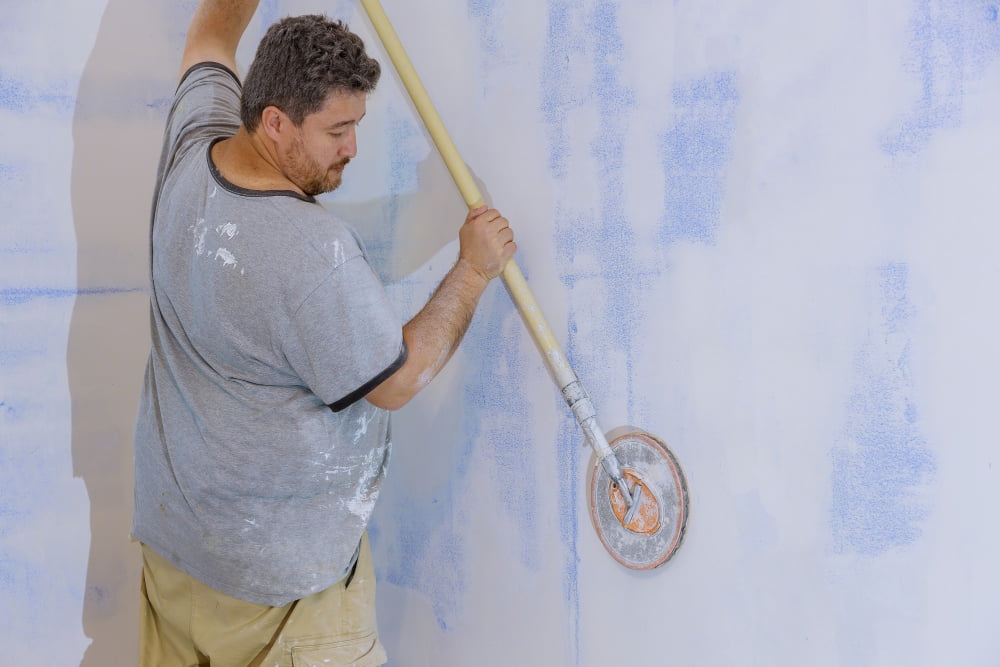
- Sanding Procedure: After each layer of joint compound, sand the area to create a smooth finish. Remember to wear a mask to prevent inhaling dust.
- Feathering Technique: Employ the feathering technique which involves spreading joint compound over a larger area than the joint itself. This evens out the wall surface minimizing visible bumps.
- Using Corner Bead: Apply corner bead to outside corners for a sharp clean look. Use joint compound to cover and smooth out the bead.
- Quality Primer: It’s crucial to apply a high-quality primer after sanding the final coat of compound. This prepares the drywall for paint while also offering additional protection.
Remember, practice and patience are key to mastering these finishing techniques.
Drywall Maintenance and Damage Prevention
To ensure longevity and minimize potential damage to the drywall in your garage, regular maintenance is essential. Follow these preventive measures:
- Avoid bumping and scraping against the drywall with items like tools and bicycles, as it can cause dents and gouges.
- Inspect the drywall regularly for signs of moisture or mold, which can be caused by water spills or high humidity.
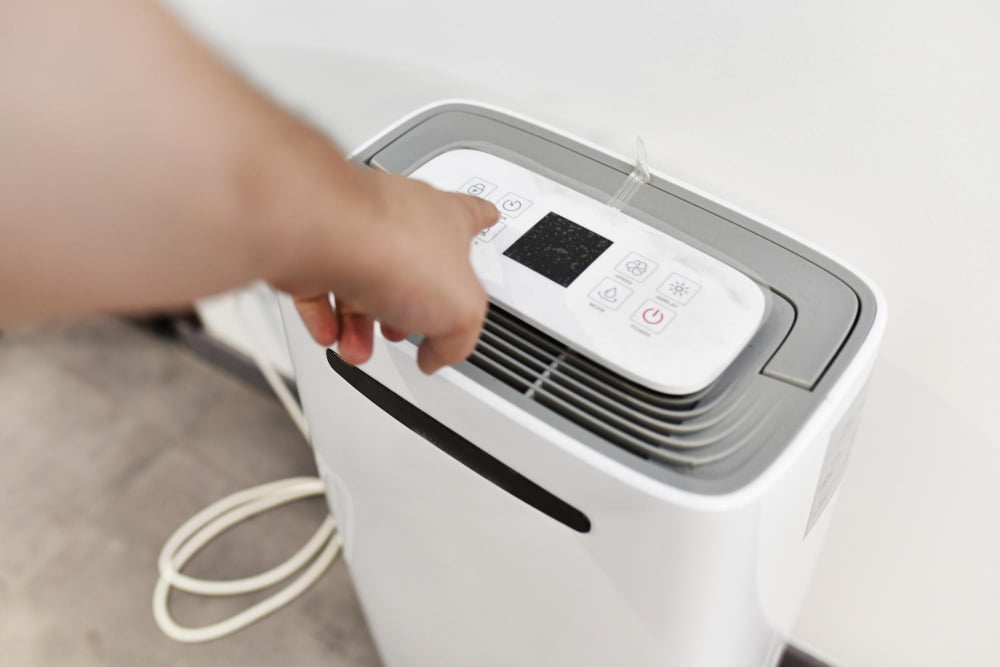
- If possible, use a dehumidifier during wet or humid periods to limit moisture accumulation.
- If water damage does occur, address it immediately. Small areas of damage can be patched, but larger areas may need replacement.
- Ensure that the drywall is properly sealed, and re-seal when needed to maintain its resistance to moisture.
- Regularly dust and clean the drywall using a duster or vacuum with soft brush attachment.
By following these guidelines, you ensure the long-term durability of your drywall, keeping your garage looking orderly and well-maintained.
FAQ
What do you put on the bottom of a garage wall?
The bottom of a garage wall is typically sealed with a high-quality siliconized acrylic caulk specifically formulated for concrete or a polyurethane sealant.
How do you waterproof the bottom of drywall in a garage?
To waterproof the bottom of drywall in a garage, apply an effective and economical material like tanking slurry that is designed to prevent water ingress.
Do you need to finish drywall in garage?
Finishing drywall in a garage is not mandatory, however, it improves aesthetics and is advisable if the walls are insulated; this encompasses taping, mudding and painting.
What types of trim can be used at the bottom of garage walls?
Baseboard trim, vinyl base molding, and metal trim are all suitable types for the bottom of garage walls.
Does the final finish of garage drywall affect its resilience against moisture?
Yes, the final finish of garage drywall significantly affects its resilience against moisture, as paint and other finishes can provide an additional layer of protection.
How can temperature fluctuations impact the finishing of drywall in a garage?
Temperature fluctuations in a garage can cause the finishing of drywall to crack or shrink, affecting its stability and appearance.