Explore the essential steps and techniques to effectively drywall your garage for a polished, professional look.
Drywalling your garage can significantly enhance its appearance and functionality, turning it into a more comfortable workspace or storage area.
This process includes measuring and cutting the drywall, attaching it to the wall studs, and finishing it with tape and joint compound.
It might seem like a daunting task, but with the right tools and a step-by-step approach, you can achieve a professional-looking finish.
This article will guide you through the entire process, offering detailed instructions and expert tips to ensure a successful project.
Whether you are a seasoned DIY enthusiast or a beginner, you’ll find this guide invaluable for your garage drywall project.
Key takeaways:
- Plan the arrangement of drywall sheets to optimize material usage.
- Use essential tools like drywall sheets, screws, lift, drill, saw, knife, pole, compound, tape, and ladder.
- Hang the first drywall sheet properly to ensure a secure and level installation.
- Hang the remaining full-size drywall sheets vertically and stagger the joints for structural integrity.
- Cut drywall sheets to fit accurately and fill any large gaps before mudding and taping.
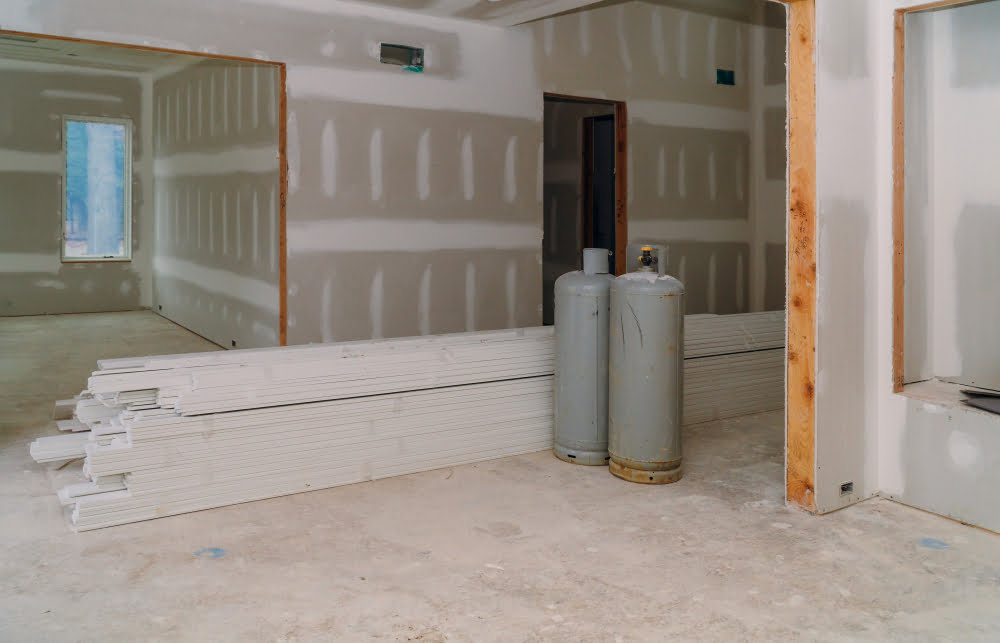
Plan Out How to Arrange Garage Drywall Sheets
Planning the arrangement of your drywall sheets is a crucial first step. Wrong placement can waste materials and time. It’s best to start from a corner and work your way around, installing drywall horizontally.
Here are a few key points to keep in mind:
- Standard drywall sheets are 8 feet long. For a 9ft high garage, you will need to stack two sheets. Keep a 4-inch offset between seams to avoid creating a “hinge” line.
- Plan the placement of seams. Vertical seams should not align with door or window edges to prevent cracking over time due to stress concentration.
- Make sure any electrical outlets or plumbing lines are accurately marked on the drywall. This will ensure accurate cutouts in the sheets.
- Try to avoid a layout that will result in small strips of drywall (less than 2 feet wide). This reduces potential waste and makes installation easier.
Remember, the objective is to optimize material usage while making the drywall installation process as straightforward as possible.
Tools You’ll Need for Drywalling a Garage
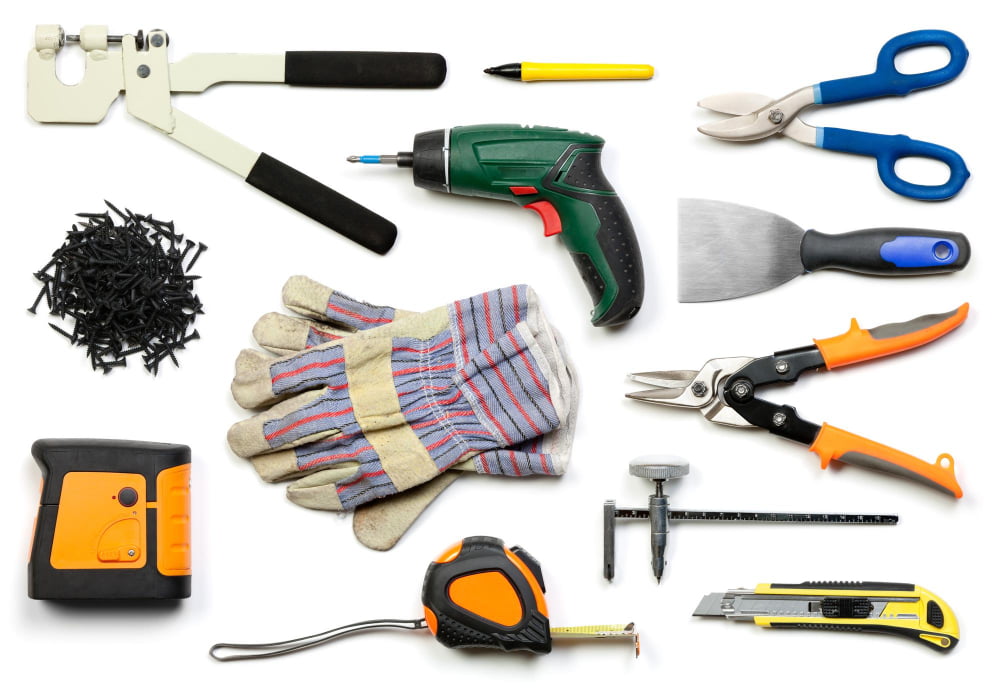
Securing drywall requires specific tools, each critical to achieving a polished end result. The essential tool list includes:
- Drywall Sheets: Depending on the garage size, you’ll need several of these. Go for the 4×8 foot ones that are 5/8 inch thick for most garages.
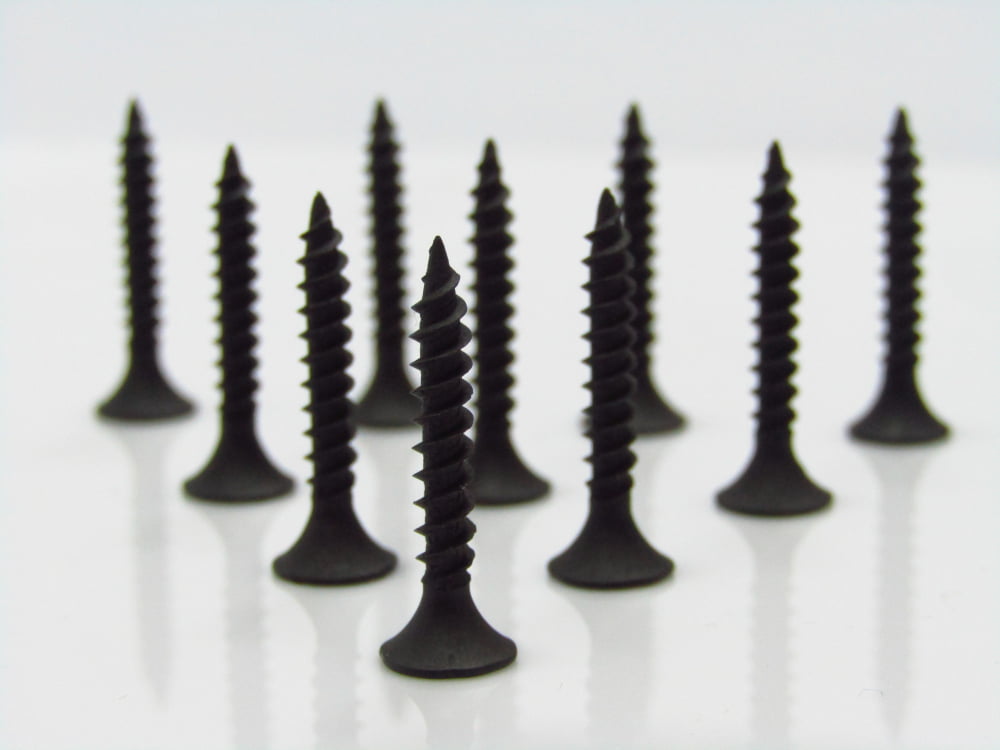
- Drywall Screws: They fasten the drywall sheets to the garage wall studs for a firm hold.
- Drywall Lift or Jack: This equipment helps hoist the heavy sheets onto the wall or ceiling.
- Drill with a Drywall Bit: A powerful drill combined with a drywall bit becomes a potent tool for securing drywall sheets with screws.
- Drywall Saw: This small hand tool lets you cut out doorways and window openings in the drywall.
- Utility Knife: A simple utility knife is handy for making smaller cuts and adjustments to the drywall.
- Sanding Pole and Sandpaper: They smoothen the wall surface before you apply paint.
- Joint Compound, also known as “Mud”: You’ll need this for covering up seams and screw heads.
- Drywall Tape: Reinforces the joint compound and prevents cracking.
- Taping Knife: Smooths the mud and tape application.
- Ladder: For reaching the higher sections of the wall and ceiling.
Having these tools ensures effective installation and adds precision to your work, resulting in a professional-looking finish. Next, let’s dive into how you can put these tools to use.
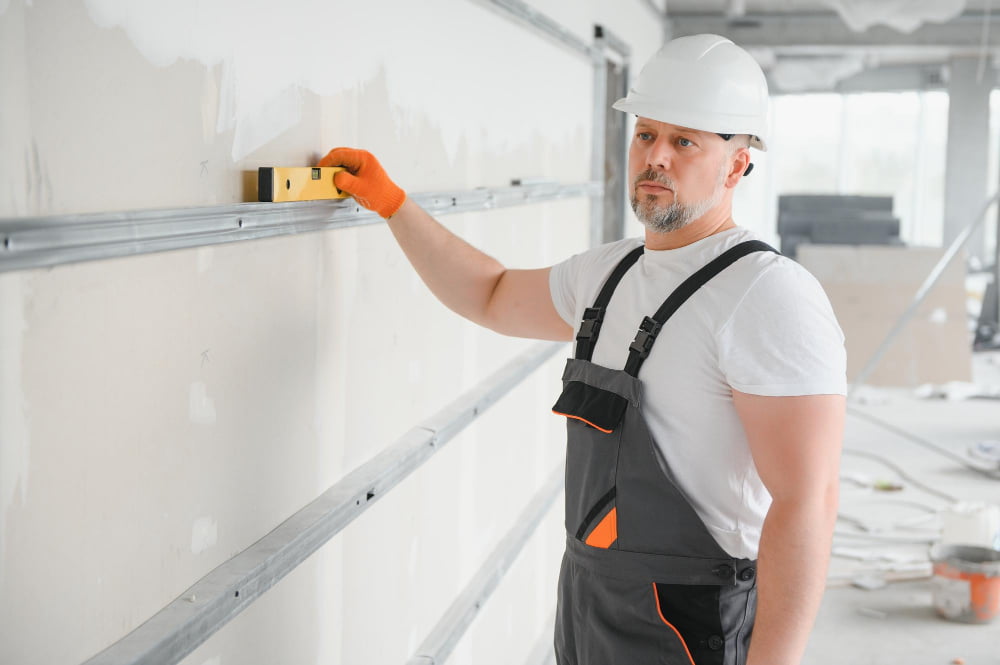
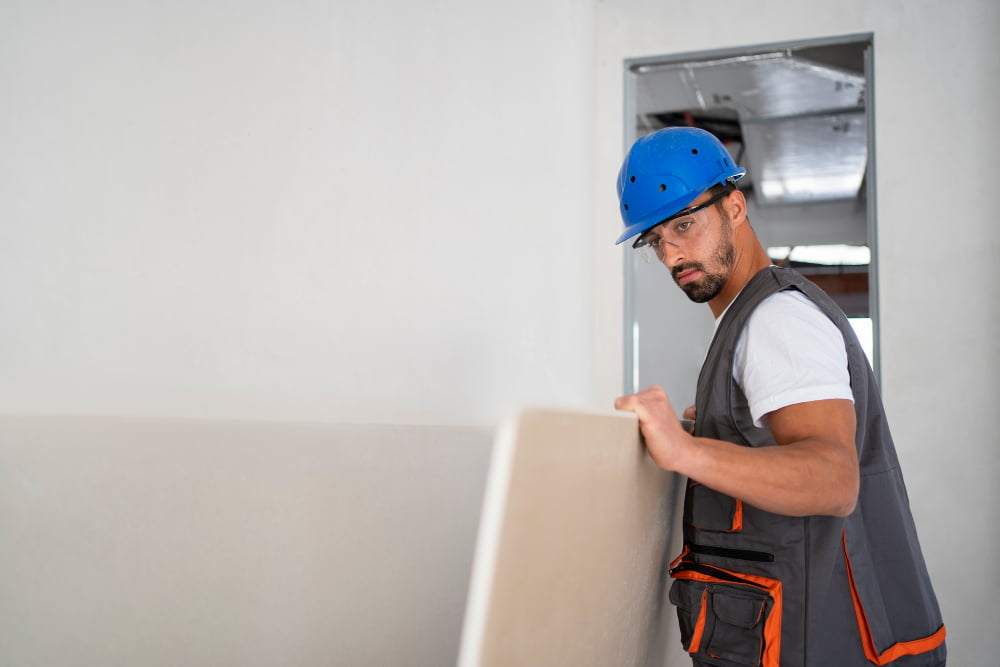
Hang the First Drywall Sheet

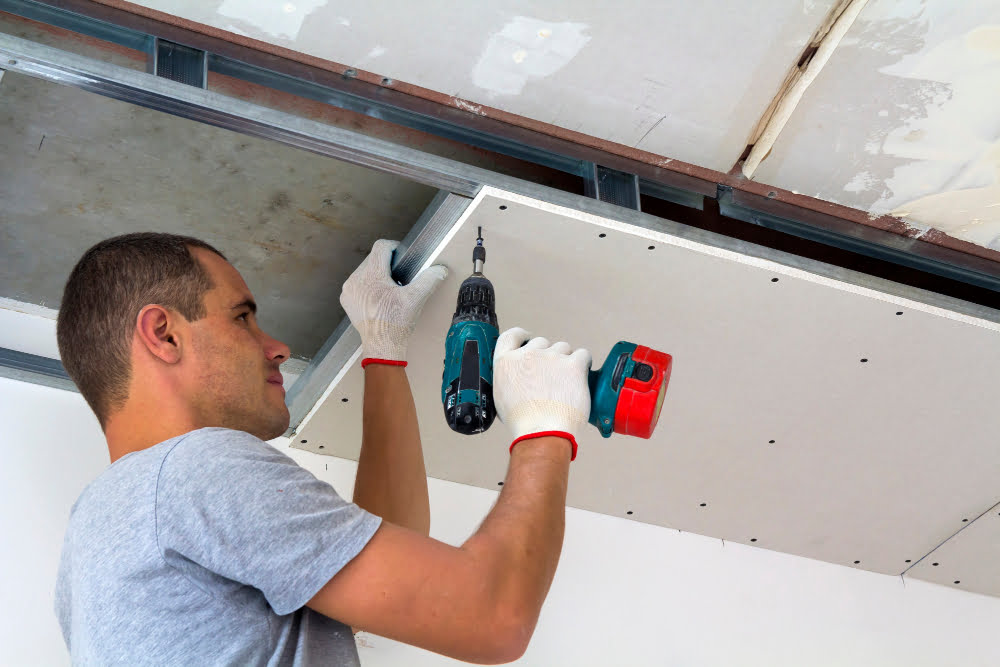
Starting from the top corner closest to the door, align the first sheet along the edge of the ceiling horizontally. Keep in mind, professional standards dictate placing drywall sheets perpendicular to joists or studs. This ensures a more stable wall and minimizes the risks of sagging or cracking.
Ensure about 1/2 inch ground clearance to prevent moisture absorption from the floor. Use a drywall lifter or a second pair of hands to hold the sheet while fastening. Drive screws into the studs at corners and along the sides, spaced about 16 inches apart.
Remember, embedding screws too deep can tear the paper and compromise the integrity of the drywall. So aim to make them flush with the sheet surface. Move on to the next sheet and repeat the process, positioning it snugly against the first. Take note, drywall panels should always join on a stud for secure fastening.
If encountering an outlet or switch, measure and cut out before hanging the sheet. This is achieved by marking the locations on the drywall, cutting out with a keyhole saw, then placing the drywall over the switch or outlet box.
Hang the Remaining Full-Size Drywall Sheets
With the first drywall sheet in place, proceed to hang the rest of the full-size sheets. Align them vertically, directly against the wall studs. Always follow the ‘stagger’ method – this involves offsetting the drywall sheets in adjacent rows, just like bricks are laid in a wall. This distributes the joints and increases the structural integrity of the drywall assembly.
Avoid aligning four corners of drywall sheets. This cross-shaped meeting point tends to weaken the overall structure and may cause issues with finishing. Remember to drive screws about 16 inches apart in the middle of the panels and around 8 inches apart on the edges. Double check to ensure that screws are slightly beneath the surface, but not too deep to break the paper.
Lastly, for sections that cover electrical outlets or light switches, mark the precise locations on your drywall sheet before cutting out the relevant sections with a keyhole saw. Always turn off electricity at the main circuit breaker before working around these areas to prevent any potential hazards.
Cut Garage Drywall Sheets To Fit
To achieve a perfect fit, measure the space where the sheet will go and deduct a quarter of an inch to avoid a tight squeeze that can damage both the sheet and wall. Using a straight edge and utility knife, score your drywall on the front side following your measurements. Apply some pressure and snap it along the line, it will break easily. Flip the sheet to trim the paper backing.
When installing drywall in the vicinity of outlets or light switches, remember to cut out those areas. Tracing around the box onto the drywall will provide an accurate cut-out guide. This technique, known as “boxing”, ensures all utilities remain accessible.
For cutting circular features such as light fittings or pipe access, a keyhole saw is the ideal tool. Start by drilling a pilot hole, large enough to fit the saw blade, and then proceed to cut out the required area. Remember to take great care with your measurements to ensure a snug fit around these areas.
Fill Any Large Gaps in Garage Drywall
With all full-size and cut drywall sheets securely hung, inspect the entire area for gaps larger than 1/8 inch. Instances such as these may occur at corners, around outlets or lighting fixtures, or where two non-standard size pieces meet. Such gaps can hinder overall wall soundness and cause problems during mudding and painting.
To achieve a perfect finish, you’ll want to fill these gaps prior to mudding. Cut a piece of drywall tape to the length of the gap, then apply a thin layer of joint compound to the area. Tuck the drywall tape into the gap, press it down into the compound using a drywall knife ensuring that it is clearly embedded. Later, when you’re mudding, remember these areas. They often require a slightly thicker first coat to account for the sunken tape.
This way, what could have been an imperfection becomes a smooth, sturdy part of your garage wall, maintaining a professional-standard finish and overall integrity of your drywall installation. Moreover, it saves you from future repair and retouch work.
How to Mud & Tape Garage Drywall
Let the drywalling journey progress to mudding and taping. Here’s how it works.
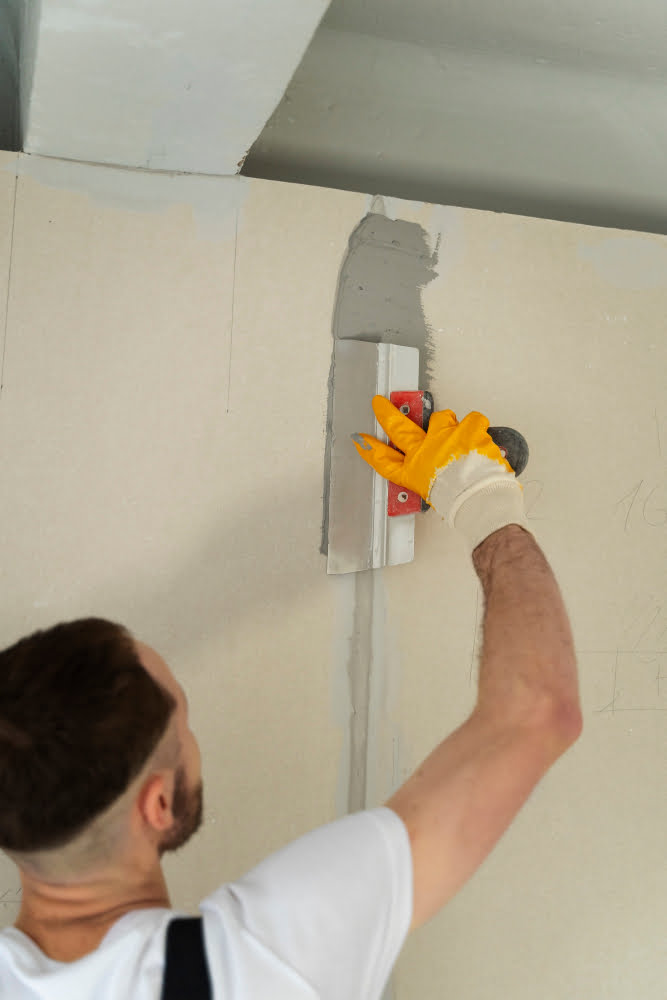
First, use an all-purpose joint compound (or ‘mud’) to fill any screw holes or minor imperfections on the drywall. A 6-inch drywall knife is ideal for the task. Ensure that the mud is smooth and flush with the surface of the drywall. Let it dry thoroughly before proceeding to the next step. Drying time can vary depending on environmental conditions, but overnight is a safe estimate.
Once the initial mudding is dry, take your drywall tape and cover all the seams where two drywall sheets meet. The drywall tape should overlay the seams perfectly, so don’t rush this step. Lay the tape down then apply another layer of mud over the tape using your drywall knife.
The key here is to apply enough mud to cover the tape but avoid making it too thick. Practice will make perfect. Always make sure the edges blend seamlessly with the rest of your garage drywall. The goal during this phase is to make the taped seams as invisible as possible, providing a clean slate for a smooth prime and paint finish.
Remember, the quality of mudding and taping job significantly defines the final look of your garage. Mudding and taping might demand patience, but the results are worth the effort.
Drywall Tools You’ll Need for Mudding and Taping

Before diving into the process, let’s assemble the necessary items. A joint knife, often between 4-6 inches wide, is essential for spreading joint compound, commonly referred to as ‘mud’. To feather the mud evenly across the seams, you’ll need a taping knife – a wider tool ranging from 8 to 12 inches. Furthermore, to combine the tape and mud seamlessly, a drywall taping tool comes in handy.
Ensure you acquire drywall tape, typically made from paper or mesh, to cover the seams. A pan for holding the mud while you work is another must-have. Lastly, don’t forget a corner trowel to achieve perfect 90-degree angles on inside corners, adding finesse to the job. For sanding the dried mud to a smooth finish, you’ll need sandpaper or a sanding sponge designed for drywall. Always remember, having the correct tools makes the task much simpler and the outcome more professional.
Mud Over the Drywall Screws
Firstly, ensure all screws are securely fastened and slightly recessed, not puncturing the paper. Prepare the joint compound, also known as mud, following the manufacturer’s instructions. Load your taping knife with an ample portion of mud.
With a swift, smooth motion, apply the mud over the screws, effectively concealing them. The aim is to create a level surface, ensuring the screws are hidden but without leaving a bump of compound on the drywall.
Remember, it’s better to apply too little than too much. You can always add another coat if necessary, but scraping off excess mud can damage your drywall.
Repeat the process until all screws are covered. Allow the compound to dry thoroughly, typically overnight, before proceeding with taping the seams.
Tape the Seams of Garage Drywall
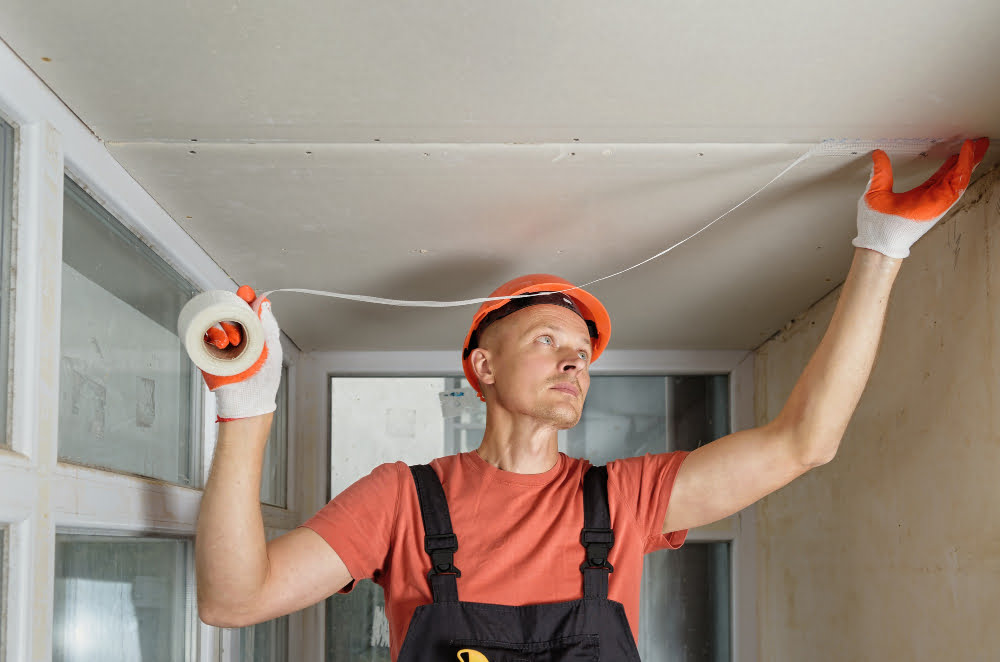
Begin taping with a joint knife loaded with joint compound. Run the knife along the seam between the drywall sheets, deposition a smooth layer of the compound.
Next, place the drywall tape over the wet compound and press it into place with your knife.
Be cautious here. The aim is to firmly embed the tape into the compound without pushing it too hard and causing it to squeeze out from under the edges. Rewet the joint compound as needed to ensure a seamless application.
Remember, for inside corners in your garage, a paper tape with a pre-folded crease is recommended. It can be adjusted into position easily, offering a crisp corner. For outside corners, corner bead provides a better result.
On another note, cross seams should be approached last. They are less visible, and prioritizing them last allows for a neater finish. Consider this a pro tip for professional looking drywalls.
Ensure consistency in your work for all seams and corners, smoothing any excess compound for a neat finish. Remember, patience is your friend in this process ensuring a clean, professional result.
Now we are ready for the next stage – sanding and smoothing the drywall.
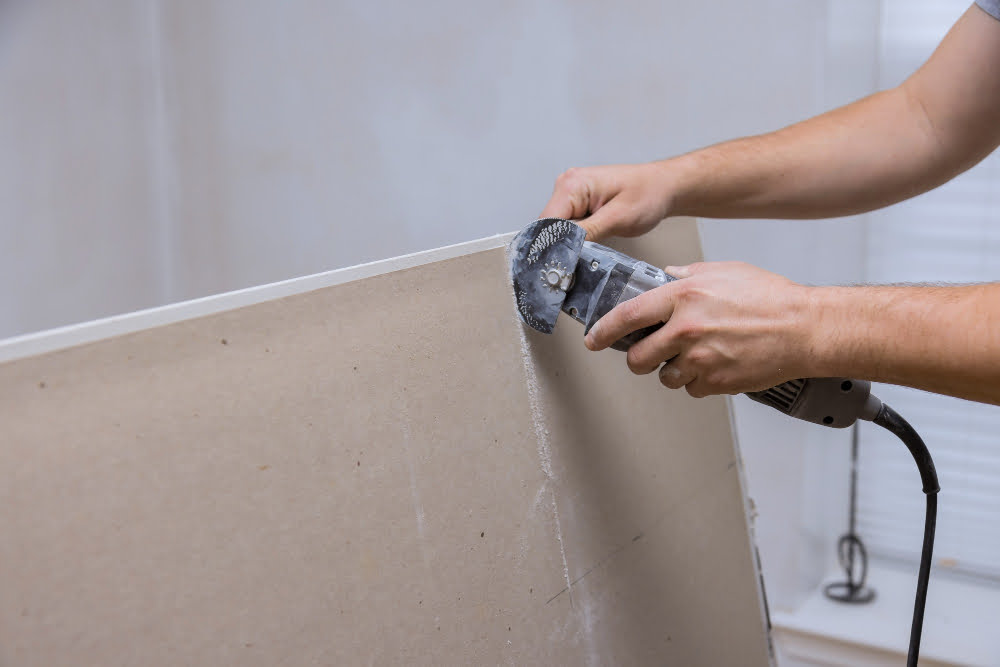
Sand and Smooth Garage Drywall
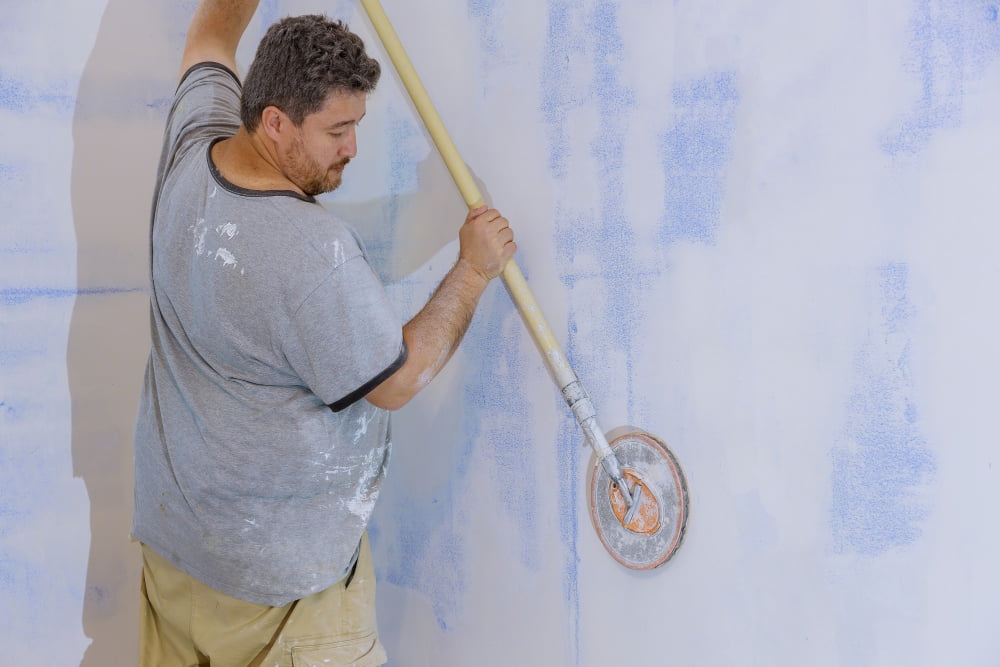
Following the successful application of mud and tape to your garage drywall, the next step involves sanding and smoothing the surfaces. Remember to allow the mud to dry completely before proceeding with this process.
To kickstart, equip yourself with a sanding pole and some fine-grit sandpaper.
1. Lightly sand the entire area in a circular motion- no raw force is required. The goal is to create an even, smooth surface, not to remove the compound entirely.
2. Always pay special attention to the seams. The idea is to blend the seams into the rest of the wall, ensuring no visible lines or bumps.
3. Look out for divots caused by screws. If found, these should be filled with an additional layer of joint compound, then left to dry before commencing with more sanding.
4. Use a hand sander for the corners of the garage, giving them a smooth finish.
5. Regularly wipe away dust with a damp sponge throughout the process, enhancing visibility and accuracy.
Throughout this procedure, remember to wear a dust mask and eye protection to shield against fine drywall dust.
Don’t rush this process, as a smooth finish is foundational to attaining a polished, professional look.
Skim Coating Garage Drywall (Optional)
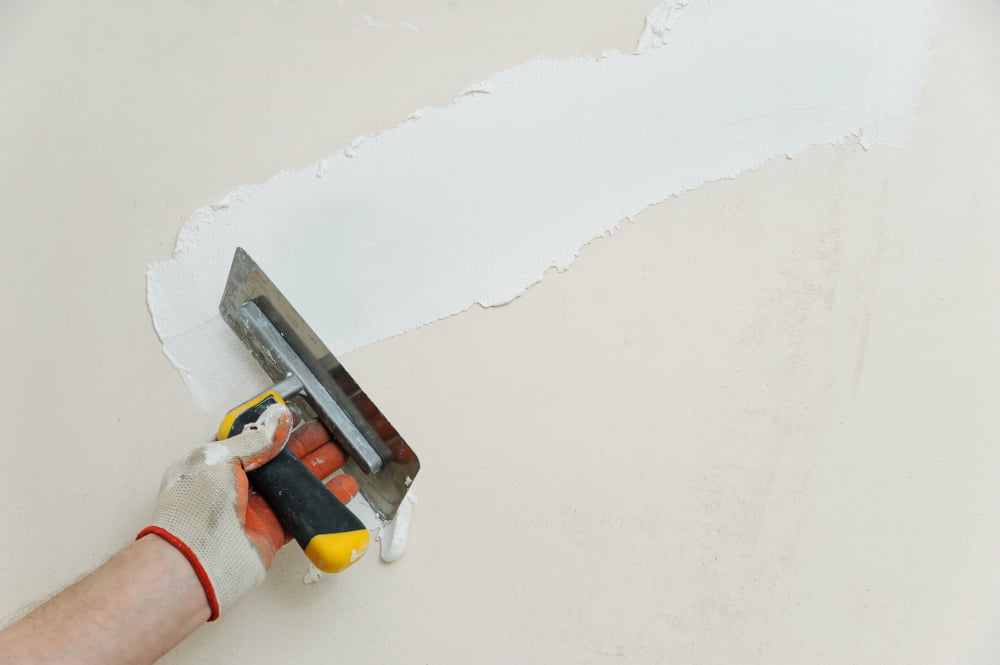
Skim coating, while optional, is a way to achieve an extra smooth finish on your garage drywall. This process involves applying a thin layer of joint compound, also known as mud, across the entire surface of the drywall. It’s best to use a 12-inch taping knife for this, as it helps to spread the compound evenly and minimally.
Before starting, ensure the compound is well mixed and lump-free. Apply it methodically to the wall in smooth, upward strokes. Be sure to spread it thinly; skim coating is not about bulk but rather subtly filling in any minor imperfections.
After applying the first layer, allow it to dry completely. This usually takes about 12-24 hours depending on the humidity level. Post this, lightly sand the surface to eliminate any ridges or lumps.
A second layer might be necessary based on the smoothness desired and the condition of the wall after the first skim. Practice makes perfect for skim coating; getting used to the right amount of pressure to apply and the best angle for your taping knife will make a significant difference in application.
Remember, this step is optional, but it adds a level of professional quality to your DIY project. Depending on your plans for the garage space, skim coating may elevate the finished look and feel of the drywall.
Finishing Garage Drywall: Priming & Painting
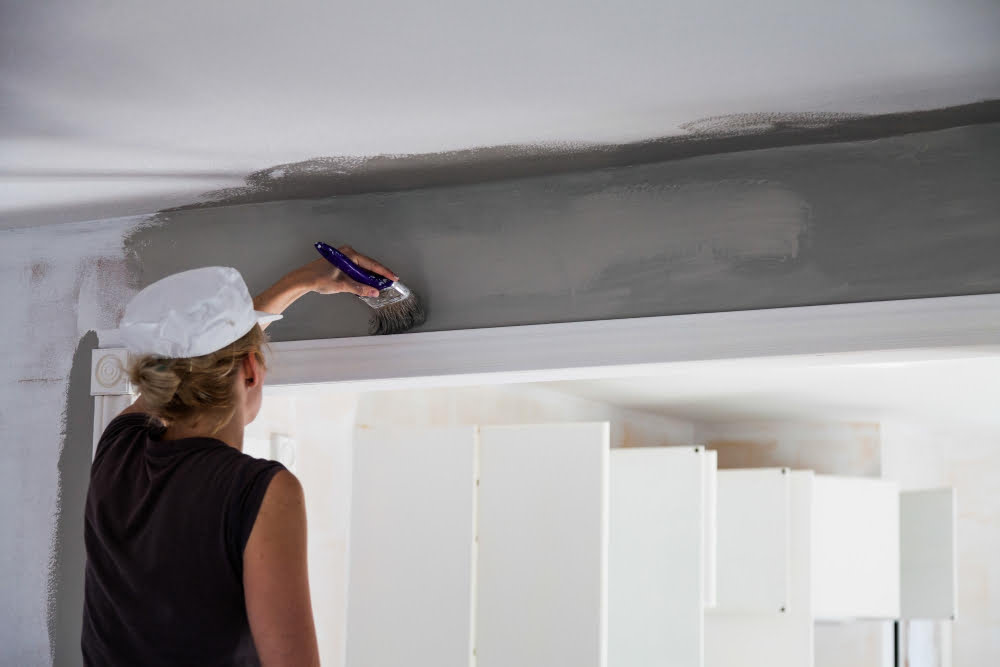
Before priming, make sure the entire garage drywall surface is free from dust; a vacuum cleaner or a clean, dry cloth can come in handy. Apply primer using a wide paint roller for larger surfaces and a paintbrush for edges and corners. A primer is vital as it helps bind the paint to the drywall surface while providing a base for the paint to adhere to.
After the primer coat has dried completely (usually 24 hours), move on to the painting phase. Consider using latex paint because it dries quickly and has a lower VOC content, making it better for your health and the environment. Use a paint roller for large drywall surfaces and a brush for edges and corners. Remember, two thin coats of paint work better than one heavy coat. Apply the first coat and let it dry completely before embarking on the second one. Check the paint can for drying times.
Choose a color that complements the rest of your garage’s interior. Light shades reflect light and can make your garage appear brighter and more spacious. However, bear in mind, lighter colors will show dirt and stains more easily than darker ones.
Apply Primer to Garage Drywall
To optimize the appearance and durability of your garage’s new drywall, applying a primer is key. It creates a perfect base for paint, ensuring solid adherence and vivid color. Here are concise steps to ensure a well-primed wall:
- 1. Safety first: Wear protective clothing, including a mask and goggles. Protect the ground with drop cloths.
- 2. Stir your primer: Make sure it’s thoroughly mixed. This ensures even consistency and better application.
- 3. Load your brush or roller: Dip it into the primer, rolling or tapping off excess.
- 4. Start at a corner: Apply in an “M” or “W” pattern for broad, even coverage without streaks.
- 5. Don’t rush: Let each coat dry completely before adding another. Two coats are typically recommended.
- 6. Clean up properly: Rinse your brushes and seal the primer can.
Remember, allow proper ventilation while working with primer to avoid any harmful fumes. With these steps, your garage drywall will be ready for paint in no time.
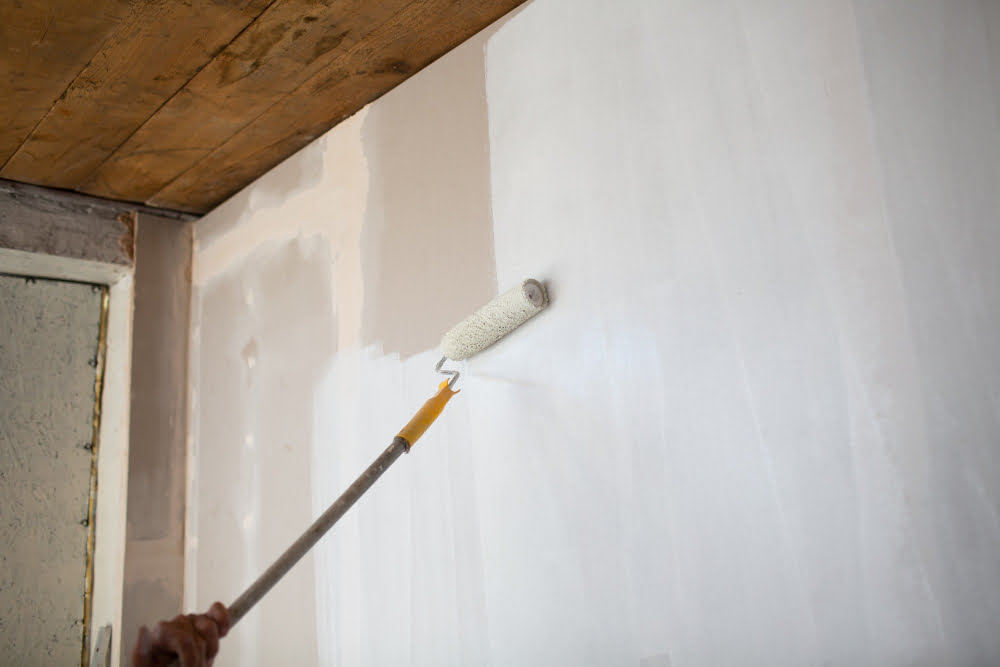
Painting Garage Drywall
To ensure a long-lasting, excellent finish, start by selecting the right paint. For a garage, an eggshell or satin finish often works best because they can resist stains and are easy to clean.
Preparation is key. Before painting, ensure the drywall is free of dust and debris, using a damp cloth to wipe surfaces. Peeling or flaking paint should be scraped off and the surface smoothened with sandpaper.
Remember to use a primer if not included in the selected paint. This step offers multiple benefits, from providing a uniform surface for the paint to adhere to, reducing paint soaking into the porous drywall, to helping conceal seam tape and mud.
Opt for a roller brush for larger areas to save on time and effort while ensuring a smooth application. Meanwhile, use a paintbrush for tricky areas like corners and edges.
Apply at least two coats of paint, allowing ample time for drying in-between. Lighter hues can make your garage appear spacious and well-lit, while darker tones can conceal dirt and grime better.
Make sure to wear protective garments like gloves and safety glasses and keep the garage well-ventilated to avoid fume inhalation.
How to Add Texture to Garage Drywall
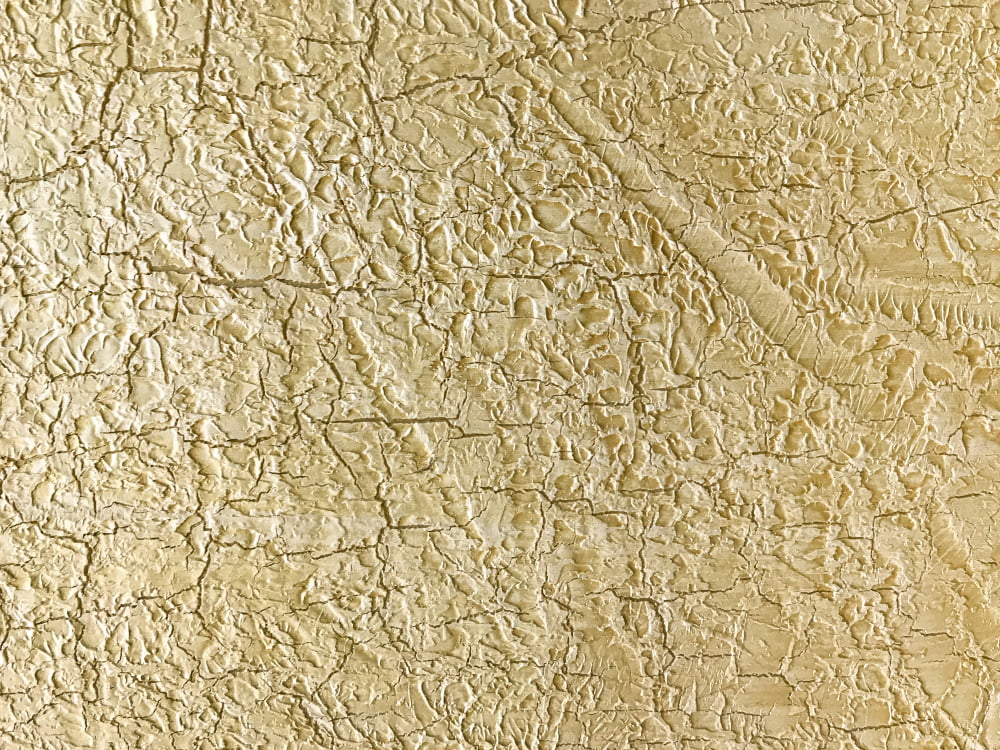
Adding texture to drywall introduces an aesthetic layer to your finished garage, providing depth and a distinctive touch. The “orange peel” is one of the most common types of textures, mimicking the appearance of an orange’s skin. To accomplish this, you will need a spray hopper filled with thinned joint compound.
Follow these steps:
- Protect your floor and any furniture with drop cloths since this process can be messy.
- Fill your spray hopper with joint compound thinned with water. It should be the consistency of pancake batter.
- Begin to spray the thinned compound onto the drywall with your hopper, maintaining a consistent distance and pace for an even texture.
- Allow the compound to dry completely before painting over the textured drywall.
Remember to experiment with the spray hopper on a piece of scrap drywall before starting the actual job. This helps you to get the feel of it and ensures a better final result.
On the other hand, the “knockdown” texture is also popular. Unlike the orange peel texture that’s sprayed on, the knockdown texture requires a trowel to create its distinctive look. After applying the joint compound with a trowel, it’s left to partially dry. Then, the compound is gently “knocked down” with the trowel, creating ridges and depressions in the process.
Regardless of which texture you choose, the main objective is to enhance the aesthetic quotient of your garage while adding a layer of uniqueness to your space.
Common Drywalling Mistakes to Avoid
Misjudging the proper drywall panel size can result in wastage or the need for additional, unsightly seams. Always measure the space precisely before cutting the panel.
Avoiding fasteners at the edges of drywall panels is another common mistake. This leads to less secure installation and potential sagging or warping. It’s important to place screws or nails along these areas for optimal protection.
Don’t overdrive or underdrive screws. Overdriving goes beyond the paper surface causing a tear-off, while underdriving might protrude, causing difficulties during mudding. You want to aim for the screw to be just beneath the paper surface without breaking it.
Skimping on drywall mud or applying too much of it is another error to avoid. A skimpy layer may not cover the tape or screw heads completely, while an excess layer takes more time to dry and may cause difficulties when sanding.
One common misstep is not allowing adequate drying time between coats of mud. This practice can lead to imperfect finishes and potential peeling or flaking.
And last but not least, using a single coat of mud on seams and joints is not recommended. It’s generally best to apply three thin coats, allowing each to dry completely before the next is added. This ensures a smooth finish that’s indistinguishable from the surrounding wall.
What Is the Building Code for Garage Drywall?
Observing local building codes is crucial when drywalling your garage. Most regions require drywall that can resist fire for at least an hour. This standard is typically achieved through using 5/8-inch thick Type X drywall. Factors such as whether the garage is attached to the house or has a room above it, can increase these specifications.
For ceilings, the standard is often 5/8-inch Type X on the garage side of the walls separating the dwelling from the garage, and ceilings under habitable rooms. If the wall shared by the garage and residence is more than a certain distance, you might be required to use heavy duty drywall. Always consult your local building codes before you start your project to ensure that you’re meeting all regulations.
FAQ
Is it a good idea to drywall garage?
Yes, it is a good idea to drywall a garage for safety reasons, as it provides a protective barrier against potential fires often associated with the use of power tools, flammable materials, and certain automotive products.
What is the cheapest way to finish a garage wall?
The cheapest way to finish a garage wall is by using plywood, medium-density fiberboard (MDF), or oriented strand board (OSB) which can be quickly attached over studs with framing screws, negating the need for taping, mud, or sanding.
Is it expensive to drywall a garage?
The cost of drywalling a garage depends on its size, with an average expense of around $850 for a one-car garage, $1,100 for a two-car garage, and $2,000 for a three-car garage.
What type of drywall is best suited for garage walls?
For garage walls, moisture-resistant drywall, also known as green board, is an excellent choice due to its enhanced durability and resistance to humidity and dampness.
How is fire-rated drywall beneficial in the garage?
Fire-rated drywall in the garage provides an additional layer of protection by slowing down the spread of fire, giving occupants more time to evacuate safely.
What is the standard procedure for installing drywall in a garage?
The standard procedure for installing drywall in a garage involves measuring and cutting the drywall sheets to fit, applying them to the studs with drywall screws, and then finishing the seams with joint compound and drywall tape.