In this article, we’ll explore effective strategies for repairing cracks in your garage floor to enhance its longevity and maintain a clean aesthetic.
Fixing cracks in your garage floor is an essential task to maintain its appearance and functionality. This article will walk you through a simple, step-by-step process to repair those unsightly fissures, from identifying the type of crack and preparing the area, to filling it with a suitable material and sealing it for a smooth finish.
Whether you’re dealing with hairline cracks or larger, more serious damage, this guide offers comprehensive solutions for every scenario.
Follow along to restore your garage floor to its former glory, ensuring it remains durable and visually appealing for years to come.
Key takeaways:
- Shrinkage, expansion, settlement, and structural cracks require different repairs.
- Choose the right products based on crack size and depth.
- Avoid cheap repair kits, ineffective tools, and poor crack assessment.
- Thoroughly clean and prepare the crack before applying filler.
- Follow manufacturer’s instructions and properly seal the repaired area.
Identifying Types of Garage Floor Cracks

In deciphering the type of cracks that have appeared, several factors come into play. Not all cracks spell trouble, some are merely an aesthetic nuisance while others might indicate more serious underlying issues.
1. Shrinkage Cracks: As the name suggests, these form as the concrete dries and shrinks. Usually thin and less than 1/8 inch wide, they often appear as a random map across your floor.
2. Expansion Cracks: These occur due to temperature changes, when the concrete expands and contracts. This generally results in straight cracks along the joints.
3. Settlement Cracks: If the ground wasn’t properly compacted prior to pour, uneven settling can occur, resulting in angular cracks.
4. Structural Cracks: The most serious, these can represent a failing foundation. They’re typically wider than 1/8 inch, with the edges of the crack at different heights. Immediate professional help is advisable for these.
Understanding these types will help you determine the next step in your DIY repair process or if there’s a need to call a professional.
Choosing the Right Products for Garage Floor Crack Repair

To assure longevity of the repair, it’s vital to select products that address the size, depth, and type of crack. For hairline and small cracks, a simple concrete crack filler or sealer can do the trick. These are typically ready-to-use compounds that can be easily smoothed into the crevice with a putty knife.
For deeper, larger cracks, an epoxy-based crack repair product can provide a stronger, more robust solution. Epoxy resins penetrate the concrete, creating a bond that’s stronger than the concrete itself.
Cracks wider than half an inch may call for a concrete patch compound. These products often have a thicker consistency, making them an ideal choice when needing to rebuild a damaged area.
In all situations, preparation is paramount. Cleaning and etching the surface ensures that the repair product achieves the strongest possible bond with the existing concrete. Remember, skimping on preparation can compromise the repair’s durability.
Lastly, while concrete is a sturdy and resilient material, cracks in your garage floor can sometimes indicate an underlying issue like unstable soil or excessive weight. If cracks reoccur after repair, consulting with a professional might be a wise decision.
Items to Avoid in Garage Floor Crack Repair
When embarking on a garage floor crack repair task, it’s just as important to know what to avoid as it is to know what to do. Here are a few points to consider:
1. Avoid Cheap Repair Kits: Affordable might be enticing, but remember, you get what you pay for. Cheaper products often lack the durability necessary for a long-term fix and may cause extra work in the future.
2. Ineffective Tools: All tools are not created equal. Make sure to use professional-grade tools. Ditch any plastic tools or kit-included tools that might break or provide an inadequate fix.
3. Correct Crack Assessment: Don’t underestimate the importance of carefully examining the kind of crack you’re dealing with. Skimping on this phase can lead to using the wrong repair technique or product.
4. Ignoring Manufacturer’s Instructions: Always follow the manufacturer’s instructions. Failure to do so could lead to an ineffective repair or, worse yet, a damaged garage floor.
5. Poor Surface Preparation: Make sure the surface is free of all dirt, dust, and grease. Neglecting thorough cleaning may result in unsuccessful crack repair.
By avoiding these common missteps, you’re well on your way to a successful garage floor repair.
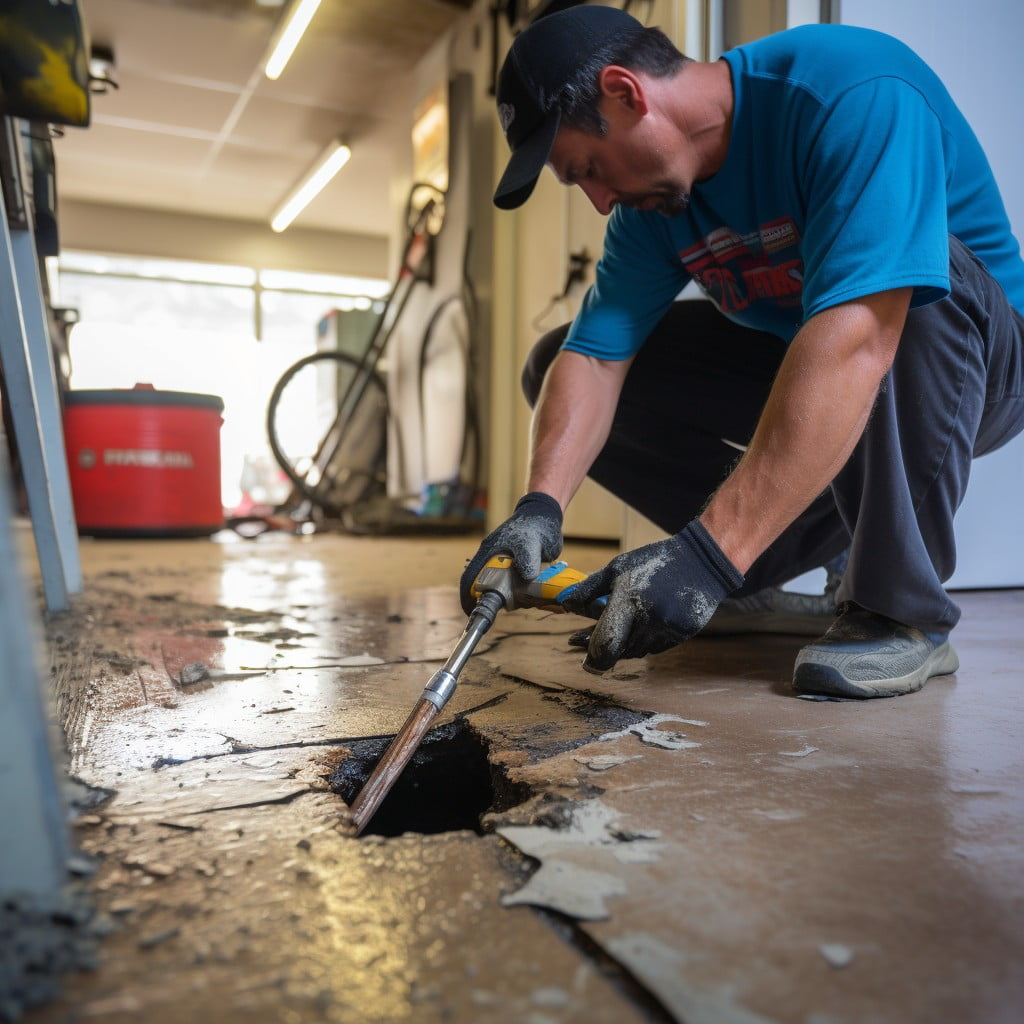
A Detailed Guide to Fixing Garage Floor Cracks
Start by thoroughly cleaning the area around the crack. Apply a commercial concrete cleaner or a mixture of warm water and dish soap, then scrub the surface with a stiff-bristled brush. Rinse the area well and let it dry completely. This step ensures the repair material adheres properly to the concrete.
Next, prepare the repair product – choose either a cement-based mixture, an epoxy patch, or a polymer-based concrete repair mix. Carefully adhere to the product’s instructions to achieve the right consistency.
Now, fill the crack with the prepared mixture, starting from one end and gradually working your way towards the other. Remember, the repair material should be spread consistently across the crack, with no gaps.
To ensure a smooth finish, glide a trowel over the repair area, leveling the filled material with the existing floor. This step is essential to maintain a uniform surface across the garage floor.
Once repairs are done, allow sufficient drying time before using the garage floor. Typically, 24 hours drying time is recommended, but it can vary according to the product used. Lastly, consider sealing the entire floor to provide a protective layer against potential damage. A quality sealer can significantly enhance the lifespan of the repair and the overall look of your garage floor.
Best Practices to Address Spalled and Pitted Garage Floors
For a successful repair of spalled and pitted garage floors, it’s important to first remove any loose debris from the area. Using a stiff brush or broom can effectively help in the clearing process.
Next, applying a high-quality concrete resurfacer is a must. Always look for resurfacers that are blended with polymer, as they can form durable bond with the existing concrete. Smooth-out the applied resurfacer using a trowel; aim for a consistent, even layer across the floor.
If the damage is quite deep, using a concrete patch mix before applying the resurfacer may be necessary. It’s also crucial to bear in mind that resurfacer takes some time to dry – don’t rush, letting it cure properly ensures an enduring repair.
Temperature also plays a part here – cooler conditions might hinder the curing process, while excessive heat can cause quick drying leading to cracks. Hence, nurture the right conditions when repairing your floor.
Finally, remember regular maintenance such as sealing the floor can prevent future occurrence of spalling and pitting. A durable epoxy or urethane-based sealer usually does the trick.
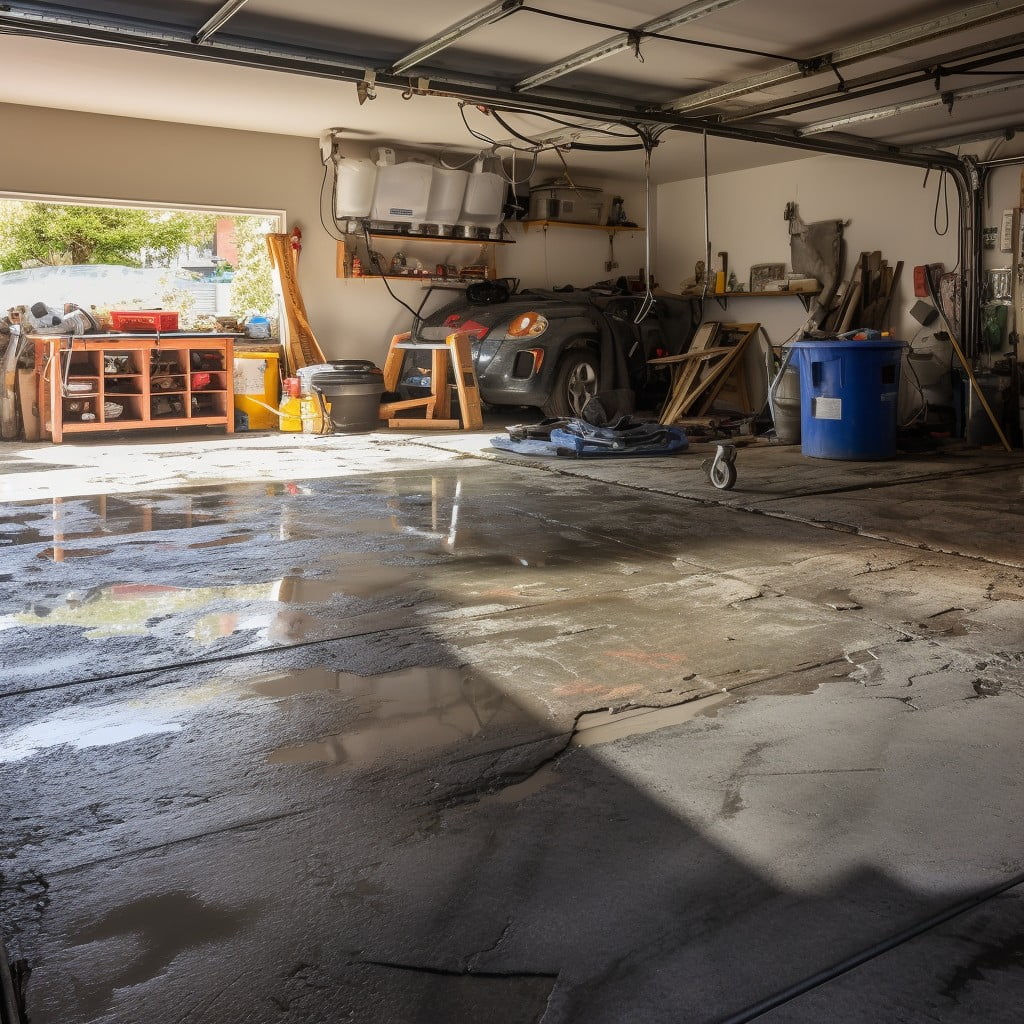
Resolving Common Garage Floor Repair Issues Like Low Spots
Low spots in your garage floor are not only aesthetically displeasing but can also lead to numerous problems, including inadequate drainage. Here’s how you can address them.
Firstly, assess the severity and distribution of the low spots. If they are minor and localized, a simple concrete repair product might suffice. But if they are more wide-ranging, it might necessitate a more in-depth approach.
Self-leveling concrete is a popular solution. The liquid solution contours to the floor and fills in low spots, leaving a level surface after curing. Simply mix the solution according to the manufacturer’s guidelines, pour it over the affected area, and allow it to set.
If you’re dealing with more extensive damage, a full resurfacing may be in order. During resurfacing, a new layer of concrete is applied over the entire garage floor. This not only removes low spots, but also gives the garage a fresh, clean look.
In any case, remember that proper preparation is essential. Remove any loose or deteriorating concrete, thoroughly clean the area, and ensure it’s slightly damp before starting the repair. It’s also recommended to apply a concrete bonding agent for the best results.
Over time, your newly leveled floor will stand up to wear and tear much better, proving that a little effort upfront can save a lot of trouble down the track.
Crucial Tips for Effective Garage Floor Crack Repair
Surely, the essence of an effective garage floor crack repair lies within a few crucial tips.
First, choose the right repair material. Use epoxy fillers for thicker, deeper cracks and concrete patch for shallow, smaller cracks.
Second, preparation is vital. Clean the crack thoroughly, remove any loose material, and ensure the area is dry before applying any filler.
Third, carefully follow the manufacturer’s instructions. Different products require varied application methods, so don’t rush.
Fourth, implement crack isolation techniques for large cracks. This is needed to prevent the filler from joining to the concrete, allowing for adjustments in varied conditions.
Lastly, don’t ignore post-repair care. Seal the repaired area properly to avoid water seeping into the crack. Regular inspection for new or recurring cracks also ensures long-lasting results.
Remember, the devil is in the detail. A poorly-done repair can cause more harm than good. Following these tips promises a successful repair, adding years to your garage floor’s lifespan.
FAQ
What is the best crack repair for garage floor?
The best crack repair for a garage floor is Rust-Oleum Concrete Patch & Repair due to its superior bonding abilities, durability, and proficiency in repairing cracks or holes up to 1/2 inch deep.
Should I fill the cracks in my garage floor?
Yes, it is recommended to fill any cracks and pits more than ¼-inch deep in your garage floor, using a crack sealer or caulking, along with a foam backer rod for single pits, and tape to prevent the excess filler material from spreading.
How can I prevent cracks from forming in my garage floor?
To prevent cracks from forming in your garage floor, ensure proper concrete mix, control joint placement, and adequate curing time after pouring the concrete.
What are the common causes of garage floor cracks?
Common causes of garage floor cracks include concrete shrinkage, temperature fluctuations, ground movement, heavy loads, and improper floor installation.
Is sealing a viable long-term solution for cracks in the garage floor?
Yes, sealing can be a viable long-term solution for cracks in the garage floor if done correctly.