Discover the effective steps to realign your garage door back on track, ensuring smooth operation and increased longevity.
Experiencing a garage door that has slipped off its track can be quite a hassle, but with the right approach, it’s a problem that can be tackled efficiently. This article will guide you through a step-by-step process on how to get your garage door back on track safely and effectively.
You’ll learn about the necessary tools, the importance of safety measures, and the exact steps to follow. Whether your door has completely derailed or it’s slightly off track, this comprehensive guide offers the detailed solution you need.
So, let’s dive into this repair task and get that garage door rolling smoothly again.
Key takeaways:
- Ensure the garage door is in the down position.
- Turn off your garage door opener.
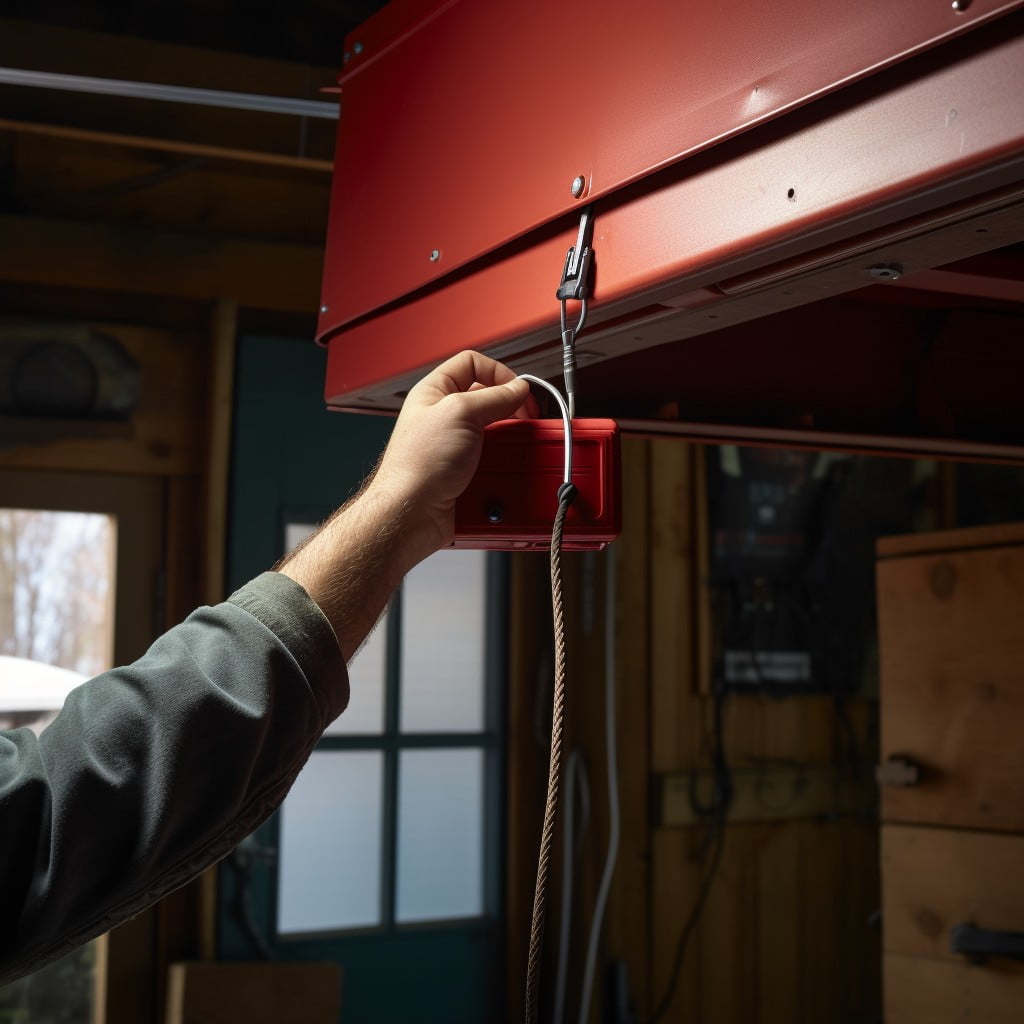
- Pull the red cord down to release the door from the opener.
- Inspect the garage door tracks.
- Pop the roller back in place.
Ensure the Garage Door Is in the Down Position

Before commencing any repair actions, safety is of utmost importance. It’s crucial that the garage door is fully lowered to prevent any accidents or further damage. A door in the up position presents the risk of crashing down and causing potential injury.
1. To get your door in the down position, you may opt to use the opener. Operate the door to run its full course and ensure it’s entirely down.
2. If the door is stuck midway or won’t move due to the derailment, don’t force it. In this situation, carefully guide it down manually. Remember to maintain a safe distance and use appropriate safety gear to prevent accidents.
3. With the door completely down, you’re in a safe position to examine the issue and get the door back on track. This lessens the risk of the door sliding down uncontrollably during the process.
This procedure is not about fixing the problem yet but setting a safe stage for the troubleshooting and actual repair. Before moving on, ensure your door is securely in the down position.
Turn Off Your Garage Door Opener

Simply done by either locating the wall-mounted button or the switch on the garage door opener unit itself, often found high up on the garage wall. Remember, it’s crucial to disconnect the electricity before starting any repair task. Not only is it a safety measure, but it also prevents further damage to the components.
It’s a good idea to unplug the entire unit to ensure no accidental activations. Safety first – wear gloves and safety glasses if available, consistently maintain a firm footing and keep objects and people clear from the potential path of the door.
Pull the Red Cord Down to Release the Door From the Opener

Firstly, locate the emergency release cord. This cord is often red and hangs down from the central rail of the garage door mechanism. The cord is fitted with a handle on the end, enabling a secure grip.
To disengage the automatic system, firmly pull down on this handle. Importantly, always ensure that the door is fully lowered before performing this action to avoid any potential injury.
This crucial step puts you in manual control, permitting you to freely manipulate the door’s position.
Inspect the Garage Door Tracks

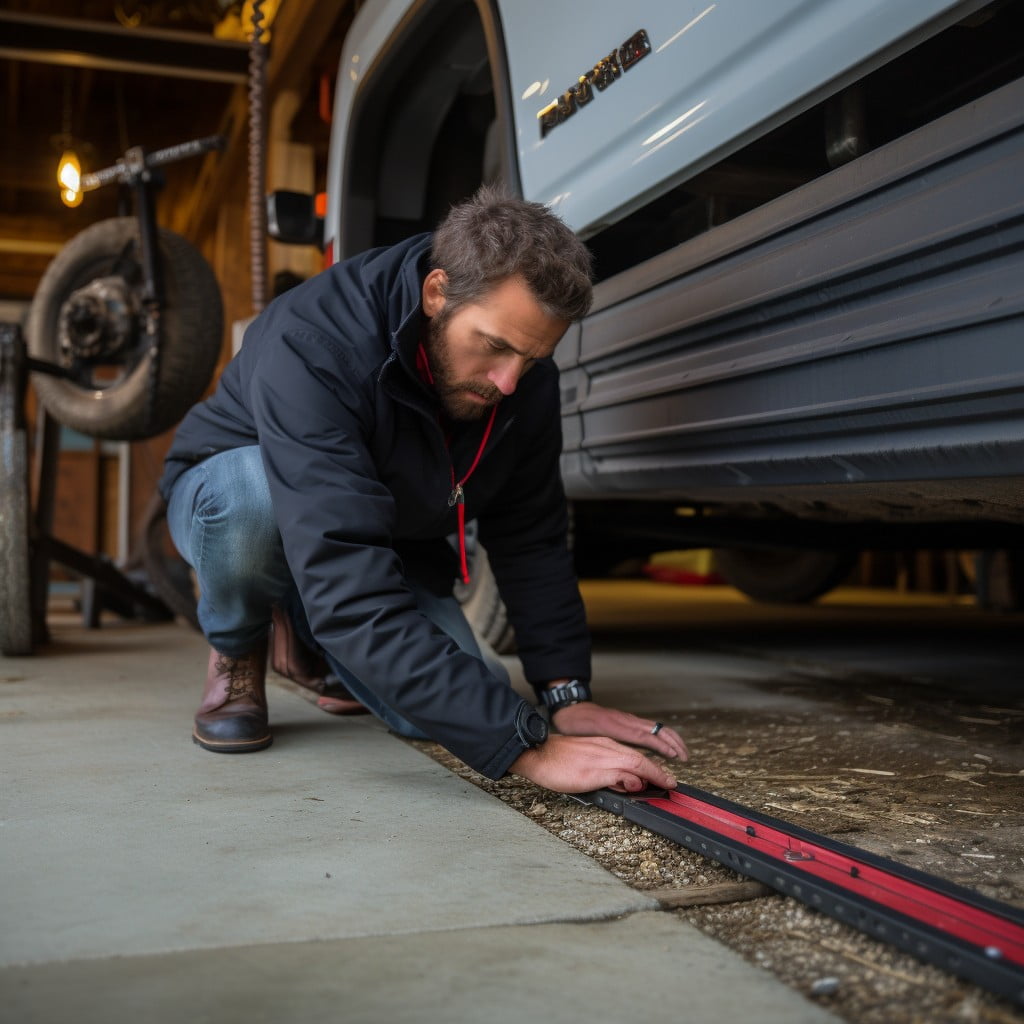
Begin by diffusedly assessing the tracks on both sides. Look out for any possible signs of wear or damage, such as dents, bends or unusual gaps. Ensure they are completely straight and the alignment is intact – the vertical sections should lean slightly towards the back of the garage, while the horizontal ones should be slanted slightly downwards.
If you notice any loose parts, tighten them promptly using a wrench or a socket. A track that is severely damaged might necessitate replacement. Also, check that the tracks are clean and devoid of any dirt particles or obstructions. If found, use a damp cloth to clean the tracks.
Lastly, observe the roller wheels that run in the tracks. If they are worn out or damaged, their impaired functionality could be causing the door to derail.
Pop The Roller Back in Place
Firstly, position yourself in a way that you can easily reach the tracks and the roller. Be sure to utilize safety wear like gloves and eye protection, as this process could be a bit tricky.
With careful hands, guide the rollers back into the track grooves. Use pliers if the roller appears stubborn or if a bit more force is required. Remember to be patient during this process as harsh force could cause further damage to the roller or track.
Once you have the roller back on track, move on to scrutinize the rest of the garage door pathway. This will help you identify if there are other rollers that have derailed and need to be guided back. Keep in mind that the presence of multiple derailed rollers could indicate larger issues with your door balance or track alignment.
Pull the Cord Towards the Interior of Your Garage
After popping the roller back into place, your next move is to redirect the emergency release cord. Swiftly pull the cord in the direction of your garage’s interior, ensuring there is ample distance from the garage door tracks.
The critical aspect of this stage is to equip the door with the flexibility it needs to glide smoothly. Watch out for excessive tension which may result in pulley misalignment.
By doing this activity with the proper precautions, you lay the groundwork for the successful reconnection of your door to the automatic opener mechanism.
Return the Garage Door to the Closed Position
With the door disengaged from the opener and the roller back on track, it’s time to lower your garage door. Use steady, controlled motions as forceful movements might knock the door off track again.
Ensure that the door lies flat against the ground with no gaps showing at the bottom. This is critical as an improperly closed garage door can allow rodents to enter, may serve as a safety hazard, or could lead to unwanted air flow or moisture entering the garage.
With the garage door fully closed, it protects the track, hinges, and rollers from accidental damage.
Pull the Red Cord Towards the Garage Door and Listen for a Click
Begin by locating the red emergency release cord hanging from the garage door trolley. This cord is usually situated in the middle of the door, attached to the top rail. Reach out for this cord and pull it towards the garage door. As you tug, pay special attention to the sound it makes.
Listening for a click after pulling the release cord is vital for a couple of reasons. Firstly, it signals that your door is disconnected from the motorised trolley, and this ensures you can manually reposition the door on its tracks. Secondly, it confirms that the red cord is operational, allowing you to revert the garage door back to automatic operation once it’s properly lined up with the tracks.
Remember to be gentle when pulling the cord. Intense force may lead to unanticipated damage. Ensure you’re positioned safely during the process and if you’re uncertain about any step, it’s wise to consult a professional.
Check If Open and Closing Properly
Once the door is back on track and the red cord has clicked, it’s time to ensure the door can open and close correctly. For this, engage your garage door opener and observe its operation.
Listen for any unusual noises such as grinding or squeaking, which could signify a lingering issue. Take note of any jerks or hesitations in the movement – a smoothly functioning door should operate effortlessly.
Make sure the door stops completely and seals at the garage ground level when in the down position. Finally, ensure it opens to the full extent and the opener switches off automatically, indicating a successful reattaching to the opener mechanism.
Be vigilant in these inspections; while it may appear as micro-management, it provides your garage door the best chance of operational longevity.
Preventing Problems From Occurring
Two essentials factors that can deter garage door mishaps are regular inspections and timely maintenance. Here are a few practical steps to follow:
1. Inspect Tracks: Regularly check the tracks for any signs of wear and tear. Look for any signs of dents or damage. If detected, it might be worth contacting a professional to either repair or replace the damaged parts.
2. Lubricate Rollers: The smooth operation of your garage door heavily depends on the rollers. Applying a quality garage door lubricant every few years can keep them functioning optimally.
3. Test Balance: Regularly test the balance of your garage door. An imbalanced door exerts excessive pressure on the opener, leading to potential malfunctioning.
4. Address Noise: Any unusual noise during operation may indicate a problem. Don’t overlook grinding or squeaking sounds; these could be signs of underlying issues.
5. Schedule Maintenance: Regular service, at least once a year, by trained professionals to ensure all parts are in good working condition.
Remember, preventive maintenance can save you from sudden failures and costly repairs while extending the lifespan of your garage door.
FAQ
How do I reengage a garage door?
To reengage your garage door to the opener system, simply pull the emergency release handle down and towards the opener.
How do I realign my garage door track?
To realign your garage door track, loosen the screws attaching it to the wall, gently tap the bottom with a rubber mallet until it's in the preferred spot, ensure the track is vertically straight with a leveler, and then securely tighten the screws.
What are the signs of a misaligned garage door?
Signs of a misaligned garage door include gaps under the door or sections, uneven opening and closing, excessive noise, and premature wear on parts.
How often should a garage door track be inspected and maintained?
A garage door track should be inspected and maintained at least twice a year for optimized function and durability.
Can a damaged garage door track be repaired or does it need to be replaced entirely?
A damaged garage door track can often be repaired, but serious damages may require complete replacement.