Discover the straightforward steps to securely and efficiently hang a kayak in your garage, maximizing space and ensuring its longevity.
Storing a kayak properly in your garage is crucial to maintain its longevity and performance. This article provides a step-by-step guide on how to hang a kayak in your garage, ensuring it’s secure, out of the way, and ready for your next adventure.
Whether you’re a beginner or a seasoned kayaker, you’ll find this guide straightforward and easy to follow. Stay tuned to explore the details on the types of hangers suitable for your kayak, the tools you’ll need, and the process of hanging your kayak safely.
Key takeaways:
- – *Choose the right location for hanging your kayak in the garage
- – *Understand the weight and dimensions of your kayak for proper storage
- – *Consider wall hooks or ceiling racks depending on your garage space
- – *Gather the necessary tools for kayak hanger installation
- – *Follow the installation process for pre-built kayak hangers or wall-mounted racks
Selecting the Right Spot to Hang a Kayak in the Garage
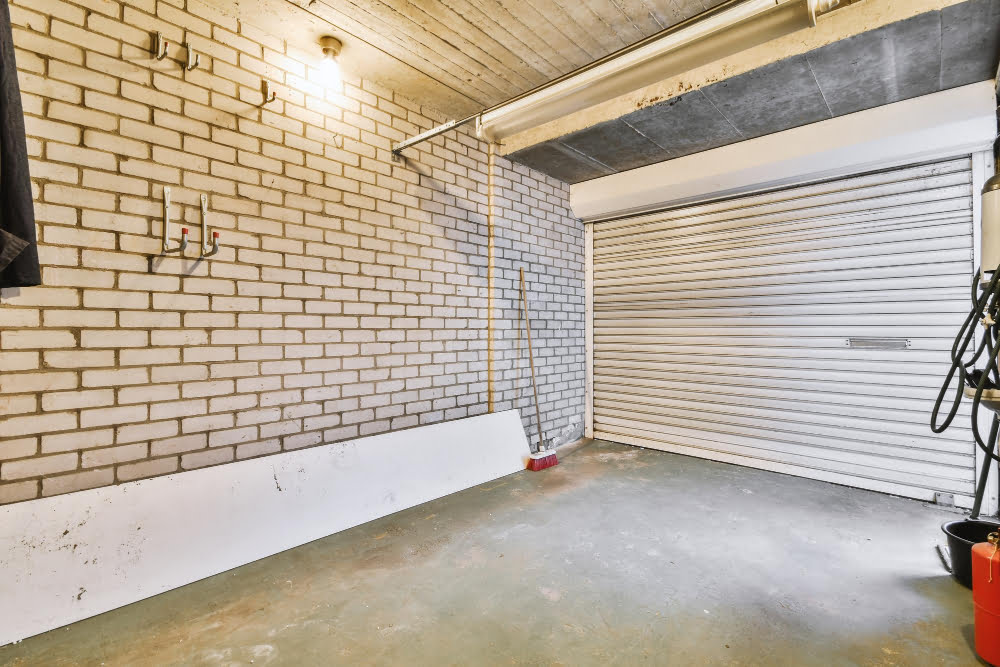
Proper location selection is key in the effective storage of your kayak. It’s crucial to store it in a space that doesn’t interrupt your daily garage activities. Keep in mind these important points:
1. Available space: Measure the size of the kayak and ensure there is adequate space in the intended location. You don’t want it to protrude and obstruct passage or storage areas.
2. Structural integrity: The spot you choose should be able to support the weight of the kayak. Check for wall studs or solid ceiling beams as they will offer the best support.
3. Accessibility: Consider how often you’ll be using the kayak. If it’s frequently, you might want to hang it closer to the garage door for convenience.
4. Vertical or horizontal: The orientation of the kayak also matters. Vertically placed kayaks take up less width space, while horizontally placed ones require less height.
5. Proximity to vehicles: If you park vehicles in your garage, ensure the kayak is hung at a safe distance to prevent accidents and damage.
Understanding the Weight and Dimensions of Your Kayak

Knowing the weight and dimensions of your kayak is crucial to ensure safe and secure storage. Here’s how to approach it:
Weight: Essentially, kayak weight is important as it directly impacts the type of storage system required. If your kayak is heavier, you’ll need robust, high-quality hooks or racks that can withstand the mass. Check your kayak’s user manual or just weigh it to get this information.
Dimensions: Are you storing a short, whitewater kayak, or a longer sea-touring model? Your kayak’s length, width and height will influence the size of the rack or hangers you need, as well as how much space you need on your wall or ceiling. Use a measuring tape to get precise measurements.
Understanding these parameters is key before moving on to choosing your kayak’s storage system. With accurate weight and dimensions, you’ll find the best, most secure solution for your vessel.
Choosing Between Wall Hooks and Ceiling Racks for Kayak Storage
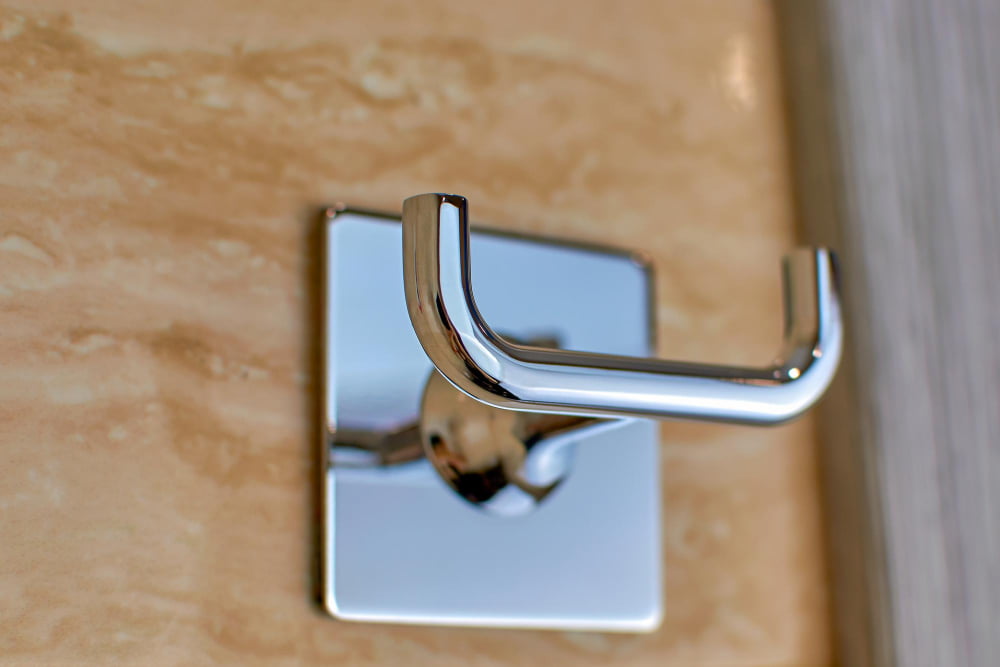
When it comes to storage systems in your garage, both wall hooks and ceiling racks offer unique benefits for storing your kayak. Wall hooks are typically easier to install and provide direct access to your kayak. They only need strong wall studs for support and are ideal for lighter kayaks or conditions where ceiling height is limited.
Alternatively, ceiling racks, with their pulley mechanisms, make optimal use of vertical space and keep the floors clear, increasing walkable space in your garage. This option is efficient for heavier kayaks or when wall-space is limited. Remember, before making a decision, measure your kayak and consider its weight to ensure the selected option can adequately support it.
Different materials are available for both hooks and racks, including steel, aluminum, and wood—each with its own pros and cons. Steel is durable and reliable but susceptible to rust, while aluminum is rust-resistant, but less sturdy than steel. Wooden racks add a rustic charm, but aren’t optimal for heavy-duty support. Make sure the chosen material aligns with your individual kayak storage needs, considering factors such as environmental conditions in your garage, kayak weight, expected regularity of use, and particular aesthetics.
Preparing the Necessary Tools for Kayak Hanger Installation
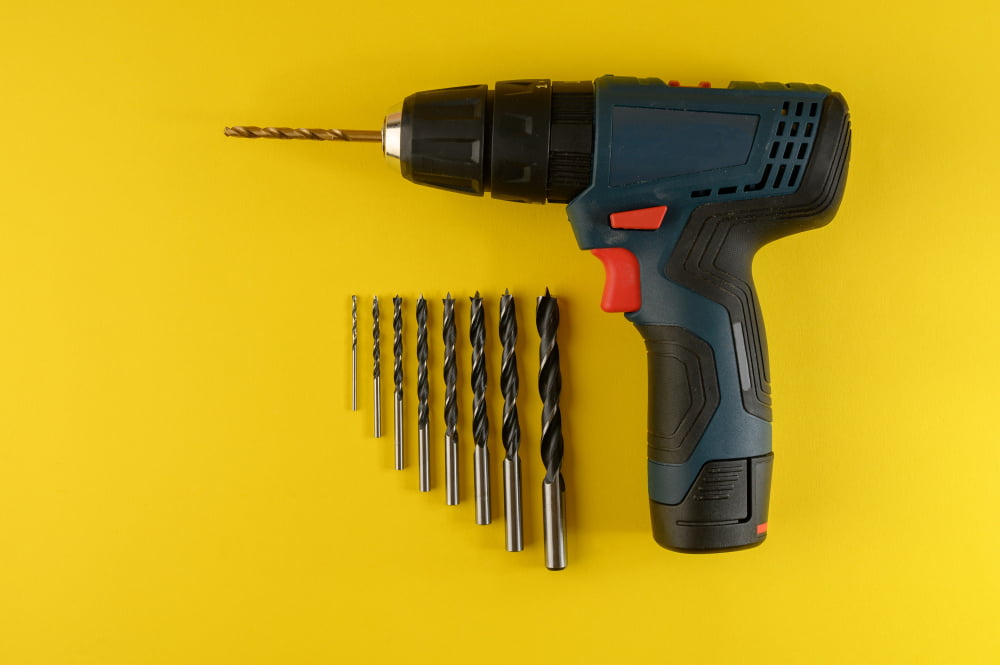
Before commencing any work, having the right tools at your disposal is paramount. First, you’ll require a drill. This will be instrumental in creating precise holes for mounting your hangers or racks. Pair this with a set of high-quality drill bits suitable for the material of your garage wall. You’ll also need a stud finder to locate the supportive structures behind your garage wall.
In addition, a robust screwdriver is necessary to tighten the screws securely. If your chosen kayak storage system involves a pulley, ensure to have a level handy. This will help you mount the pulley system at exact heights, essential for the stability and safety of your kayak.
A tape measure, for accurate spacing and alignment, is also essential. Lastly, remember to have a pencil or chalk to mark off measurements. This way, errors are minimized, ensuring a smooth installation process.
Do note, different hanger systems may require specific tools. Always consult your instruction manual before kick-starting the installation. Safety should remain your priority. Make sure to wear protective glasses and gloves throughout the process.
Understanding the Strap System for Hanging a Kayak
Understanding the mechanics of a strap system is crucial to safely storing your kayak. Here are some key pointers to keep in mind:
1. Straps are typically adjustable. This is important as it will allow you to secure kayaks of different sizes. The straps should be tight enough to hold your kayak securely but not so tight that they cause damage to the hull.
2. It’s essential to position straps correctly. Straps should be placed beneath the bulkheads – the internal walls of the kayak – as these are its strongest points and will properly distribute weight.
3. Consider looking for straps with rubber padding. The padding can help protect your kayak from damage, especially scratches or dents, as it hangs.
4. Straps ought to be properly maintained. Check them regularly for signs of wear and tear, and replace, when necessary, to prevent potential accidents.
5. Always use a minimum of two straps for safety reasons. This will ensure that even if one strap fails, your kayak won’t fall suddenly.
By keeping these points in mind, you can ensure that your strap system is optimized for the long-term storage of your kayak.
Installation Process of a Pre-built Kayak Hanger

Before beginning the installation, double-check that all components of the kayak hanger are present. These should typically include mounts, straps, and screws. For a smoother process, familiarize yourself with the user manual and follow it religiously.
Firstly, using a stud finder, locate and mark the studs on the wall or spot on the ceiling where the hanger will be installed. Always remember, safety comes first, mounting on studs ensures the hanger will securely hold the weight of the kayak.
Next, position the mounts, maintaining a distance equal to that of the width of your kayak. Attach them to the marked studs, using a drill to insert the provided screws. A second set of hands could be helpful during this step to hold the mounts in place.
Now, firmly attach the straps to the mounted brackets following the instructions in the manual. Check for stability and reassurance that there is enough support to hold the kayak’s weight.
Finally, adjust the length of the straps to fit your kayak’s width. Make sure they are secure and tight enough to hold the kayak but not too tight to warp or damage it. Always ensure that the straps sit properly on the kayak’s body without causing any stress points.
This process may vary slightly based on different kayak hanger models. However, the concept remains the same and can serve as a guideline when installing any pre-built kayak hanger. It’s paramount that the installation is done properly to ensure your kayak remains safe and in good condition.
Mounting the Kayak On a Wall-mounted Rack Using Wall Hangers

Once you have the rack installed, it’s time to place the kayak. Align the hull lengthwise with the hangers. The boat should rest horizontally, on its side or upside down, never upright. Aim for the points where it’s widest for an optimal balance.
Before securing, double-check the kayak’s position. If the kayak is properly balanced, you will feel minimal weight while positioning. Remember, the kayak’s weight should be distributed evenly across the hangers.
When everything is aligned, use high-strength straps to secure your kayak. Loop them around the hull and tighten, but avoid overtightening, as it may deform the boat. The kayak should be snug but not strangled.
The process requires two people for easier and safer mounting. If you need to do it alone, consider installing a temporary resting point to secure one end of the kayak whilst adjusting the other.
Ensure the kayak is stable on the rack. Give it a gentle push. If the kayak wobbles or moves, re-align and tighten the straps further. Regular checks for stability can prevent unnecessary accidents.
Implementing a Simple Pulley System for Efficient Kayak Hanging
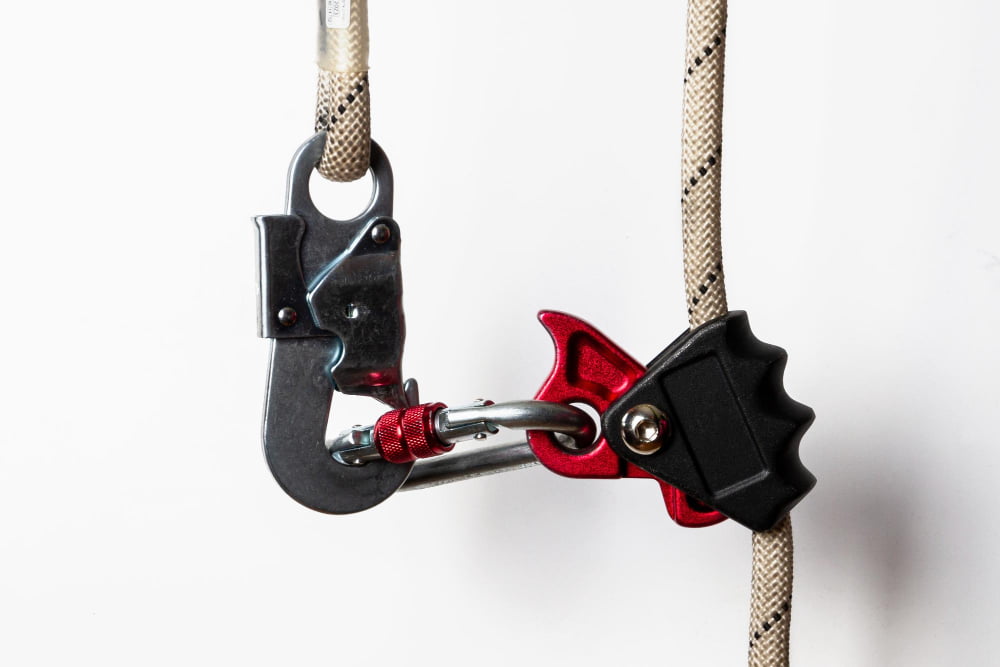
A pulley system significantly eases the process of lifting your kayak. Here are key considerations to include in the process:
- Select a pulley system appropriate for your kayak’s weight: A quality pulley system is often rated with a maximum weight capacity to hold. Check your kayak’s weight before purchase.
- Identify the optimal location: Place the pulley system where it won’t interfere with the garage door or other items in the garage.
- Secure the pulley to the ceiling joists: This might entail drilling into the joists and screwing the pulley in place.
- Check Pulley System’s operation: Ensure that the pulley works smoothly and is strong enough to hold the kayak by pulling on the rope before mounting the kayak.
- Attach the kayak: Once you’re confident in the stability of the pulley system, securely strap your kayak and lift it. Remember safety should always come first.
Note that utilizing a pulley system not only maximizes your garage space but also makes the process of accessing your kayak for use much easier. It’s a practical and savvy storage solution.
Protecting the Kayak Post-hanging With a Suitable Kayak Cover
Once the kayak is safely ensconced in its position, the next step is incorporating adequate protection measures. A high-quality, durable kayak cover can be an ideal choice for this. Primarily, the cover serves to guard the kayak against dust particles, scratches, or any other physical harm that can be incurred during storage.
A suitable cover also acts as a shield against weather-induced damage, specifically in cases where the garage in question isn’t fully sealed. This can include oxidation due to humidity, fading from constant UV exposure, or even warping from temperature extremes.
When picking a cover, consideration should be given to its material. Those made of toughened, UV resistant fabrics tend to offer all-around protection. Opt for covers that offer a snug fit, but do not compress the kayak excessively. Many covers come with adjustable cords or straps, aiding in achieving just the right fit.
Ensuring that the kayak is cleaned and completely dry before covering it is also important. This avoids mildew or mold formation. Similarly, periodic checks, cleanings, and airing out of your covered kayak can help to extend its lifespan.
Remember, investing in the right cover not only extends the life of the kayak but also helps maintain its performance and aesthetic appeal.
FAQ
How do you store a kayak vertically in a garage?
To store a kayak vertically in a garage, consider a ceiling-mounted rack which ensures proper stability and often includes a security feature such as a chain or rope to hold the kayak in place.
Is it OK to store kayaks in garage?
Yes, it is perfectly acceptable to store kayaks in a garage, as it provides protection from the elements.
Is it better to store a kayak vertically or horizontally?
Storing a kayak vertically is generally better as it takes up less floor space and might be more feasible in indoor environments with high ceilings.
What are the best types of racks for kayak storage in a garage?
The best types of racks for kayak storage in a garage are wall-mounted racks, ceiling hoist systems, and free-standing racks due to their efficient use of space, ease of access, and overall durability.
How can climate control impact the storage of a kayak in a garage?
Climate control in a garage determines the longevity and performance of a stored kayak by protecting it from extreme temperatures and moisture.
What materials are needed to create a DIY kayak storage rack in a garage?
To create a DIY kayak storage rack in your garage, you need materials such as lumber (2x4s and 1x4s), screws, a saw, measuring tape, a square, a pencil, and a drill.