Learn how to insulate your garage door effectively to improve energy efficiency, reduce noise and enhance comfort in your workspace.
Insulating your garage door is a practical way to reduce energy costs and protect your garage from external temperatures.
This article will guide you through the process, step by step, ensuring you have all the information you need to successfully insulate your garage door.
Whether you’re a seasoned DIY enthusiast or a beginner, you’ll find this guide straightforward and comprehensive.
We’ll cover everything from choosing the right insulation material to the actual installation process, with helpful tips and tricks sprinkled throughout.
So, if you’re ready to make your garage more energy-efficient, let’s dive into the details.
Key takeaways:
- Choose the right type of insulation for your garage door
- Consider insulation material, R-value, and installation ease
- Understand the concept of R-values and its importance in insulation
- Insulation kits provide convenience and include various insulation materials
- Measure, mark, cut, and attach insulation for a precise fit
Types of Garage Door Insulation
There are various types suitable for garage door insulation, each with its unique properties.
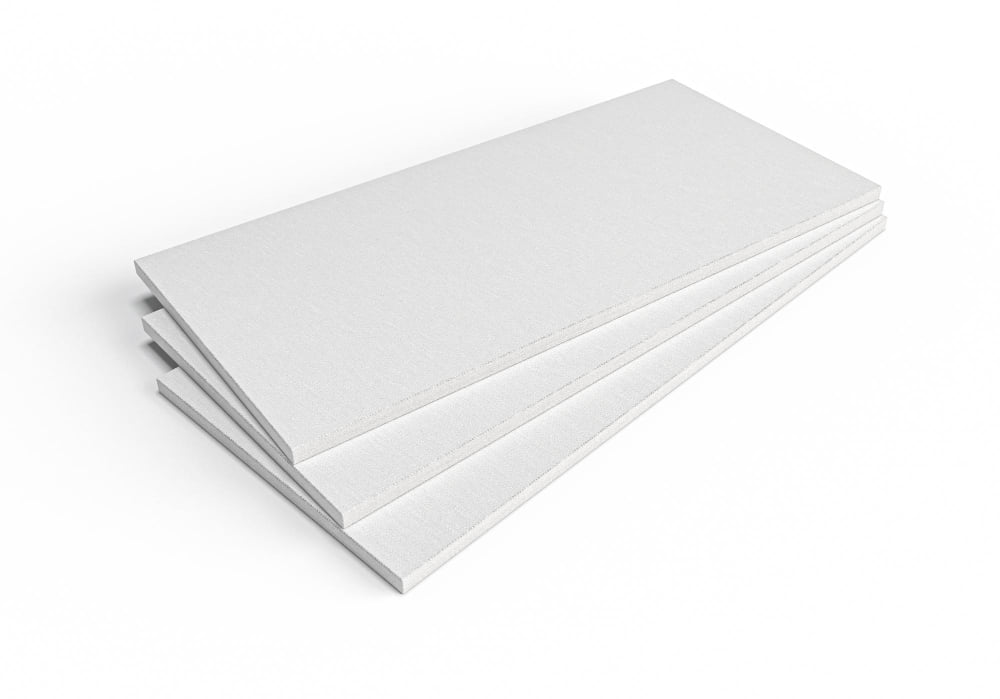
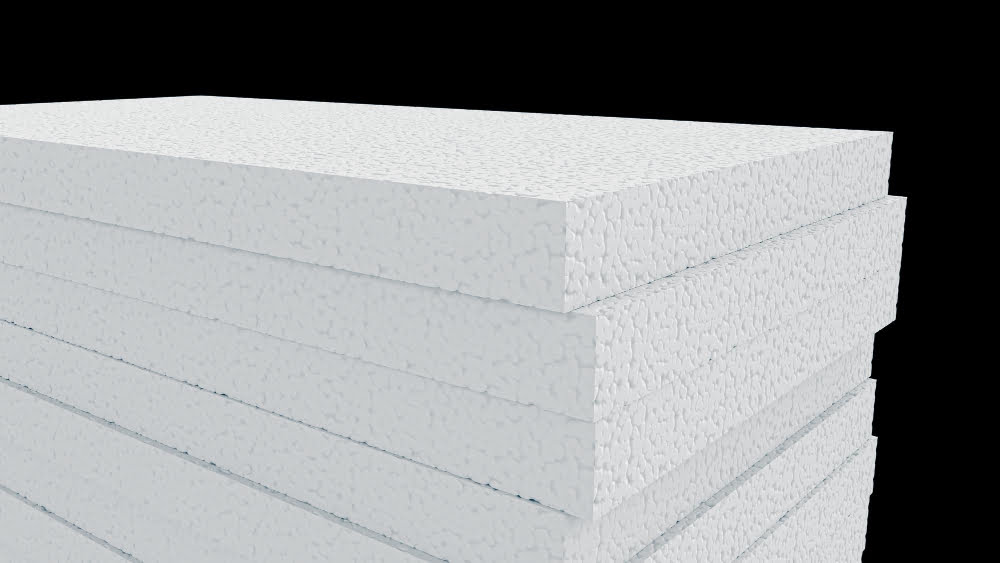
Firstly, we have Foam Board Insulation. These are rigid panels of insulation, which can provide high insulating values with little thickness – perfect for a garage door.
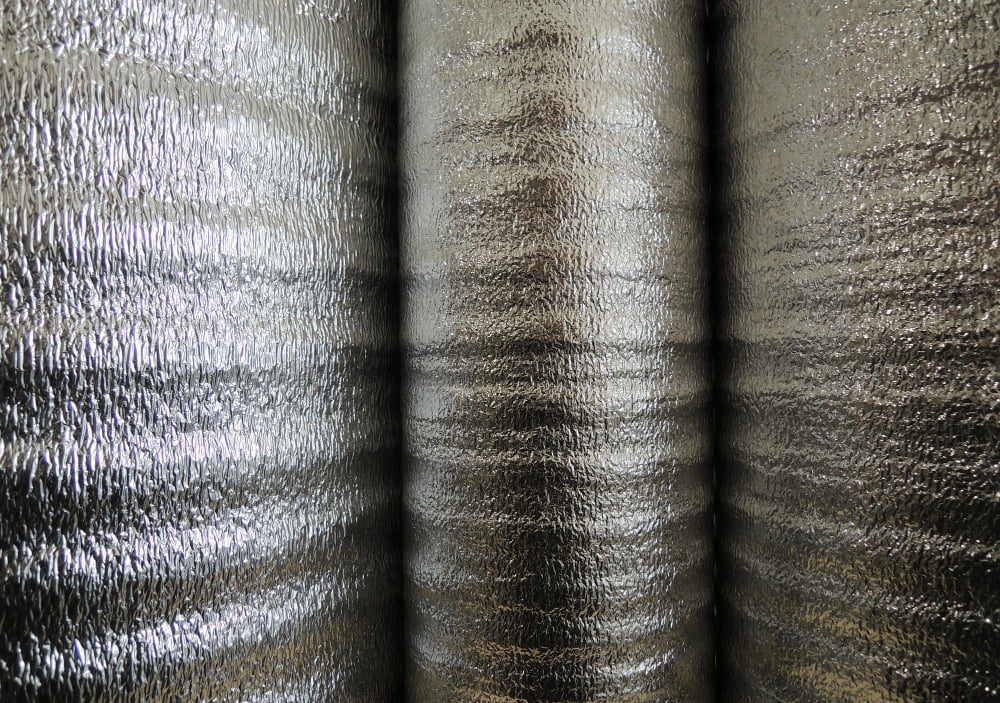
Secondly, Reflective Insulation works by reflecting radiant heat, ideal for garages in hot climates. Composed of a highly reflective material like aluminum foil, it’s often combined with a layer of bubble insulation.
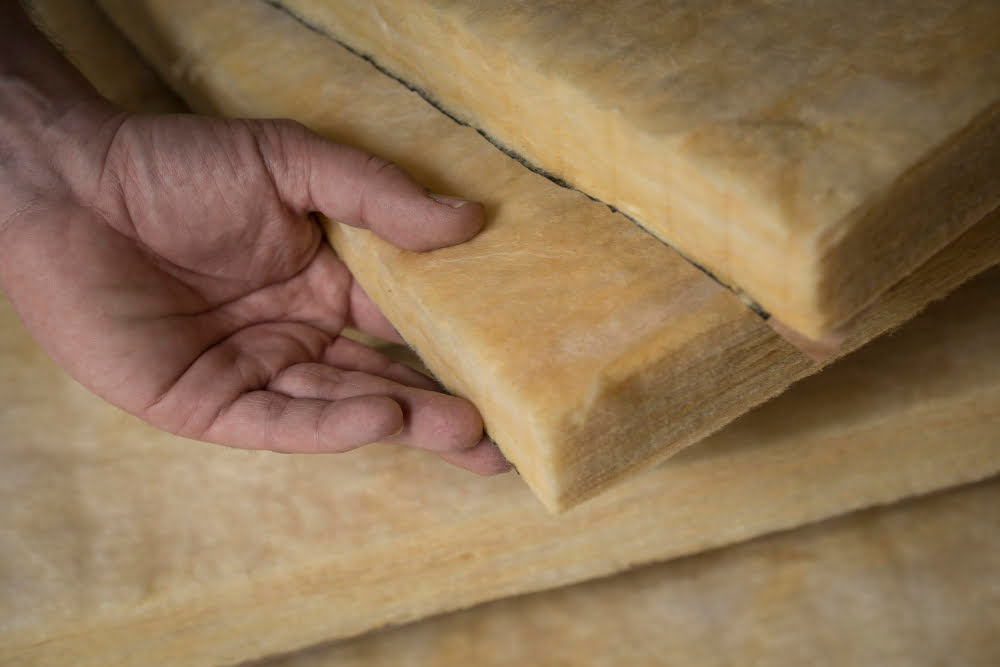
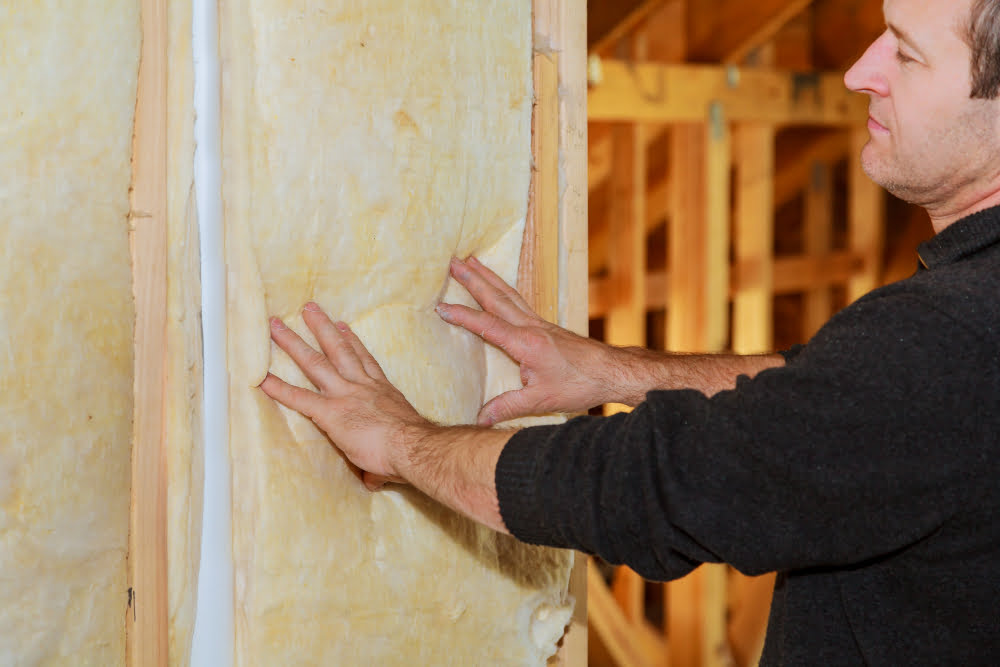
Thirdly, Batt Insulation is usually made of fiberglass and comes in pre-cut panels. It works better in large spaces with lots of room for the insulation to expand.
Lastly, Spray Foam Insulation provides a significant air and moisture barrier. It’s a top-tier option, although professional installation is recommended due to its potentially messy and harmful nature when incorrectly applied.
These are just an overview – your choice would depend on your specific insulation needs and the climate in your region.
Choosing the Right Type of Garage Door Insulation for Your Home
In selecting the appropriate insulation for your garage door, consider attributes such as insulation material, R-value, and ease of installation.
1. Insulation Material: Three common materials include polystyrene, polyurethane, and fiberglass. Polystyrene is inexpensive and easy to install but has a lower R-value. Polyurethane, on the other hand, offers a higher R-value and is typically more resistant to damage. Fiberglass is lightweight, but can be itchy to handle and is slightly less effective in extreme temperatures.
2. R-Value: Essentially, it measures thermal resistance. The higher the R-value, the better the material will resist heat flow, thus keeping your garage cooler in the summer and warmer in the winter.
3. Installation: Some insulation types can be self-installed using a handy kit, while others may require professional setup. Also, remember to factor in the time required for installation when making your choice.
4. Suitability: The material of your garage door can influence the type of insulation that is suitable. For instance, steel doors can accommodate any type of insulation, while wood-frame doors are most compatible with rigid-board insulation.
5. Climate: For garage owners in colder climates, a high R-value level is essential, as this ensures optimal heat retention.
Weigh these factors based on your garage’s specific needs and your chosen insulation will serve you optimally.
R-Values and Garage Door Insulation
The concept of R-value is pivotal in understanding the efficiency of insulation. It measures the resistance an insulating material has to heat flow. The higher the R-value, the better the material is at limiting heat transfer, either by keeping heat in during colder months or preventing heat entry during warmer periods.
1. Different materials have varying R-values: Fiberglass and rigid foam typically offer higher ones, between R-4 and R-8, whereas reflective insulation has a lower range, around R-1 to R-4.
2. Thicker is Not Always Better: High R-value does not simply rely on thickness but also on the material’s resistance properties. Hence, one cannot assume a thicker insulation layer will offer more heat resistance.
3. Cost Efficiency: Consider your regional climate when choosing insulation. A garage in colder climates may benefit from materials with high R-values, despite a higher upfront cost. Warmer climates might require only moderate R-values, providing a balance between cost and efficiency.
4. Energy Savings: While an insulated garage door may not drastically lower energy bills, it can contribute to overall home energy efficiency, and thus, some degree of savings over time.
5. Insulated vs. Non-insulated Doors: It’s crucial to note that an insulated door differs from a non-insulated one, mainly through the addition of the insulation material within the door’s layers. However, the R-value may vary based on the type and thickness of the insulation used.
Garage Door Insulation Kits
Insulation kits are a convenient way to upgrade your garage door. They typically include pre-cut insulation, retainer clips, gloves, cutting tools, and comprehensive instructions for easy installation. These kits are designed to fit standard size doors, though some cutting and trimming may be needed for custom doors. Different kits cater to varying insulation materials like fiberglass, foam, or reflective film. Understanding your specific garage door requirements is crucial before purchasing a kit. Consider the desired R-value, your geographic location’s climate, and your budget when selecting the most suitable kit for your needs.
Three popular types of insulation materials are often included in these kits:
- Fiberglass insulation resembles pink or yellow cotton candy. Use caution because touching the material directly can cause your skin to itch.
- Foam board insulation is rigid panels of insulation that are installed directly to your garage door.
- Reflective insulation features a shiny aluminum surface which radiates heat away.
Remember; higher R-value means greater insulating power. Your choice will likely depend on your regional climate, your energy needs, and your budget.
Measure Door Panels
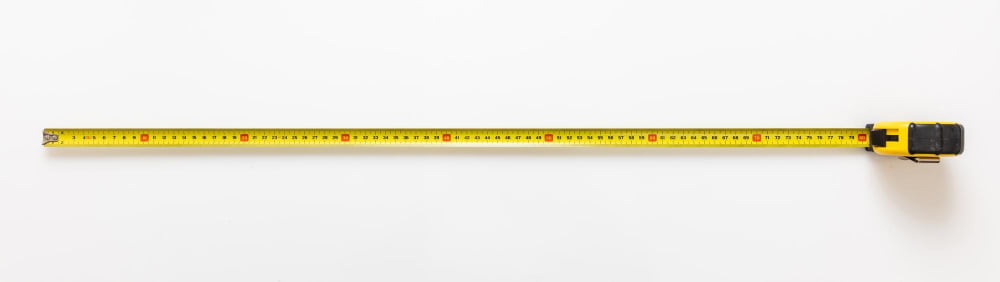
Begin by noting down the height and width of each panel – these dimensions are critical for accurate insulation fitting. Write down the sizes for easy reference during the cutting process.
Keep in mind, garage door panels often vary in size, so ensure every panel is measured separately. Don’t forget to take into account any irregularities in the door panel’s shape, these are important when it comes to fitting the insulation.
Accuracy during this stage will minimize wastage and guarantee a well-fitted end result.
Mark the Door
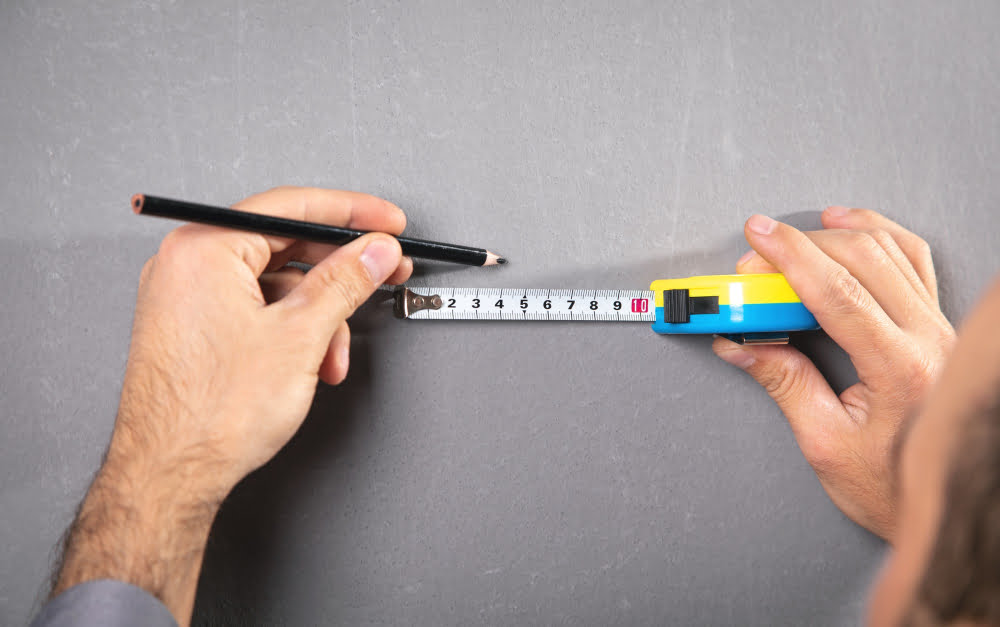
Visual cues play a crucial role in ensuring accuracy as you embark on insulation. Start by laying your insulation fit against the garage door and with a pencil, carefully trace around the edges. You are marking positions for cutting and aligning your insulation material to ensure an exact fit within each panel of your garage door.
Always remember to account for ridges or irregularities in the door surface during this process. Incorrect marking can lead to misalignments and result in an inefficient insulation job. Remember, a well-marked door is the foundation for a successful garage door insulation endeavor.
Next, let’s look at the cutting process to shape your insulating material perfectly to fit these marked boundaries.
Cut Insulation to Size
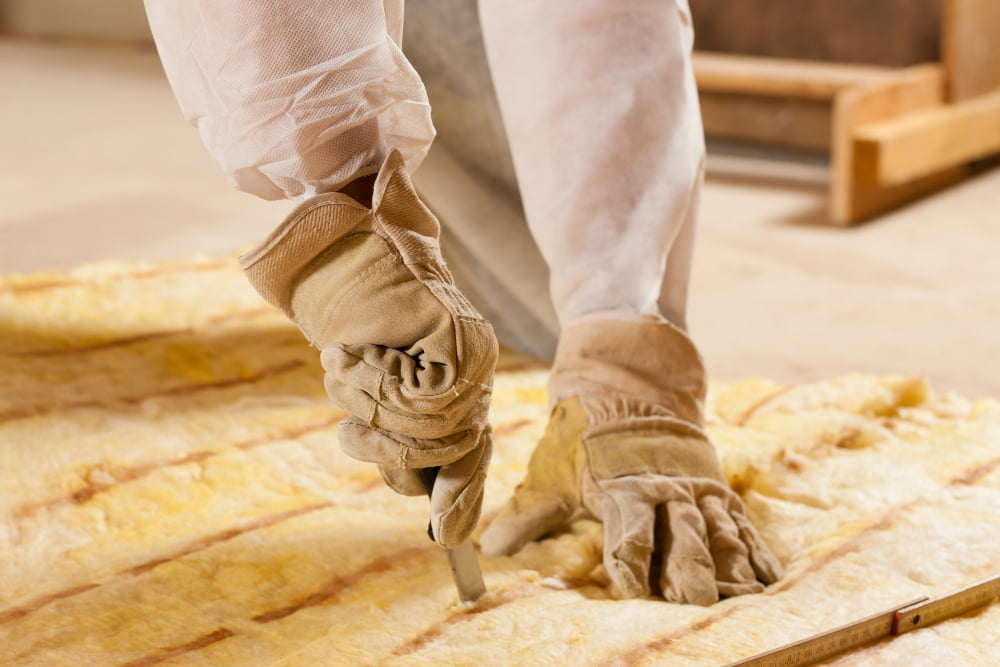
Having accurately measured the panels, move on to trimming your insulation materials. Follow these steps meticulously:
1. Layout the insulation roll facedown on a flat surface. Mark out the measurements of your garage door panels.
2. Using a straightedge as a guide for precise cuts, proceed with a utility knife.
3. Remember, it’s better to cut the insulation slightly larger than your measurements. This way, it fits snugly into the panels, leaving no gaps for heat escape.
4. Use gloves when handling materials like fiberglass to avoid skin irritation. Keep the workspace clean and avoid unnecessary inhalation of particles.
5. Repeat the process until you have enough pieces to insulate all panels on your garage door.
By taking your time to cut carefully and correctly, you ensure a neat install process and efficient insulation.
Apply Double-Sided Tape
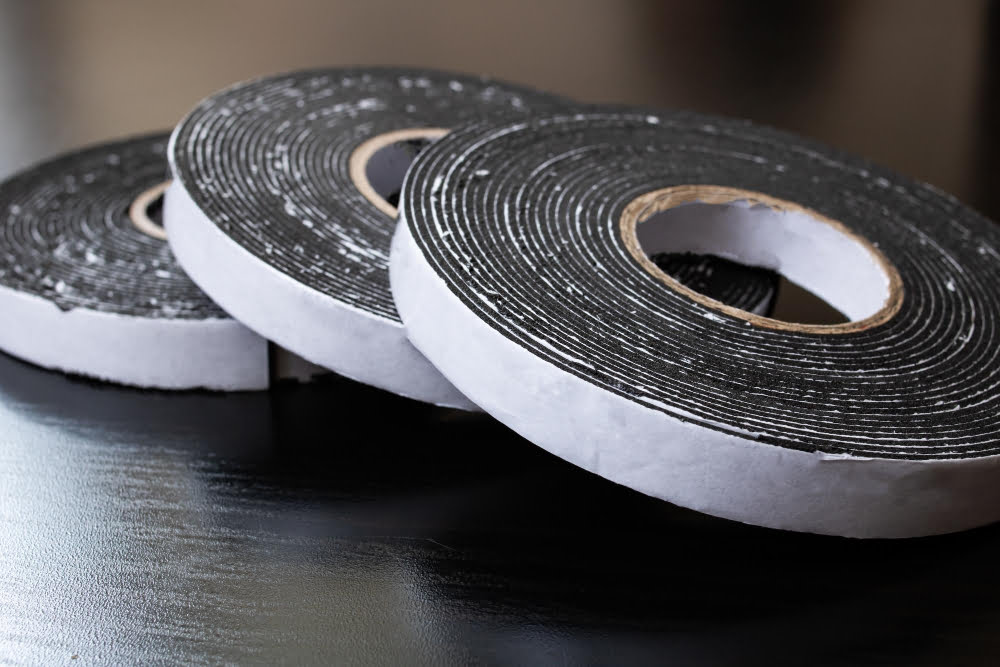
With the insulation cut to the desired size, the next step in this hands-on endeavor is to attach it to the garage door. First, ensure the surface of the door is free from dust and grime to promote better tape adhesion.
Double-sided tape, known for its durability and strength, plays a crucial role in this process. Start by placing strips of this adhesive along the edges of each panel section where the insulation will be mounted. For greater seal and hold, add more strips across the panel’s center.
Remember, it’s better to use too much tape than not enough. The tape is the primary source of attachment between the insulation and the door and a strong bond is key here. Also, take care to only remove the protective layer from one side of the tape at this stage, leaving the other side intact for the insulation attachment step.
Smooth the tape down firmly, eliminating any air bubbles for a solid, tight fit. This detail promotes the longevity of the insulation, meaning your garage will stay comfortably insulated for many seasons to come.
Attach Retainer Clips to Tape
Start by identifying the exact positions to place the retainer clips: these should be equally spaced across the height of the panel to offer maximum support.
Keep in mind, the clips serve to hold the insulation in place and must adhere strongly to withstand repeated opening and closing of the door.
Once those positions are marked, peel off the protective backing from the double-sided tape, ensuring to avoid contact with the sticky side to maintain its adhesive power.
Then, firmly press the retainer clips onto the tape.
Remember to double-check the firmness of the clips’ attachment; slight adjustments may be needed to ensure optimal placement and performance.
Finally, repeat this process until all marked spots have the clips secured.
Tuck Insulation Into the Door Panels
Now, once the insulation has been appropriately cut down to size, it’s time to secure it in place. Start by fitting the insulation into each panel. Be certain to press it into the entire panel area, making coverage as complete as possible. Pay extra attention to corners and edges, ensuring they too are fully covered.
It’s essential to note that the foil side should face outwards – this helps reflect heat away from the garage. But if you have radiant heating in your garage, the foil side should be facing inwards to keep the heat within the space.
Once the insulation is comfortably tucked into the garage door panel, smooth it out with your hands. Remove any air bubbles or wrinkles that may have formed during the process. These small adjustments help to maximize the effectiveness of insulation and improves your garage’s energy efficiency.
Finally, do not rush the process; take time with each panel for effective insulation. The more time and effort you put into this step, the better the outcome will be.
Fasten Retention Clips
Once the insulation is snuggly fit into the door panels, it’s time to secure it further with retention clips. These handy devices can thwart sagging or shifting of the insulative material over time. Here’s how to use them effectively:
1. Position the clips towards the center, directly on the tape. Doing so enhances the strength of the insulation against gravity and daily wear.
2. Push the clips onto the double-sided tape till they stick firmly. This process ensures the insulation won’t budge unless purposefully removed.
3. Hook the clips onto the insulation. The clips have a snapping mechanism that guarantees holding the insulation in place.
Remember to evenly distribute the retention clips across each panel. Too few clips could cause loose spots, while too many might result in unnecessary work and expense. Aim for a firm fitting that’s just right – a smooth, well-insulated door that opens and closes with ease.
Install a New Bottom Seal
After tucking in the insulation, it’s time to consider a new bottom seal. Since insulation thickens the garage door, your old bottom seal may not reach the ground anymore. This could result in unwanted air leaks, undoing some of the benefits of your insulation project.
Select a bottom seal of the right length for your garage door, which you can typically purchase in strips up to 16 feet long. You could also opt for a “threshold” seal designed to attach to the garage floor instead of the door.
Next, start at one end and slide the seal into the bottom groove of the door. Ensure a tight, flush fit against the ground across the length of your garage door. Trim any excess length for a neat appearance.
Remember that the seal might stiffen over time, especially in colder conditions, decreasing its effectiveness. Periodic monitoring and replacement, as needed, will ensure your garage stays well-insulated all year round.
Test the Door
Once the insulation and retainer clips are securely in place, it’s critical to assess the effectiveness and functionality of your newly insulated garage door.
1. Open and Close the Door: Begin by manually opening and closing the door to identify any obstructions or areas where insulation may be interfering with the door’s functionality.
2. Verify Panel Rigidness: Examine whether the door panels are still rigid and firm. Too much flexibility may indicate that the insulation is too thick or not properly secured with retainer clips.
3. Loose Retainer Clips: Keep an eye out for any loose retainer clips. If any are discovered, ensure they are tightened adequately.
4. Check Alignment: Assess your door’s alignment and balance. The door should effortlessly lift open and rest level when it’s halfway open.
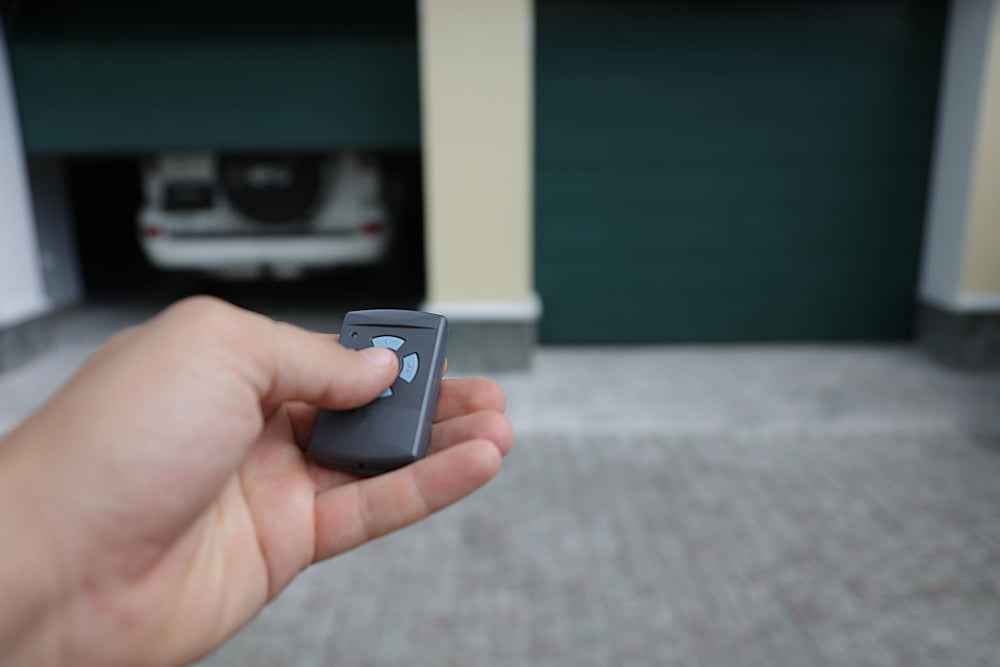
5. Automatic Opener Test: Now, use the automatic opener to test the door’s operation. Notice any changes in the speed, noise, or smoothness of operation.
6. Weather Stripping: Lastly, check the bottom weather seal and around the edges to verify it’s properly sealing and not allowing any drafts in. If you can see light or feel a draft, further adjustments may be needed.
Mindfully testing your door’s operation and functionality after the insulation process is vital in safeguarding your garage against unwanted temperature fluctuations.
Finishing Touches for Your Insulation Project
Once you’ve successfully insulated your garage door, there are a few additional steps to truly maximize efficiency and aesthetics.
Trim any excess insulation material that sticks out from the panel edges using a utility knife.
Employ weatherstripping to prevent drafts, considering a door sweep for the bottom if you haven’t already installed a bottom seal.
The door should smoothly open and close without obstruction.
To elevate the garage’s appearance, consider painting the door to refresh its look.
Pick a color that aligns with the rest of your home’s exterior.
Remember, the most effective insulating project also tends to beautify your garage, improving curb appeal.
Finally, clear the garage area by removing leftover materials and tools, keeping the space organized and clutter-free.
FAQ
What is the best way to insulate a garage door?
The most effective method to insulate a garage door is by using rigid foam board for wooden doors, while any type of insulation such as fiberglass insulation batts can be utilized for metal doors, with DIY garage door insulation kits simplifying the process.
Does insulating a garage door make a difference?
Yes, insulating a garage door does make a difference as it improves the door’s sound dampening performance, therefore creating a quieter workspace and minimizing disturbance to neighbors.
How do I insulate the inside of my garage door?
Insulating the inside of your garage door can be achieved by using an R-8 vinyl-faced fiberglass batting kit, requiring two kits for a 16-foot wide door, or employing precut R-4 expanded polystyrene (EPS) panel foam which can be cut to length and snapped into the door’s horizontal rails.
Can you insulate the sides of a garage door?
Yes, you can insulate the sides of a garage door using commercial insulation kits or extruded polystyrene sheets.
What types of insulation are suitable for garage doors?
Fiberglass, foam board, reflective foil, and polyurethane foam are suitable insulation types for garage doors.
How can weatherstripping complement garage door insulation?
Weatherstripping complements garage door insulation by sealing gaps around the door edges to prevent heat loss and protect the garage from outdoor elements.
What are the costs involved in garage door insulation?
The costs involved in garage door insulation include the price of insulation materials, which can range from $100 to $500, and professional installation fees, if applicable, generally costing between $200 and $500.