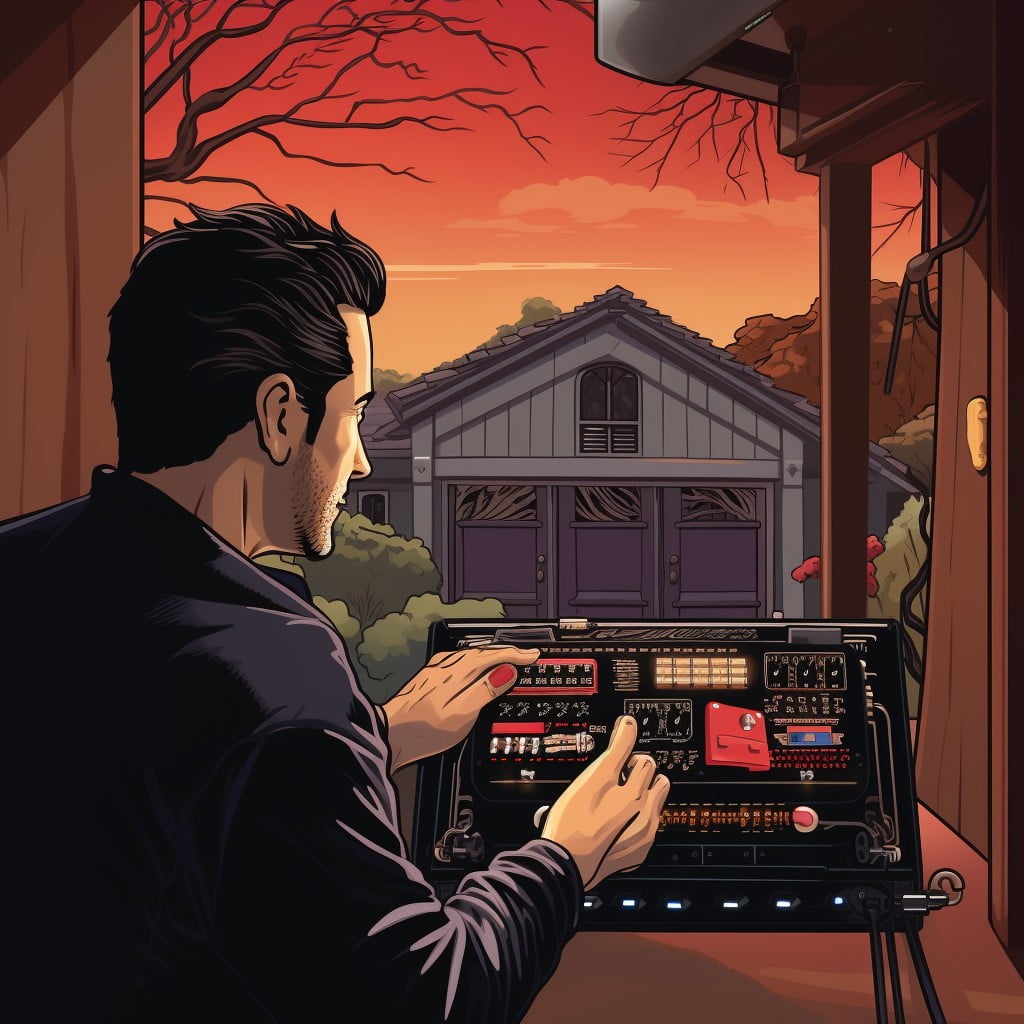
Explore the straightforward process of programming your car’s garage door opener without requiring a remote.
Programming a garage door opener in your car without a remote is a straightforward process that anyone can accomplish with a few simple steps.
This article will guide you through the exact procedure, ensuring that you can open your garage door directly from your vehicle, even if you’ve misplaced or don’t have a remote.
You’ll find comprehensive instructions that are easy to follow, and by the end of this guide, you’ll be able to program your garage door opener with confidence and ease.
So, let’s get started on this journey to enhance your garage door’s functionality.
Key takeaways:
- HomeLink and Car2U are common types of garage door openers in cars
- Familiarize yourself with your car’s control panel features
- Follow the specific steps to start the programming process
- Test the newly programmed button to ensure it works properly
- Troubleshoot any issues that may arise during programming
Understanding the Type of Garage Door Controller in Your Car
Different vehicles come equipped with varying types of built-in garage door openers, each having distinct programming characteristics. A majority fall under the HomeLink system or the Car2U system.
1. HomeLink is a universal system found in a myriad of car models. It works well with virtually all varieties of garage door openers, rendering them a competitively versatile option.
2. Car2U, primarily found in Ford, Lincoln, and Mercury vehicles, functions compatibly with a wide range of garage door openers.
Identifying the type of system embedded in your car is vital to the programming process. If unsure, refer to the user manual or manufacturer’s website of your vehicle to clarify this critical piece of information before proceeding.
Studying the Car’s Control Panel Features
For effective programming of your garage door opener, familiarizing yourself with your car’s control panel is an essential phenomenon. It offers the drivers a comprehensive guide on where to find the control buttons and what their specific functions are.
Firstly, identify the location of the main control buttons. These could either be on the rear-view mirror, on the visor, or the overhead console. Their placement varies depending on the model and make of the car.
Secondly, some vehicles have two to three buttons, generally represented as Roman numerals, or sometimes even numbered or lettered. Understanding their specific use can allow you to program multiple garage doors or gates.
Finally, look for a learning or programming light on the control panel. This light comes in handy after the initialization process to confirm successful programming. It’s typically a small LED light but its color and location may vary across different car models. Knowing its location and what it signifies provides an additional layer of understanding to your vehicle’s control panel.
In summary, a thorough understanding of these features marks the first step towards successful programming of your garage door opener without a remote.
Starting the Programming Process On Your Car’s Controls
To begin with, ensure your vehicle is in park mode, ignitions are turned on but engine is not running. Next, find and press the garage door opener button on your car’s controls — typically located on either the visor or the console. Press and hold this button. At this point, the car’s garage door opener control will begin a flashing light sequence which often consists of a slow blink followed by rapid blinks.
This sequence is an indication that the control is ready to learn a new code. Don’t release the button until the rapid blinking has begun. Essentially, this step prepares your car’s controls to receive the new information from the garage door opener’s code.
Remember, patience is the key. The process may take a few seconds to perform the necessary actions and seamlessly start the programming. Remember not to force the buttons as it may harm the control panel. The main goal is not speed, but correct application of the necessary steps.
Resetting Your Garage Door Opener’s Default Settings
Initiating a reset will erase all programming including remote controls. Typically, the reset button is situated on the motor unit and is usually color-red, green, yellow or blue. Just follow these steps:
- Unplug the garage door opener.
- Hold down the reset button.
- While still holding the button, plug the opener back into the electrical outlet.
- Release the button after the LED light by the reset button turns on.
- Wait until the LED light turns off signaling the end of the reset process.
Remember, it’s important to quickly proceed to the next steps of inputting a new code or programming after resetting because the garage door opener is in programming mode only for a brief period (varies between models) to ensure security.
Creating a New Code for Your Garage Door Opener
Firstly, locate the ‘Learn’ or ‘Program’ button on the back or the side of your garage door opener. This might be housed behind the light lens. Press this button and quickly return to your vehicle.
Inside your car, choose an unused garage door opener button. Keep pressing this button for approximately 20 seconds. If your vehicle has a rolling code feature, the indicator light will start flashing at a much faster rate.
For most non-rolling code garage door openers, programming is successful when the indicator light changes from a slow to a rapid blink. If your vehicle has a rolling code feature, you may need to ‘train’ the garage door opener. To do this, press the ‘Learn’ button on the garage door opener whilst the vehicle’s indicator light is rapidly flashing.
Remember to always refer to your vehicle and garage door opener manuals for model-specific instructions. If this process doesn’t work, try turning the key to the ‘off’ position before repeating the process. Every garage door opener model is unique, but these general steps should guide you.
Ensure to test your programming work to confirm that the door opens and closes with the press of your chosen button. This helps enhance garage safety and convenience.
Pressing the “Learn Code” Button On Your Garage Door Opener
It’s time to interact with your garage door opener directly. In most models, you’ll find a ‘Learn Code’ button located on the back or the side. It’s typically a small, square, black or red button.
1. Power on your garage door opener and make sure it’s functioning correctly with the existing remote, if available.
2. You now need to activate the ‘Learn Code’ button – press and release it. Do not hold for too long, as it may reset all the codes.
3. Activating this button puts the garage door opener into programming or discovery mode. The LED light next to the button will illuminate, indicating that it’s ready to receive a signal from the car’s onboard control system.
Remember, this button’s aim is to let your door opener know you are about to teach it a new method of operation. It’s an essential step in linking your vehicle control panel to the garage door mechanism. Be attentive at this stage and ensure to complete all subsequent steps within the time window. Typically, you have around 30 seconds. Hence, it’s a good idea to have your car positioned nearby, ready for the next move.
Linking Your Garage Door Opener With the Car’s Controls

Once you’ve initiated the programming mode on your car’s controls and reset your garage door opener’s default settings, the next step involves establishing a connection between the two. This process is simpler than you might think.
1. Hold Down the Programmable Buttons: Locate the programmable buttons on your car’s controls. Refer to your car’s manual to find them. Hold down the button you wish to program until the indicator light starts flashing rapidly.
2. Execute the ‘Learn Code’ Step: Now, go to your garage door opener and press the “Learn Code” button. The light on the garage door opener will illuminate, signalling that it’s ready to learn a new code.
3. Finalize the Linking: Return to your car and press the programmable button you selected earlier. Tap it three times to ensure the connection is made.
This process links the car’s controls with your garage door opener, allowing you to operate the garage door directly from your vehicle. Depending on the make and model of your opener, these steps may vary slightly. Always consult your opener’s instruction manual for the most accurate guidance.
Testing the Newly Programmed Button On Your Car’s Controls
Once the programming process is complete, you’re ready to test out the newly-programmed garage door button. Before you dive in, ensure that your car is positioned correctly, that is, within the range of the garage door opener but not obstructing the door.
The first step is to press the programmed button on the car’s control panel. If the garage door responds by opening or closing, congratulations! The programming was a success. If not, don’t panic. It’s likely just a simple misstep in the programming process.
Next, the garage door should operate as usual, opening or closing smoothly until it’s fully open or shut. If the door stops midway or behaves erratically, this could signify an issue with the opener itself.
Make sure to also test the garage door opener while standing outside the garage. Though safety infra-red sensors should prevent the door from closing if something is in its path, it’s crucial for you to ensure that the auto-reverse feature works correctly.
Lastly, repeat this testing process periodically. Regular testing can help identify any issues early on, including battery needs or signal interference, thereby saving you from potential future inconveniences. It also ensures the safety and security of your garage.
Understanding Fixed Vs. Rolling Code Garage Door Openers
Rolling code technology, typically found in newer garage door opener models, works by changing the code each time the garage door is operated. It does that by generating a new, random code from billions of possibilities, thus providing your home with enhanced security.
On the other hand, a fixed code garage door opener, usually found in older models, operates with the same preset code each time. The code for this type of opener is typically set by adjusting switches inside the remote control. While operating with less complexity, the vulnerability here is that an unscrupulous individual could potentially capture your code and gain access to your garage.
When programming a garage door opener in your car, it’s crucial to know whether you have a rolling code or a fixed code system. Knowing this is necessary because the process for programming each varies significantly.
Programming a Fixed Code Opener Without a Remote
The fixed code garage door opener operates using a single, unchanging signature code. Though a bit outdated, these systems are still found in older model cars and homes. When the remote is lost or unavailable, the programming process requires some extra steps.
1. Locate the DIP switches: The switches are usually found within the unit of the garage door opener or on a separate receiver box. They look like a small bank of switches that can be flipped up or down.
2. Record the DIP switch sequence: Note the order of up and down switches. This is the signature code of your opener.
3. Apply the code to the car system: The controls in the car may be buttons or DIP switches too. Use the car’s controls to mimic the sequence found on the garage door opener.
4. Finalize the setup: On completion, ensure that the car’s controls respond in the correct way by operating the garage door. Don’t forget to check that all doors are opening and closing as intended.
Remember to stay safe and keep clear of the door during testing. Programming a fixed code garage door opener without a remote is manageable, just pay attention to the details and follow these steps thoroughly.
Programming a Transmitter to a Fixed Code Opener
To start with, locate the code switches on the garage door opener’s main unit. Typically, these switches feature a row of eight to twelve tiny switches that help you establish the transmitter code for your garage opener. Each switch can be flipped in two directions.
Copying the code sequence, reflect the positions of these switches on your transmitter. If, for instance, the first switch is flipped up on the main unit, flip the first on the transmitter up. Continue the process until your transmitter mirrors the main unit switch sequence.
Next, close the transmitter and press the button to send the code to your garage door opener. If the transmitter LED light is on and the garage door opens or closes, it signifies successful code transmission. In case of any hitches, double-check the switch sequence.
In essence, programming a transmitter to a fixed code opener might appear intricate but it’s straightforward. Always remember the sequence of the code switches matters. A wrong flip could lead you back to square one.
Finally, don’t forget to clear the old programming from the opener before you program your transmitter. This will prevent potential interference.
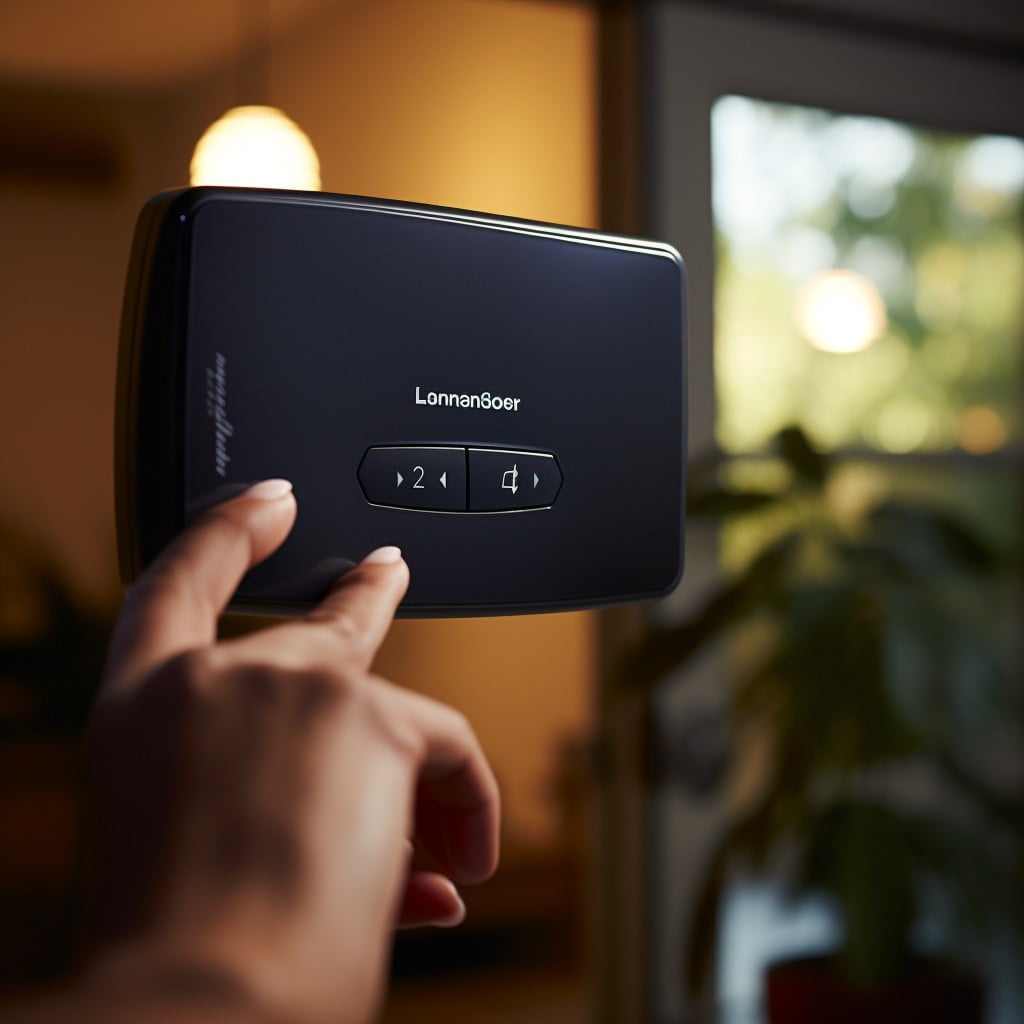
Understanding HomeLink Garage Door Openers
HomeLink is an integrated and versatile system, typically installed in automotive visors, mirrors, and the overhead console. Its core function is to enable your vehicle to communicate with other wireless devices around your home, such as garage door openers.
- Universal by Design: HomeLink caters to nearly all garage door openers which has made it a standard feature in various car models.
- Frequency Range: HomeLink operates within the frequency range of 288 to 433 MHz, making it compatible with most wireless-controlled appliances.
- Learning Capability: It’s characterized by its learning functionality that can detect and pair with the unique code emitted by your garage door opener.
- Power Source: HomeLink operates from your vehicle’s electrical system, eliminating the need for an additional remote or battery replacement.
- Security: Equipped with rolling code technology, it ensures every use generates a new, secure code, reducing the possibility of unauthorized access.
Programming a HomeLink Garage Door Opener Without a Remote
Moving forward, let’s navigate through the process. The first step involves clearing prior codes from your HomeLink system to ensure a fresh start. Hold down the first and third buttons until the car’s interior lights blink. It typically takes about 20 seconds.
Now, press and hold the HomeLink button you wish to use for opening your garage. At the same time, press and hold ‘smart’ or ‘learn’ button located on the garage door opener motor. Remember, ask for assistance to avoid running between your car and garage.
The interior lights of your car will flicker rapidly once your HomeLink system has successfully learned the new frequency. Release both buttons promptly.
Next, test the newly programmed button on your car’s system. Press the button you set for garage door operations. A solid steady light confirms a successful connection.
Always keep the owner’s manual of your vehicle within reach. Certain models could require additional, specific steps. It’s critical that safety is paramount during the process, ensure the path of the door is clear of any objects or individuals prior to testing the programmed buttons.
Maintaining the Programmed Garage Door Openers in Your Car
To keep your programmed opener functioning efficiently, routine care is paramount. First, an annual inspection of your garage door system ensures alignment, balance, and secure connections. If any issues arise, address them promptly to avoid potential malfunctions.
Next, remember to check the batteries in your car’s control panel regularly. A weak battery can result in impaired functioning or total failure of the garage door opener. To avoid getting caught off guard, replace batteries at least every one to two years.
Your car’s system also stores the door opener’s code — don’t clear this data unless necessary. It’s not just about resetting the codes; the whole reprogramming process will need to be performed again. If an instance arises where the code must change, follow the reprogramming steps outlined earlier.
Finally, cleaning the controls in your car on an occasional basis helps prevent the accumulation of dust and debris that could interfere with the system.
By incorporating these simple steps into your routine, your programmed garage door opener can remain in top form, ensuring its reliable operation for years to come.
Guidelines for Successful Garage Door Opener Programming
When planning to program your garage door opener without a remote, adhere to these crucial guidelines for an efficient and successful venture:
1. Keep the Car’s Owner Manual Close: Your vehicle’s owner’s manual can be a valuable resource, providing specific instructions on how to locate and operate the garage door programming controls within the car.
2. Understand Your Garage Door Opener: Distinguish between a Fixed and Rolling Code. A Fixed Code triggers the opener using the same data every time, whereas a Rolling Code changes the data after each use.
3. Stay Safe: Safety measures are paramount. Always ensure the garage door fully closed during programming to avoid injuries or damages.
4. Be patient: It might take several trials to get your opener and car ‘talking’ to each other.
5. Test-Run After Programming: After you’ve programmed your garage door opener, test it several times using the controls in your car to ensure it works properly.
6. Record the steps: If successful, remember to jot down the steps which have worked so you could use them in the future.
Understand that programming may vary based on the car or garage door opener model, using these guidelines can direct you towards a successful garage door opener programming, even without a remote.
Troubleshooting Issues With Garage Door Opener Programming
If the programming doesn’t work at first attempt, don’t get disheartened. It could be due to a variety of factors. Here are a few potential issues and their solutions:
1. Incorrect Coding: Ensure you’ve input the correct code exactly as it should be. Mistakes, as minor as they may seem, can cause the programming to fail.
2. Interruptions In The Process: Interference from other electronic devices, or even fluctuations in power supply could disrupt the programming process of the garage door opener. Ensure you’re in a clear, uninterrupted environment for the process.
3. Outdated Equipment: If your garage door opener or vehicle’s control system is too old, they may not support the programming process. You might need to install updated equipment to accomplish this task.
4. Manufacturer Specific Issues: Sometimes, certain manufacturers have unique instructions or quirks that need to be addressed while programming. You might want to refer to the manual or contact their customer service for a tailored approach.
5. Not Quick Enough: When programming a garage door opener, you have to perform certain steps within a small time range. Failing to do so may result in the process not being successful. Be alert and quick when you are at it.
6. Issues With Transmitter: Check whether the batteries in your remote are still good. Dead batteries can prevent the car’s system from detecting the signals, thus impeding the programming process.
With a diligent approach, you should be able to troubleshoot these issues, getting one step closer to a fully automated, seamless entry into your garage.
What to Do If You Lose Your Garage Door Opener
When faced with a lost garage door opener, consider these options:
1. Manual Access: Most garage doors come with a manual release lever. This allows you to manually open and close the door until an alternative solution is found. Familiarize yourself with its location and operation.
2. Digital Keypad: If your garage door system includes a digital keypad, this could be a viable solution. By entering a proper entry code, you can control the opening and closing of the garage door.
3. Smartphone Apps: Today, numerous garage door manufacturers offer smartphone applications which can replace the traditional opener. However, your garage door system must have this compatible technology.
4. Purchase of Replacement: Contact the manufacturer or seller of your garage door opener to purchase a replacement. Ensure it’s the exact model as your lost opener to ensure compatibility.
5. Reconfiguration: To protect against unauthorized access, initiate a complete reconfiguration of your garage door system. This often means erasing all existing codes and reprogramming a new one.
Always remember to ensure tight security measures to prevent unauthorized access to your garage.
How a Garage Door Opener Communicates With Controls
Let’s delve into the nitty-gritty of the communication process between your garage door openers and controls. Firstly, it’s all about transmitting and receiving radio signals. Each control sends a unique signal, which the opener recognizes and responds to by either opening or closing the door.
1. Frequency Match: Garage door openers usually work on a specific frequency. The transmitter in the control must send signals at the same frequency for the opener to receive them.
2. Unique Code: Both the opener and the control have a unique code, which they use to communicate. The opener will only respond to signals bearing this code.
3. Code Rotation: In cases of rolling code technology, the control will send a new code each time. The opener has an identical random code generator and will thus match the next code in sequence.
4. Infrared Technology: In some cases, the control might use infrared technology to send signals to the opener. The functionality remains the same but replace radio signals with infrared.
5. Smart Controls: Today, with the advent of smart garage door openers, the controls might communicate through Wi-Fi. This system allows you to operate the opener via a phone or other smart device. It works on the same principle, with the only difference being the mode of transmission of signals.
You’ll find that understanding these communication methods delivers critical insights for successful programming and troubleshooting.
Essential Safety Measures When Programming Garage Door Openers
Before proceeding with the programming process, ensure the garage door area is clear of people, pets, and objects, especially around the moving parts of the door. This precaution prevents any unexpected injuries or damage during testing.
Unplug electrical appliances, including the garage door opener, before setting a new code, to avoid electrical shock. It is also advisable to wear rubber-soled shoes during the process to further reduce the risk.
Even though most programming processes do not necessarily require you to climb on a ladder, if it becomes necessary, ensure the ladder is sturdy and secure. Always prioritize safety.
Stay alert for unauthorized persons lurking around during the programming process. Remember that the transmission of new codes could be intercepted.
Avoid sharing your passcodes and other related security details with unreliable individuals. This measure ensures your garage – and by extension, your home – remains secure.
Continuous maintenance and regular checks on the garage door opener create a safe working environment. Look out for potential issues such as slow response, jamming, or unusual noises and solve them quickly.
Do not attempt troubleshooting complex issues on your own. If you’re in doubt or the problem persists, seek help from a professional. Never compromise on safety.
FAQ
What steps are involved in programming a universal garage door opener in your car?
To program a universal garage door opener in your car, consult your vehicle's manual for instructions, then usually it involves pressing and holding down the programming or "learn" button on your opener unit until the light blinks, and then pressing, holding, and releasing the desired button on your car's remote until the opener's lights blink again to confirm programming.
Can a garage door opener be programmed in a car that doesn't have built-in HomeLink?
Yes, a garage door opener can be programmed in a car without built-in HomeLink by using a universal remote control system.
What are common issues faced when attempting to program a garage door opener in a car and how can these be resolved?
Common issues when programming a garage door opener in a car include incompatibility between the car and garage door systems, outdated technology, and lack of a clear signal, which can be resolved by ensuring system compatibility, updating technology if needed, and checking for signal interference.