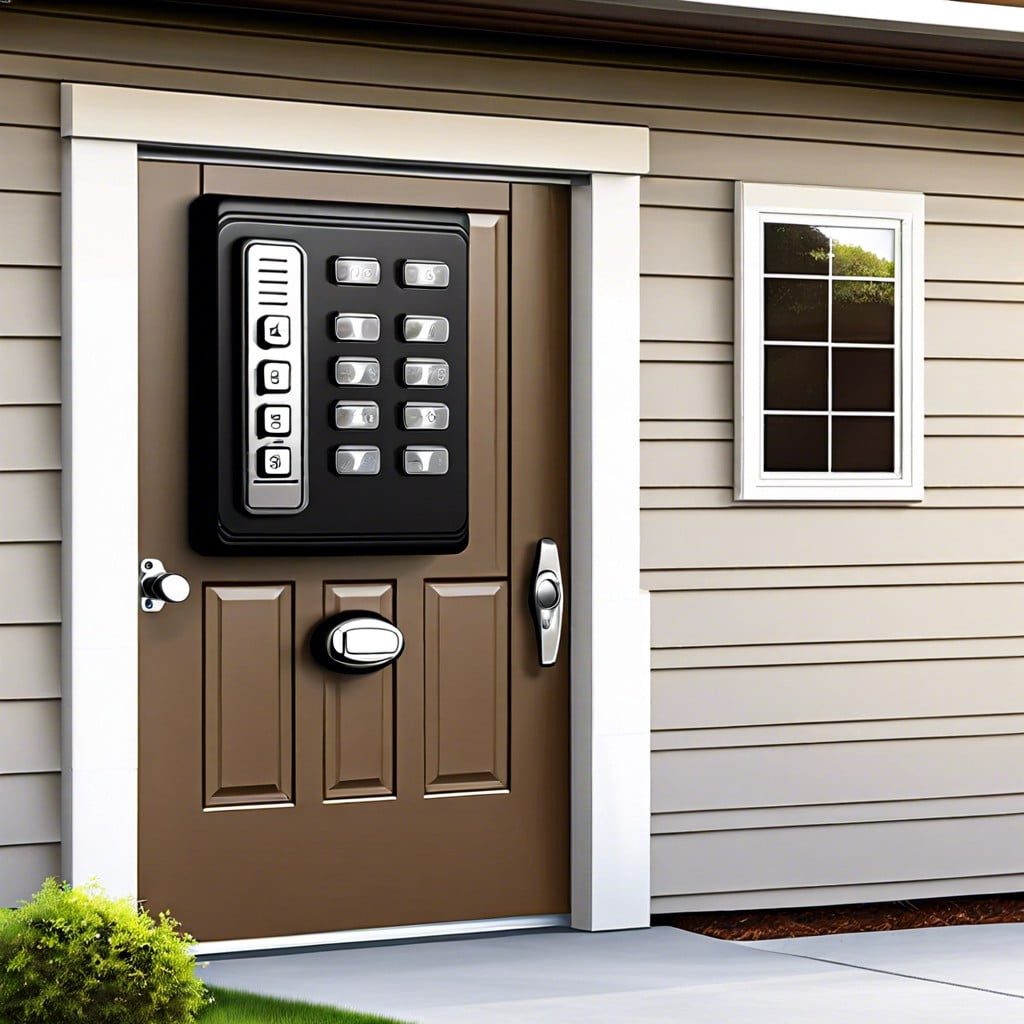
Learn how to program your garage door opener keypad with these simple step-by-step instructions.
Key takeaways:
- Clear the area and ensure compatibility before programming.
- Reset the link between the opener and keypad.
- Program the keypad with a new code.
- Test the new code to ensure it works correctly.
- Troubleshoot and try again if the door doesn’t respond.
A Few Points to Remember Before Programming

Before diving into the programming process, establish a safe workspace by ensuring the area around your garage door is clear of any tools or obstacles. Confirm that your garage door opener is compatible with a keypad. Typically, the manufacturer’s manual will provide this information. Lastly, have the factory-set code handy; this is often found in the user manual or on the device itself. This code is essential for resetting and programming the keypad efficiently.
How to Program Garage Door Keypad: 3 Simple Steps
Programming your garage door opener keypad is similar to teaching it a new secret handshake, only easier. Here’s how to ace it in three simple steps.
First, wipe the slate clean by resetting the connection between the keypad and the opener. This involves locating the “Learn” button on your garage door opener, typically found hanging from the ceiling of your garage. Press and hold this button until the LED light blinks, signaling that previous codes are erased.
Next, it’s time to introduce your new secret code to the system. On the keypad, enter your desired code—a good mix of numbers that you’ll remember but isn’t easy for others to guess. Then press the “Enter” or “Set” button depending on your model. Usually, you will see a flashing light or hear a clicking sound confirming the code is set.
Finally, don’t just walk away. Test your handy work. Enter your new code to ensure the door responds correctly. If it hesitates or doesn’t budge, repeat the process ensuring each step is followed carefully.
Step 1: Reset the Link Between the Opener and Keypad
First, locate the “Learn” button on your garage door opener unit. This button is usually situated on the back or side of the unit and may be colored red, yellow, green, or purple. Press and hold this button until the indicator light starts blinking, signaling that the device’s memory is cleared. This reset disengages all linked devices, including remotes and keypads, making way for a fresh setup. It’s essential to clear old codes to prevent unauthorized access and ensure your system’s security is up to date.
Step 2: Program the Keypad
Locate the “Learn” button on your garage door opener; it’s usually on the back or side of the unit and may be colored red or yellow. Press and release this button—this action signals the system to prepare to receive a new code.
Quickly move to the keypad and enter your desired new code. This should be a number that’s easy for you to remember but hard for others to guess.
Immediately after entering the new code, press the “Enter” button on the keypad. Depending on the model of your opener, you may need to press and hold the “Enter” button until the garage door begins to move, confirming the code is accepted.
Keep in mind, if the door doesn’t move, repeat the process. Sometimes it takes a couple of attempts to sync the new code successfully. If issues persist, refer to your manufacturer’s manual as keypad programming can vary slightly between different models.
Step 3: Test the New Code
Once you’ve entered your new code, press “Enter” to save it. Now, it’s crucial to make sure everything is functioning properly. Step outside and type your new code into the keypad. Did the garage door respond correctly? If yes, congratulations, you’ve successfully reprogrammed your garage door opener!
If the door doesn’t budge, double-check the code for any mistakes and try again. Sometimes, interference from nearby electronics can also disrupt the signal, so keep the area around your garage door opener clear. Remember, practice makes perfect—if at first you don’t succeed, try reprogramming the keypad again. A little patience goes a long way!